

如何在 Ubuntu 中安装 Linux 主线内核
source link: https://www.sysgeek.cn/ubuntu-install-linux-mainline-kernel/
Go to the source link to view the article. You can view the picture content, updated content and better typesetting reading experience. If the link is broken, please click the button below to view the snapshot at that time.

使用 Ubuntu 系统的用户,尤其是使用 LTS 版本的用户都很清楚,系统集成的内核侧重于稳定性,而不是最前沿的 Linux 主线内核版本。对于要求系统稳定、运行环境不愿折腾的用户来说,这是一个很好的方式。但我们可能遇到有新的硬件,需要更新的 Linux 内核来支持它。
Ubuntu 桌面用户安装最新 Linux 主线内核的一个很好的选择是使用「Ubuntu Mainline Kernel Installer」小工具,它具有图形化的用户界面,可以用于安装最新的 Linux 内核或其他版本内核。
Ubuntu Mainline Kernel Installer 功能特性
- 从 Ubuntu Mainline PPA 获取可用内核列表。
- 当有新的内核更新时,可以进行提示通知。
- 自动下载和安装包。
- 通过 GUI 图形界面安装或卸载内核。
- 会同时安装或卸载各内核版本及相关的包(头文件和模块)。
下面系统极客将向大家介绍,如何使用命令行终端在 Ubuntu 系统中安装 Ubuntu Mainline Kernel Installer,并以安装不同版本 Linux 内核为实例进行逐步说明。
安装 Ubuntu Mainline Kernel Installer
1 在「终端」中执行如下代码添加「Ubuntu Mainline Kernel Installer」PPA:
复制sudo add-apt-repository ppa:cappelikan/ppa -y
2 执行以下命令完成 APT 更新:
复制sudo apt-get update
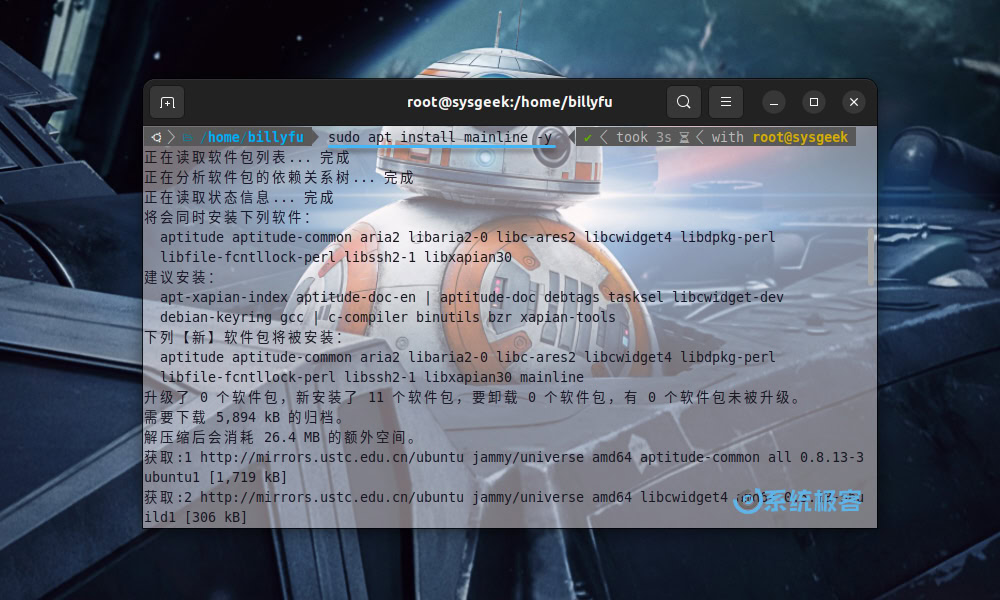
3 执行以下命令安装 Ubuntu Mainline Kernel Installer:
复制sudo apt install mainline -y
使用 Ubuntu Mainline Kernel Installer
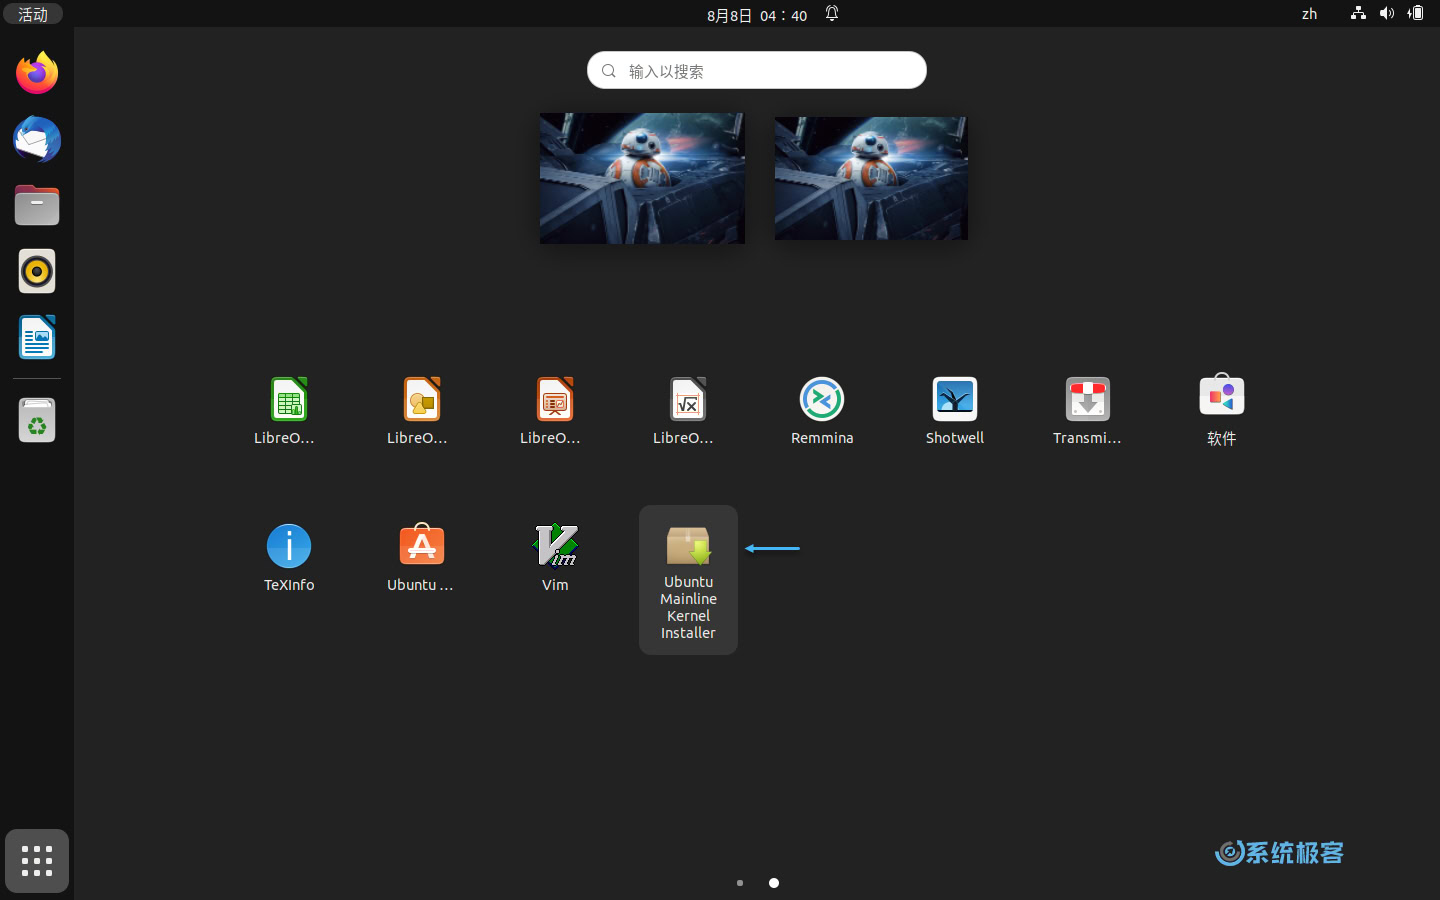
安装完成后,通过「活动」——「显示应用程序」——点击「Ubuntu Mainline Kernel Installer」打开应用程序:
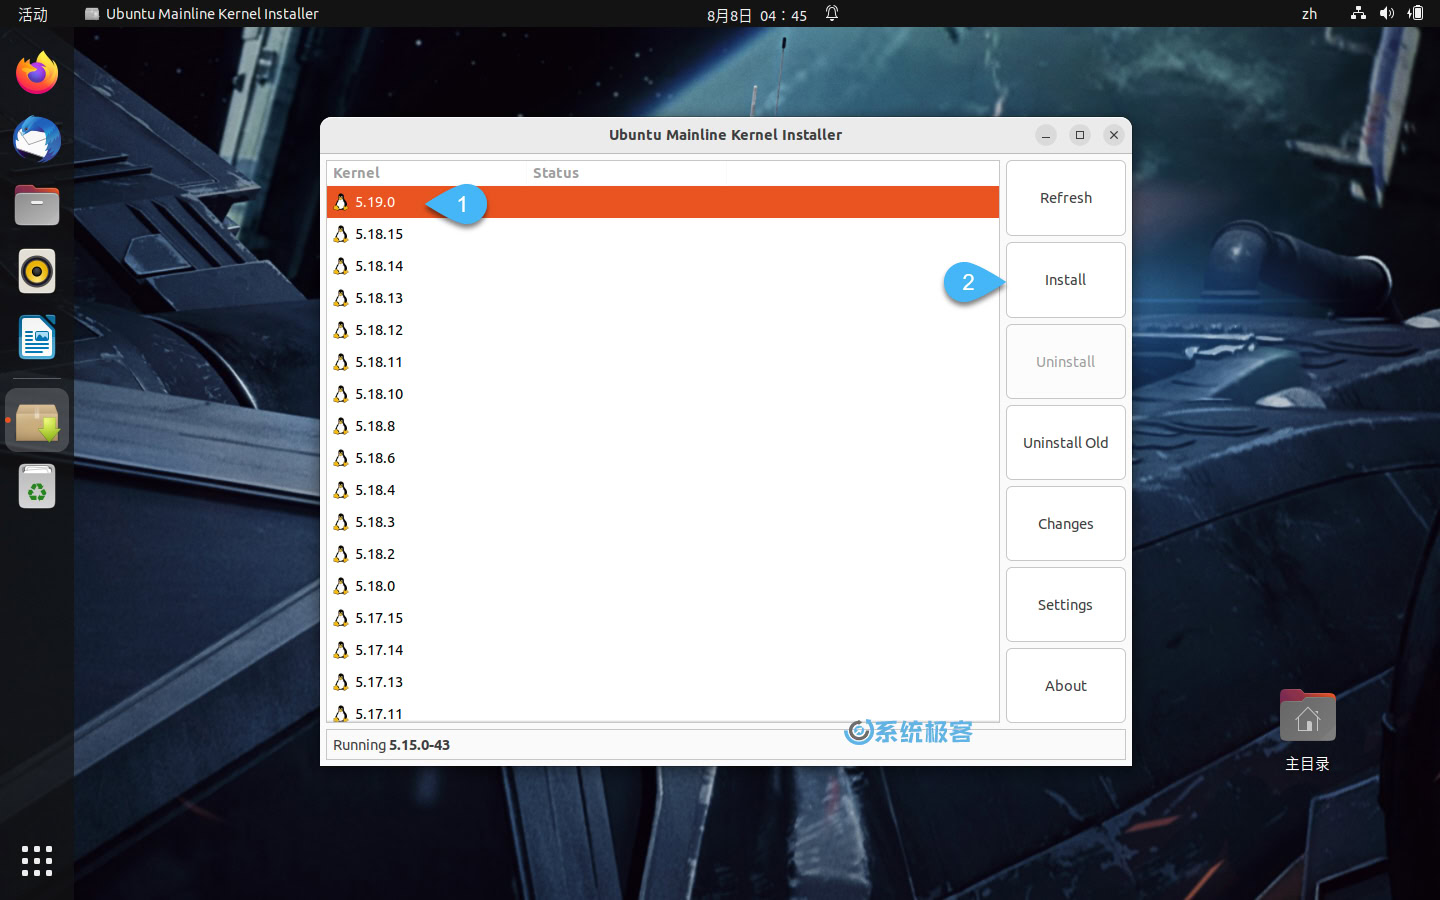
界面打开后,会有一个新的 Linux 主线内核列表被下载。这个过程对于大多数用户来说,这只需要几秒钟。
Ubuntu 安装 Linux 主线内核
1 应用界面列出可用 Linux 内核列表后,对于想要最新内核版本的用户来说,它通常位于列表最顶部,选择需要的内核版本并单击「Install」按钮进行安装即可:
2 接下来的安装过程是自动的,你会在弹出窗口中看到下载和安装内核的输出:
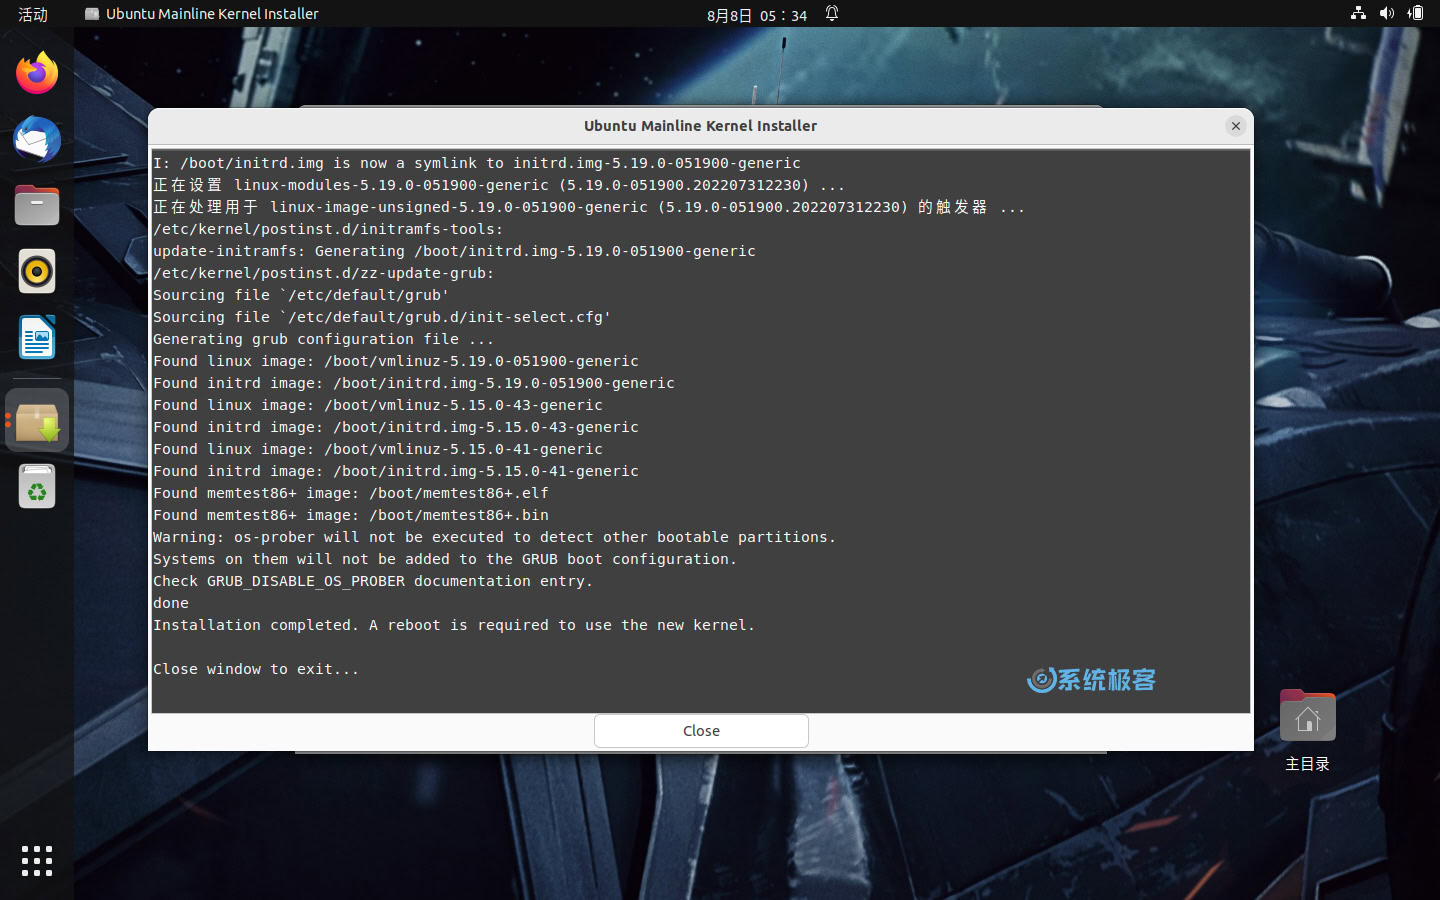
3 安装完成后,执行以下命令重启 Ubuntu:
复制reboot
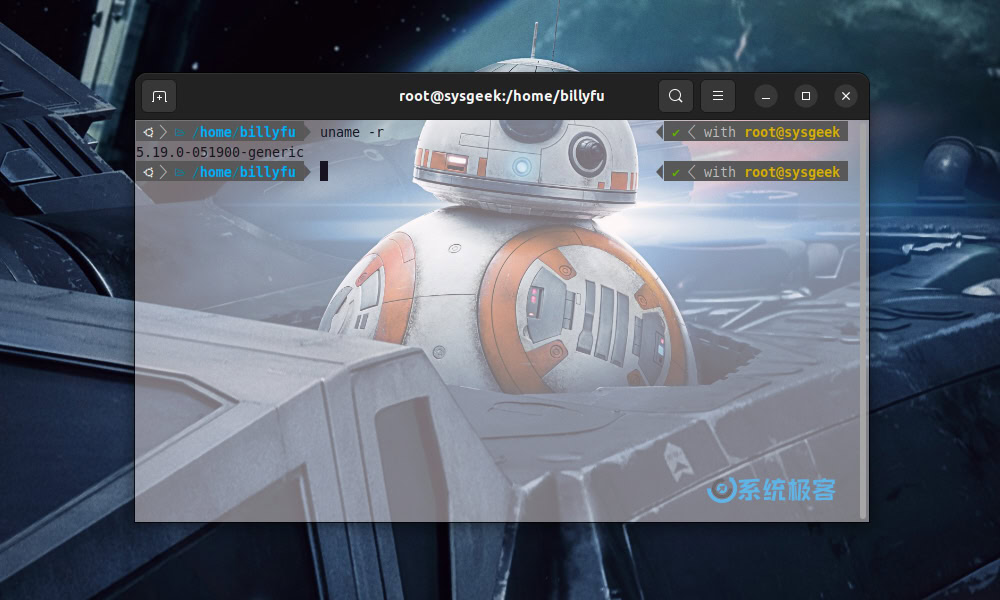
4 系统重启完成后,在「终端」中执行以下命令查看更新后的 Ubuntu 内核版本:
复制uname -r
Recommend
About Joyk
Aggregate valuable and interesting links.
Joyk means Joy of geeK