
2

OpenCV中的投影变换
source link: https://xugaoxiang.com/2022/07/16/opencv-projective-transform/
Go to the source link to view the article. You can view the picture content, updated content and better typesetting reading experience. If the link is broken, please click the button below to view the snapshot at that time.
前面介绍的仿射变换(平移、缩放、旋转等)都是在二维空间中进行物体变换,如果是在三维空间中发生了旋转,那么这种变换就是投影变换。投影变换需要先计算投影变换矩阵
cv2.getPerspectiveTransform(src, dst)其中,src 和 dst 都是 4x2 的二维矩阵(ndarray),每一行都是一个坐标,分别代表左上、右上、左下、右下四个点,数据类型是32位浮点型,函数的返回值就是投影变换矩阵,它是一个 3x3 矩阵。也就是说,src 经过了变换矩阵就得到了 dst
得到了变换矩阵,就可以进行投影变换了,方法是
cv2.warpPerspective(src, M, dsize[, dst[, flags[, borderMode[, borderValue]]]])src:原图M:一个3x3的变换矩阵dsize: 输出图像的尺寸大小
import cv2
import numpy as np

imgname = "lenna.png"

image = cv2.imread(imgname, cv2.IMREAD_COLOR)

height, width = image.shape[:2]

src = np.array([[0, 0],  [width-5, 0],  [0, height-5], [width-5, height-5]], np.float32)
dst = np.array([[100,100], [width/3, 10], [100, height-5], [width-5, height-5]], np.float32)

M = cv2.getPerspectiveTransform(src, dst)
dst = cv2.warpPerspective(image, M, (width, height), borderValue=125)

cv2.imshow("dst image", dst)

cv2.imshow("original image", image)

cv2.waitKey(0)
cv2.destroyAllWindows()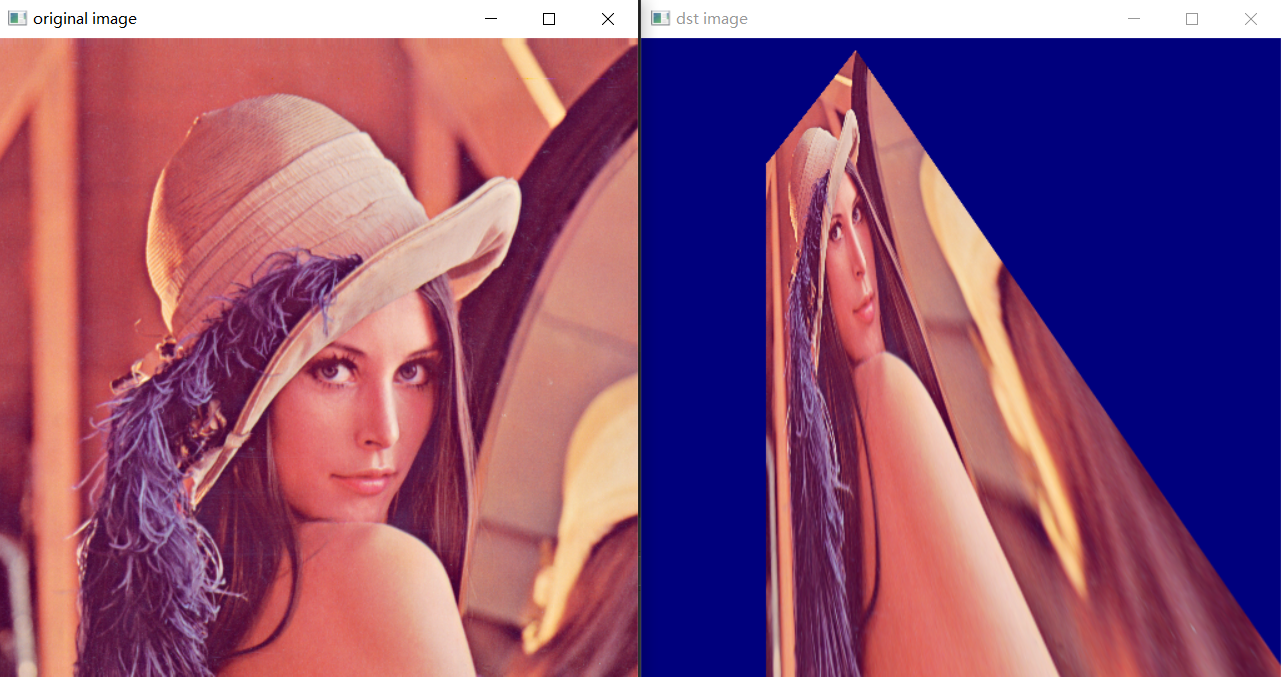
Recommend
About Joyk
Aggregate valuable and interesting links.
Joyk means Joy of geeK