

ESPHome on the Raspberry Pi Pico!
source link: https://www.jeffgeerling.com/blog/2022/esphome-on-raspberry-pi-pico
Go to the source link to view the article. You can view the picture content, updated content and better typesetting reading experience. If the link is broken, please click the button below to view the snapshot at that time.

ESPHome on the Raspberry Pi Pico!
June 15, 2022
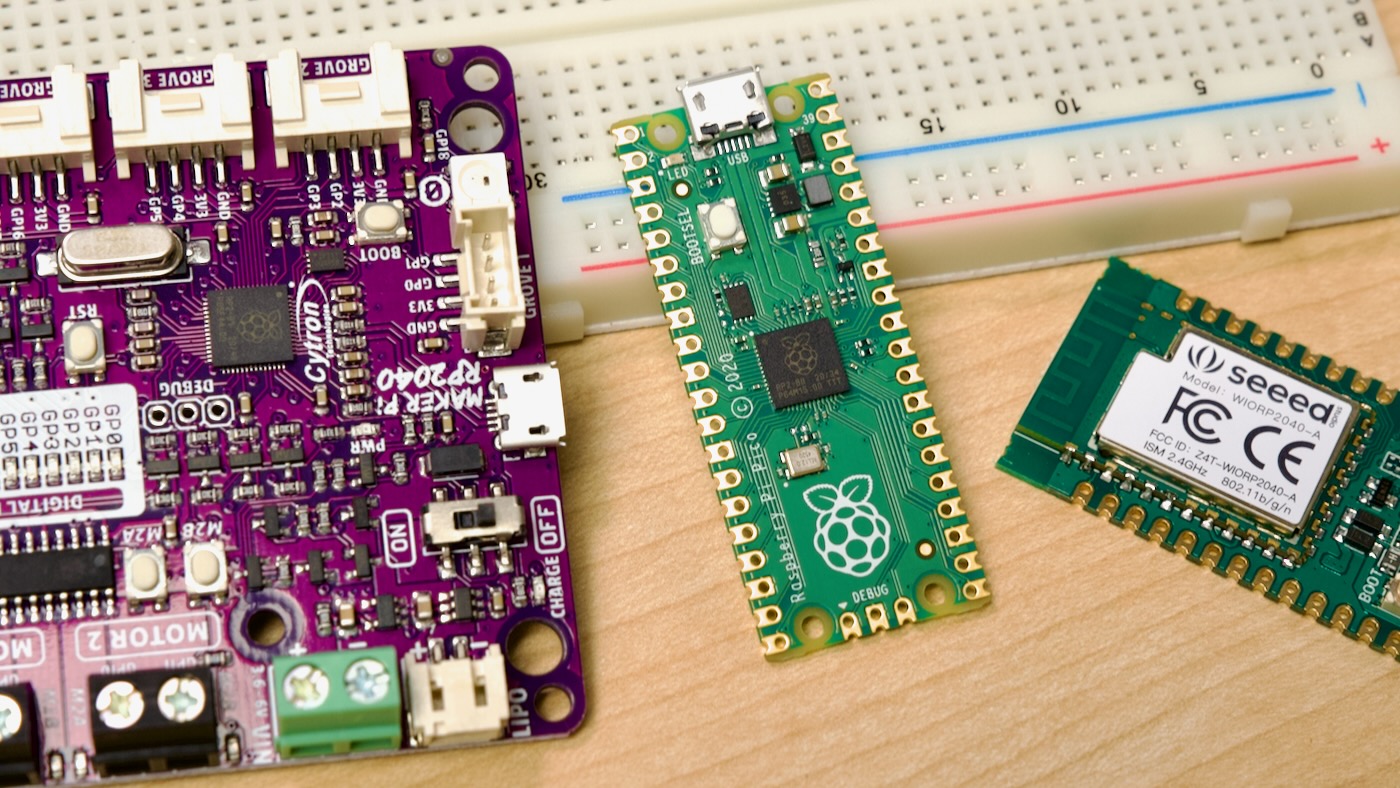
A couple weeks ago, I glanced through my ever-growing collection of Raspberry Pi RP2040-based boards—pictured above are three of the boards I've tested: a Cytron Maker Pi RP2040, a Raspberry Pi Pico, and a Seeed Studio Wio RP2040.
I'm not an expert in embedded programming by any means, but I've played with Arduinos, the ESP8266, and Raspberry Pi's RP2040—all of which are great for building little low-power home sensors to integrate into my Home Assistant Yellow...
But doing so requires a bit of programming work in MicroPython or C, and while it's not rocket science, the more I've seen of ESPHome and how you basically set up YAML files to flash your devices, the more I've been jealous of how easy ESP[8266/32] users have it.
So I was digging around, and I found there's actually a PR to add support for the RP2040 platform to ESPHome!
Naturally, I took it for a spin, and to my surprise—after working with the author to get some library versions updated so they'd run on my M1 Mac—basic functionality worked perfectly!
Hopefully the work is merged into ESPHome soon (along with WiFi support for boards like the WIORP2040 that support it), but for now, if you want to test out ESPHome on a Raspberry Pi Pico or another RP2040 device, here's how:
- Make sure you have Python 3 installed on your computer (check ESPHome's guide for instructions.
- If you already have ESPHome installed on your computer, uninstall it for now.
- Use
pip3's source install feature to install from the pull request fork:pip3 install git+https://github.com/jesserockz/esphome.git@rp2040 - Make sure the install is working correctly with
esphome version. That should return something like2022.7.0-dev.
For my Pico, just to make sure everything was working end-to-end, I created the following ESPHome config and named it led-blink.yml:
esphome:
  name: rpi-pico

rp2040:
  board: pico

output:
  - platform: gpio
    pin:
      number: 25
      mode: output
    id: LED

interval:
  - interval: 500ms
    then:
      - output.turn_on: LED
      - delay: 250ms
      - output.turn_off: LED
Hold down the BOOTSEL button on your Pico as you plug it into your computer using a USB cable, and it should mount on your computer with a volume label like "RPI-RP2".
Run the following command to compile the led-blink configuration and flash it to the Pico:
$ esphome run led-blink.yml --device /Volumes/RPI-RP2
(That was how I ran it on my Mac—if you're on Linux or Windows, the path for the USB volume will be different.)
After about 30 seconds, the firmware was uploaded, and my Pico began blinking—all built with a single YAML configuration with ESPHome!
Recommend
About Joyk
Aggregate valuable and interesting links.
Joyk means Joy of geeK