
11

使用Ubuntu+apache设置带验证的http服务器
source link: https://divertingpan.github.io/post/hSTbmTIdu/
Go to the source link to view the article. You can view the picture content, updated content and better typesetting reading experience. If the link is broken, please click the button below to view the snapshot at that time.

安装apache2
sudo apt-get update
sudo apt-get install apache2
apache2安装成功后,我们可以在/var/www/目录下看到一个html文件夹
重启apache2
sudo /etc/init.d/apache2 restart
使用同一局域网的设备登录ubuntu的ip地址就能访问到此页面了
需要在/var/www/html目录下建立一个文件夹快捷方式(需要在网页上显示的文件的目录)
sudo ln -sf /home/your/source_file whatever_file
使用http://192.168.88.88/whatever_file可访问该文件夹了
创建密码文件
sudo htpasswd -c /etc/apache2/.htpasswd your_login_name
之后会提示要求输入设定的密码和再次re-type一遍密码。
如果我们查看文件的内容,我们可以看到每条记录的用户名和加密的密码:
cat /etc/apache2/.htpasswd
>>>your_login_name:$apr1$.0CAabqX$rb8lueIORA/p8UzGPYtGs/
配置Apache密码身份验证
对于我这种只用来访问一些个人文件的使用场景,只有我一个用户,所以不用考虑多复杂的情况。直接用最简便的部署方法即可。
首先打开一个文件并且编辑
sudo gedit /etc/apache2/apache2.conf
找到下面这块内容,把AllowOverride后面的None改为All
<Directory /var/www/>
  Options Indexes FollowSymLinks
  AllowOverride All
  Require all granted
</Directory>
完成后保存并关闭文件。
第二步打开这个文件
sudo gedit /var/www/html/.htaccess
把下面的内容复制粘贴进去并保存
AuthType Basic
AuthName "Restricted Content"
AuthUserFile /etc/apache2/.htpasswd
Require valid-user
之后重启apache2
sudo systemctl restart apache2
确认密码验证
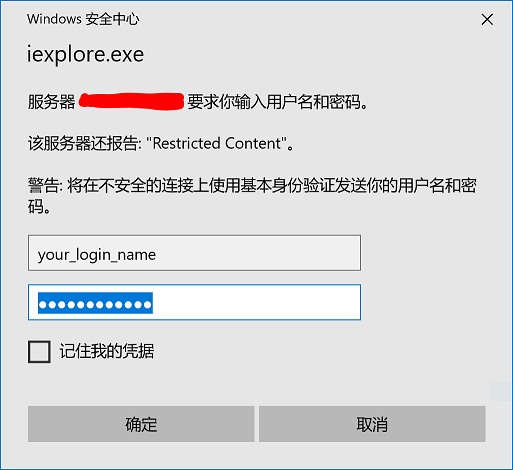
这之后再访问http://192.168.88.88就需要输入用户名和密码了
Recommend
About Joyk
Aggregate valuable and interesting links.
Joyk means Joy of geeK