

Processing Images in Java With OpenCV and Quarkus
source link: https://dzone.com/articles/processing-images-in-java-with-opencv-and-quarkus
Go to the source link to view the article. You can view the picture content, updated content and better typesetting reading experience. If the link is broken, please click the button below to view the snapshot at that time.

Processing Images in Java With OpenCV and Quarkus
Process and edit your images.
Join the DZone community and get the full member experience.
Join For FreeIf you are into computer vision, you probably are familiar with OpenCV. It's an amazing library that has almost everything one needs to do 2D and 3D processing and much more. Gesture recognition, face detection, Motion tracking, think of anything related to image processing and OpenCV can be your goto. It's based on the BSD license, so you can just download it and start using it.
OpenCV is written in C, and there are nice Java bindings for it too. If you are a Java developer like me and don't want to get into all the loading and building native bindings etc., then read on. In this article, I will show how you can use OpenCV with the popular new framework Quarkus, without worrying about installing libraries or reloading the entire app.
Quarkus is a container-first, Kubernetes native framework that was started by Red Hat, and it focuses purely on Developer Joy. The fun part IMHO is the live coding feature, which we will see in our app. I don't really need to keep on building and reloading my app, even though it uses JNI, and I can just simply keep chugging along and coding with ease. I just love this! It makes life simpler.
Setting Up
Assuming you have a working Java environment, that would mean a Java runtime, a Maven or Gradle system for the build, you might be thinking that you need to download the OpenCV libraries for JNI to work, etc., well guess what — you don't need to! The Quarkus OpenCV extension will take care of it. Quarkus extensions are a way of enabling more functionality to the core Quarkus framework. Quarkiverse is the hub that holds all extensions. So if you are looking for a nice framework to generate docs, or fuzzy search with hibernate-search or Amazon services integration, etc. Well, take a look for yourself here.
Okay, so we are going to use the Quarkus-OpenCV extension. To do this we will first create a simple Java client project from code.quarkus.io.
There are a couple of ways to get started. One could just head over to code.quarkus.io and create a project there or run a local maven command or use the Quarkus CLI. I am going to take the approach that I am most well known too. Let's start with maven.
<1> mvn io.quarkus.platform:quarkus-maven-plugin:2.7.5.Final:create \
                    -DprojectGroupId=org.acme \
                    -DprojectArtifactId=getting-started \
                    -Dextensions="resteasy"

<2> cd getting-started

<3> ./mvnw quarkus:add-extension -Dextensions="io.quarkiverse.opencv:quarkus-opencv"- <1> Here, we download the starter project from code.quarkus.io. The project name is
getting-started. - <2> I am changing the directory into the newly created project.
- <3> And finally I am also adding the OpenCV extension from Quarkiverse to our project.
Perfect now we should have a project to get to work. Let's open it up in an IDE. Then, let's check the pom.xml that it has the right dependencies. If you are following this along, make sure the following is the list of dependencies in the pom.xml.
<dependencies>
    <dependency>
      <groupId>io.quarkus</groupId>
      <artifactId>quarkus-arc</artifactId>
    </dependency>
    <dependency>
      <groupId>io.quarkiverse.opencv</groupId>
      <artifactId>quarkus-opencv</artifactId>
      <version>LATEST</version>
    </dependency>
    <dependency>
      <groupId>io.quarkus</groupId>
      <artifactId>quarkus-junit5</artifactId>
      <scope>test</scope>
    </dependency>
    <dependency>
      <groupId>io.rest-assured</groupId>
      <artifactId>rest-assured</artifactId>
      <scope>test</scope>
    </dependency>
  </dependencies>
Next, since I have removed the rest-easy dependency, I shall also remove the REST endpoint in org.acme.GreetingResource.java and the tests thereof.
Perfect, so now we have a clean project to get started.
Create the CLI Main
Quarkus provides the option to create command-line apps, and this is so cool since you can also compile these into native. We are just going to make a simple app for demo purposes in this blog. But if you are looking into creating some serious nirvana of CLI apps take a look at this guide at quarkus.io using picocli or JBang.
In my app, I try to keep it simple. Let's create the barebones QMain Class.
package org.acme;

import io.quarkus.runtime.QuarkusApplication;
import io.quarkus.runtime.annotations.QuarkusMain;

@QuarkusMain
public class QMain implements QuarkusApplication {

    @Override
    public int run(String... args) throws Exception {
        // TODO Auto-generated method stub
        return 0;
    }
}
I am now going to run this app in a terminal, and the command should initiate a livecoding session as the app is started.
Initiate Live Coding
~/demos/getting-started mvn quarkus:dev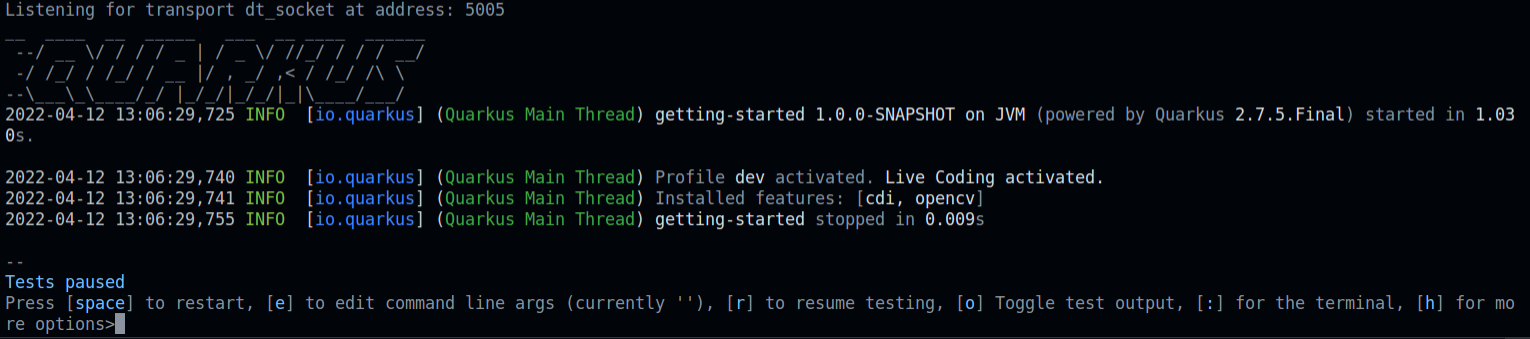
So what’s live coding? Well just keep on coding, don't worry about restarting your app, or adding new dependencies and config, or rebuilding. etc. You just don't need to restart the app every time! (*almost)
I am going to leave the terminal running and get back to coding in QMain.
I am going to add two class-level properties, one to read an image from and the second to save an image to. Quarkus via the Microprofile APIs provides the @ConfigProperty. This enables me to inject config properties into my app. Here is how I do it.
    // Set these in your application.properties
    @ConfigProperty(name = "cli.sourceImagePath")
    String testImage;

    // Set these in your application.properties
    @ConfigProperty(name = "cli.targetImagePath")
    String targetImage;
And in my application.properties, I add the path to these files
cli.sourceImagePath=images/testImage.jpg
cli.targetImagePath=images/testImageDetected-output.jpg
One is the cli.sourceImagePath. This has to be present in order for it to be processed. And the cli.targetImagePath doesn't need to be present since I will save the image there. In my case, I added the images to the root of my project, hence the path images/
Load and Save images
Now back to QMain. I am going to add the save and load methods for these paths.
/**
* Loading the image
*/
public Mat loadImage(String imagePath) {
Imgcodecs imageCodecs = new Imgcodecs();
return imageCodecs.imread(imagePath);
}
/**
* Save the image to the targetPath
*/
public void saveImage(Mat imageMatrix, String targetPath) {
Imgcodecs imgcodecs = new Imgcodecs();
imgcodecs.imwrite(targetPath, imageMatrix);
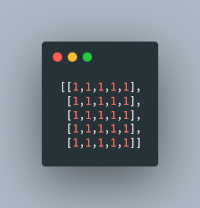
}Mat has two parts — the Image headers and the data matrix. The header is constant, but the size of the matrix will depend on the image. Mat is used to load the images from a path, and Mat forms the basic construct for us to perform operations on the image.
Defining the Filter Interface
And to make multiple Filters to process images, I am going to define an interface that takes Mat as a source, processes it, and then returns Mat. This way, I can apply multiple filters to an image before I save them.
package org.acme;

import org.opencv.core.Mat;

public interface Filter {

    public Mat process(Mat src);

}
Connecting the Dots
And finally, let's try to connect the structure by adding the methods calls to the QMain’s run method and spark some joy!
    @Override
    public int run(String... args) throws Exception {
        Mat m = loadImage(testImage);

        saveImage(m, targetImage);
        return 0;
    }
All I do above is load the image and save the image. No processing yet. How do you test that? Remember the terminal where we ran mvn quarkus:dev. Press space on that, and the program will just continue executing. How cool is that! No need to rebuild, all the config, the new classes, everything just worked. That's what sparks the Developer Joy! with Quarkus!
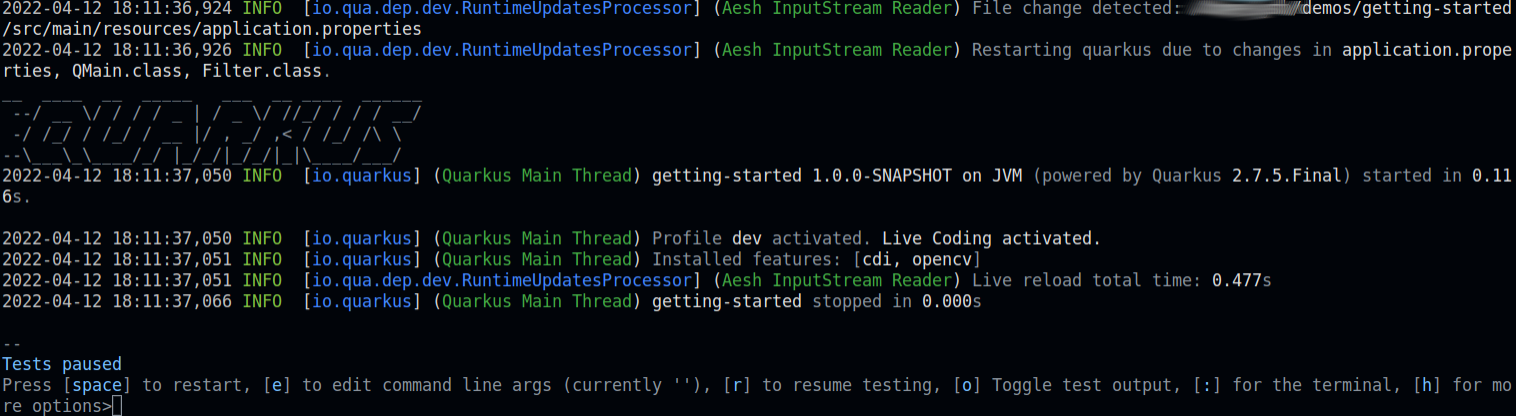
Check out the logs. It states File change detected for the application.properties. Morever, it lists the classes that have changed.
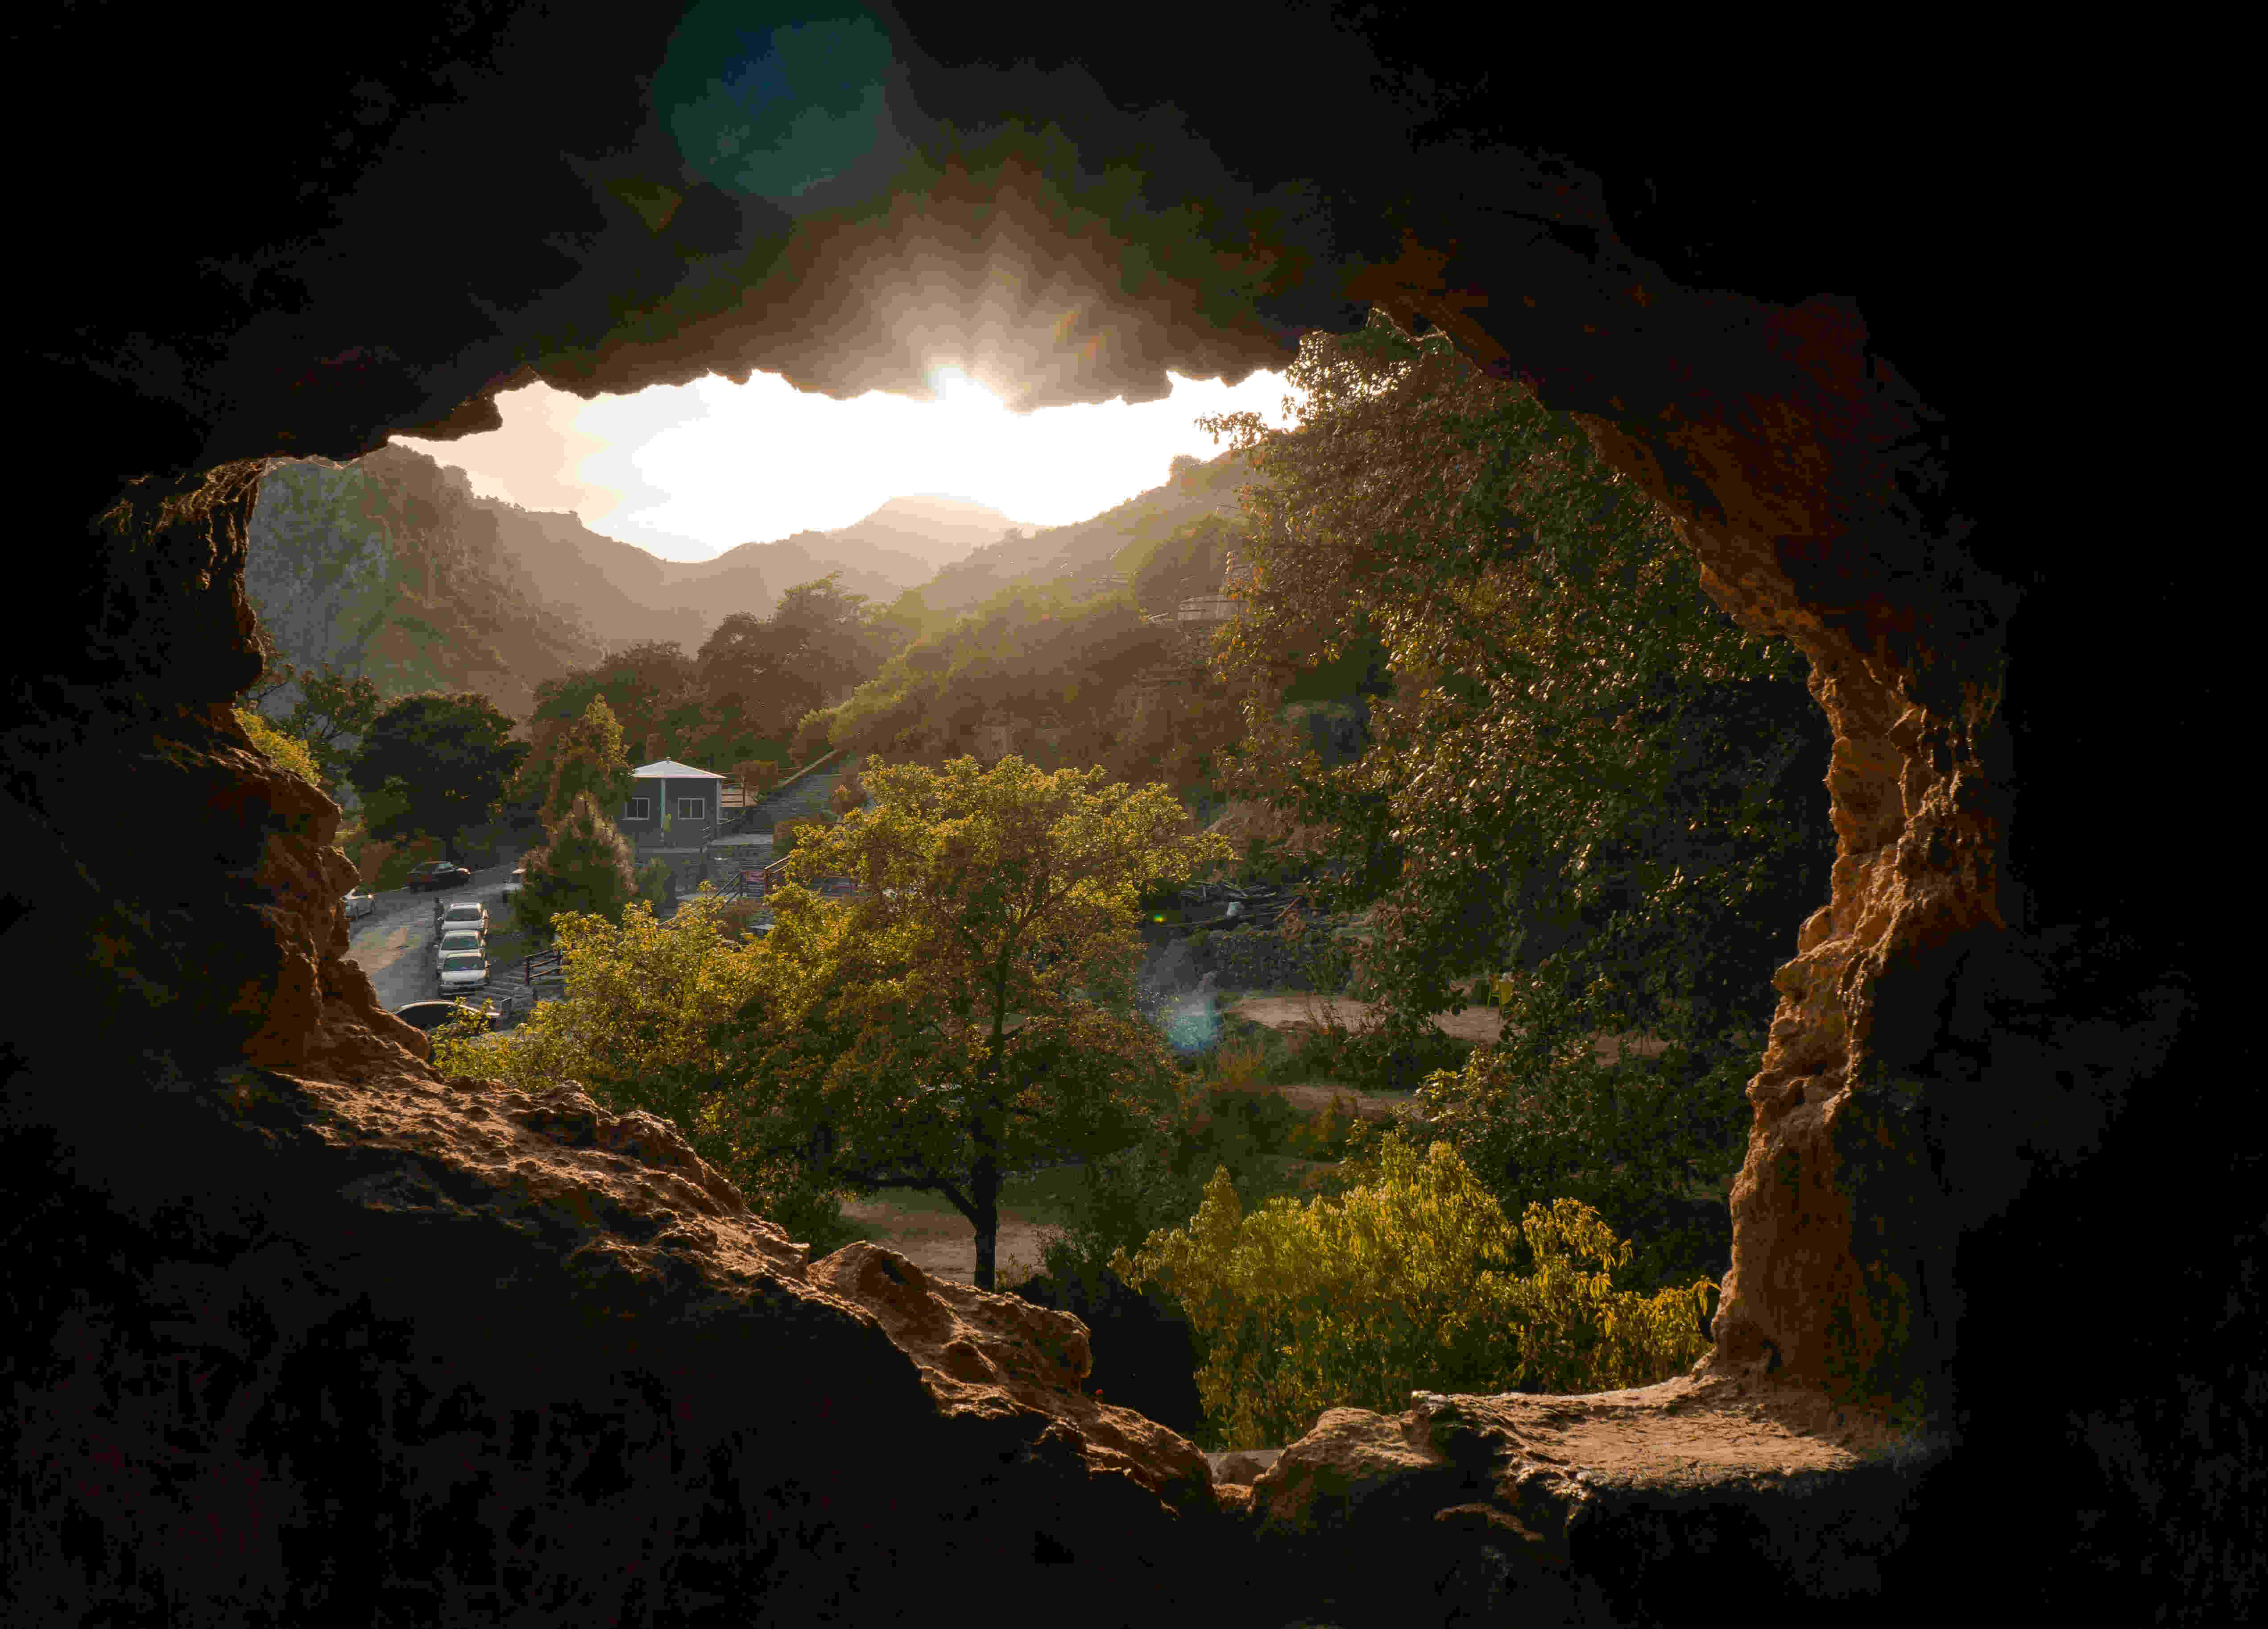
So what just happened? The Quarkus runtime just executed the CLI app, which means that if I go to cli.targetImagePath, I should see an image created there. At this point, it will look the same as the source image, since I haven't processed anything on it yet. Guess what? That's exactly what I plan to do now.
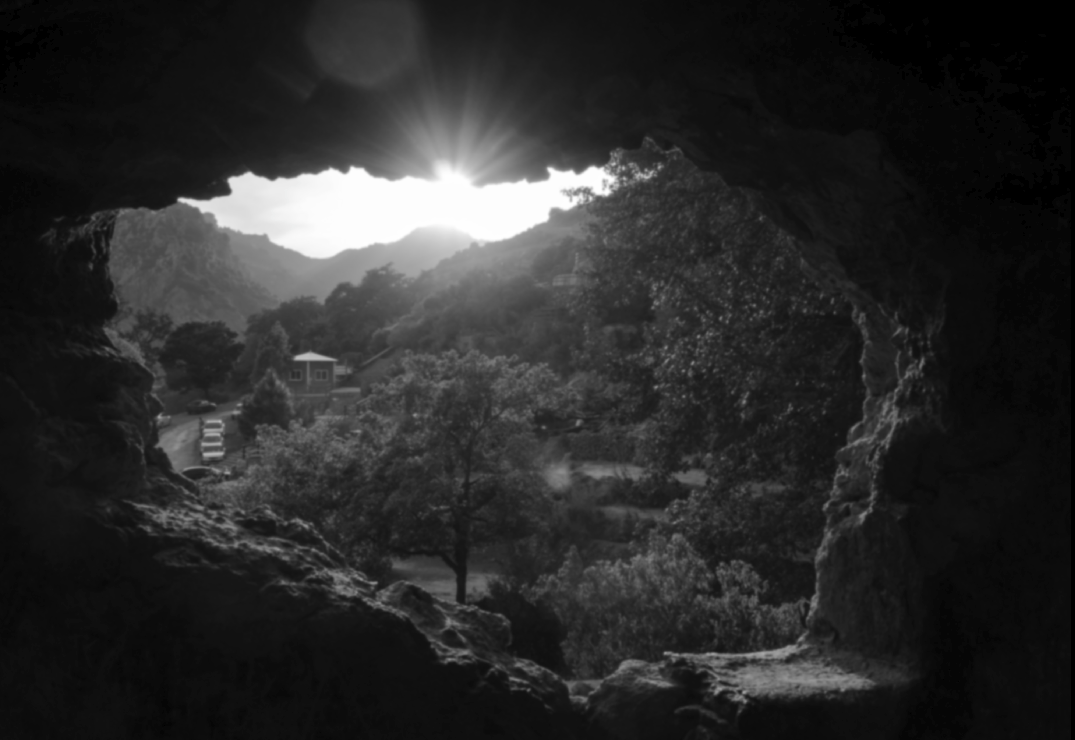
Moving on, the image I am using today is provided by Shuttergames on Unsplash.
Gaussian Blur
The first filter I create is a GaussianBlur filter. It's a low-pass filter meaning that it attenuates higher frequency signals. The overall visual effect would be a smooth blur.
package org.acme;

import org.opencv.core.Mat;
import org.opencv.core.Size;
import org.opencv.imgproc.Imgproc;

public class GaussianBlur implements Filter {

    @Override
    public Mat process(Mat src) {

        if(src != null) {
            int MAX_KERNEL_LENGTH = 45;
            Mat dst = new Mat();
            for (int i = 1; i < MAX_KERNEL_LENGTH; i = i + 2) {
                Imgproc.GaussianBlur(src, dst, new Size(i, i), 0, 0);
            }
            return dst;
        }

        else throw new IllegalArgumentException("Looking for Mat nothing found!, try passing org.opencv.core.Mat to process");
    }
}
Above, we define a kernel size. The kernel is a matrix that defines how an anchored pixel and its surrounding pixels are changed based on the function provided.
The kernels will define the size of the convolution, the weights, and an anchor point positioned at the center. The process method takes a Mat object applies the GuassianBlur filter with the kernel size and finally returns the Mat object back.
RGB2Grey
Adding the following to the run method in QMain lets me call my Filter.
    @Override
    public int run(String... args) throws Exception {
        Mat m = loadImage(testImage);

        m = new GaussianBlur().process(m);

        saveImage(m, targetImage);
        return 0;
    }
Perfect, now if I press the space bar again on the terminal, it should execute all my changes, resulting in the blur as shown below. The blur is smooth, almost as if it's been overlayed with a lens.

Next, let's make another filter. This time, how about I make the image Grey. To do that, OpenCV already provides a simple function. Again, I am using the Filter interface for this, hence passing a Mat and receiving one back.
package org.acme;

import org.opencv.core.Mat;
import org.opencv.imgproc.Imgproc;


public class RGB2Grey implements Filter{

    @Override
    public Mat process(Mat src) {
        if(src != null) {
            Mat dst = src;
            Imgproc.cvtColor(src, dst, Imgproc.COLOR_RGB2GRAY);
            return dst;
        }
        else throw new IllegalArgumentException("Looking for Mat nothing found!, try passing org.opencv.core.Mat to process");
    }
}
The above code uses ImgProc, which provides the operation to move all pixels from RGB to Grey.
m = new RGB2Grey().process(m);Adding the above to my run method and pressing the space bar again in the terminal should execute all my changes again. And voila! I have a gray-tone image.
I hope you enjoyed this run-through on how to use Quarkus and OpenCV together. For more examples take a look at the GitHub repo with code examples.
Recommend
About Joyk
Aggregate valuable and interesting links.
Joyk means Joy of geeK