

Webgoat靶场调试环境配置
source link: https://yanghaoi.github.io/2021/10/05/webgoat-ba-chang-diao-shi-huan-jing-pei-zhi/
Go to the source link to view the article. You can view the picture content, updated content and better typesetting reading experience. If the link is broken, please click the button below to view the snapshot at that time.

0x01 简介
选择IDEA作为源码调试工具,Webgoat作为漏洞分析的靶场。将项目源码下载到本地,使用IDEA调试模式编译运行Webgoat。
0x02 IEAD汉化配置
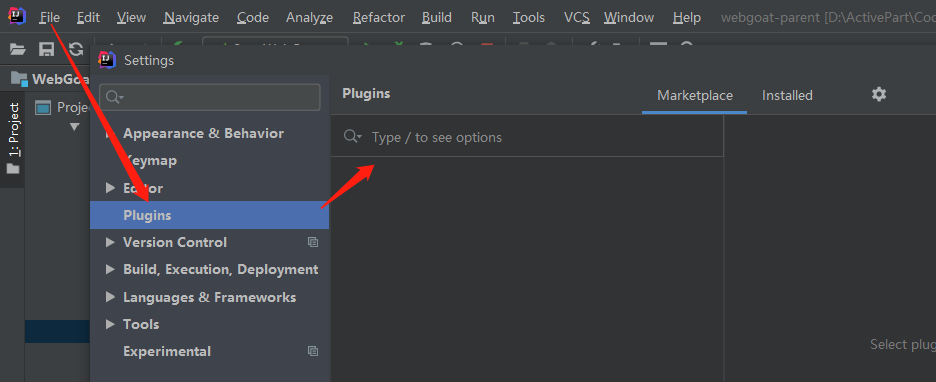
在安装好IDEA后,可使用插件进行汉化,提高后续的调试效率。在File-Setting-Plugins中搜索Chinese插件安装:
加载插件进行使用:
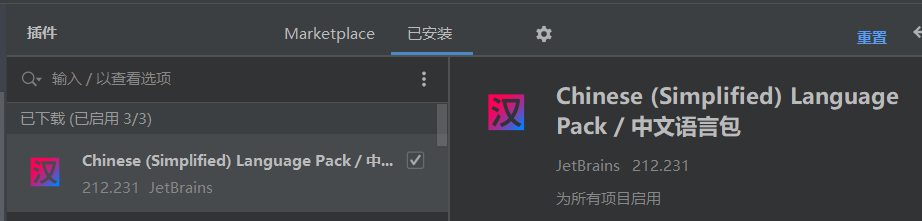
安装完成后重启软件,界面汉化成功:
0x03 WebGoat配置
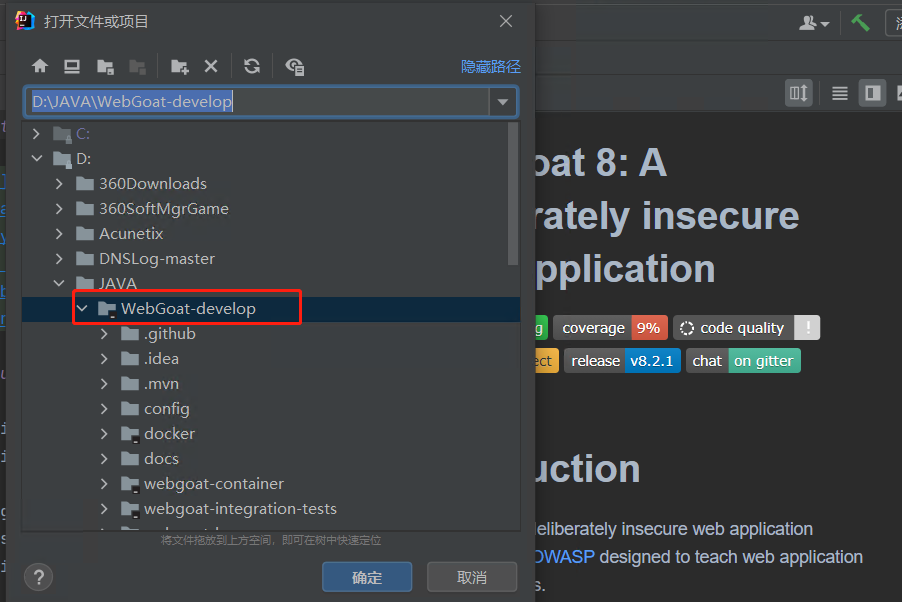
配置源码WebGoat-develop,用IDEA2021.2来导入项目(2021.2选择文件夹打开,然后手动配置;2019.3.2中可以选择导入项目自动配置。),mavn会自动下载依赖启动:
mavn仓库默认在海外,配置文件默认位置在C:\Users\<用户名>\.m2wrapper\dists\中,在setting.xml中配置国内阿里云加速仓库地址:
  <mirrors>
    <mirror>
        <id>alimaven</id>
        <name>aliyun maven</name>
<url>http://maven.aliyun.com/nexus/content/groups/public/</url>
        <mirrorOf>central</mirrorOf>
    </mirror>
    <mirror>
        <id>repo2</id>
        <name>repo2 maven</name>
        <url>http://repo2.maven.org/maven2</url>
        <mirrorOf>central</mirrorOf>
    </mirror>
  </mirrors>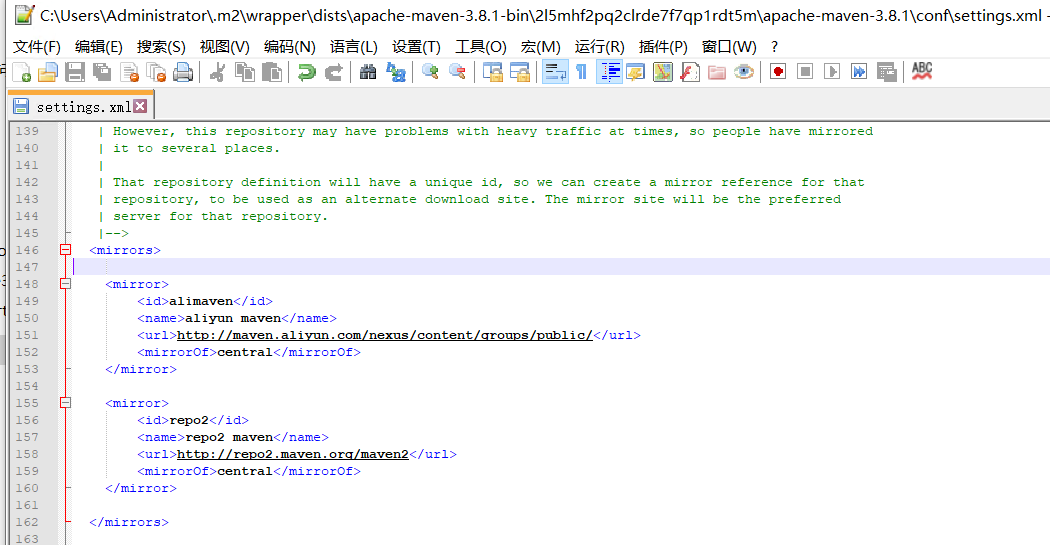
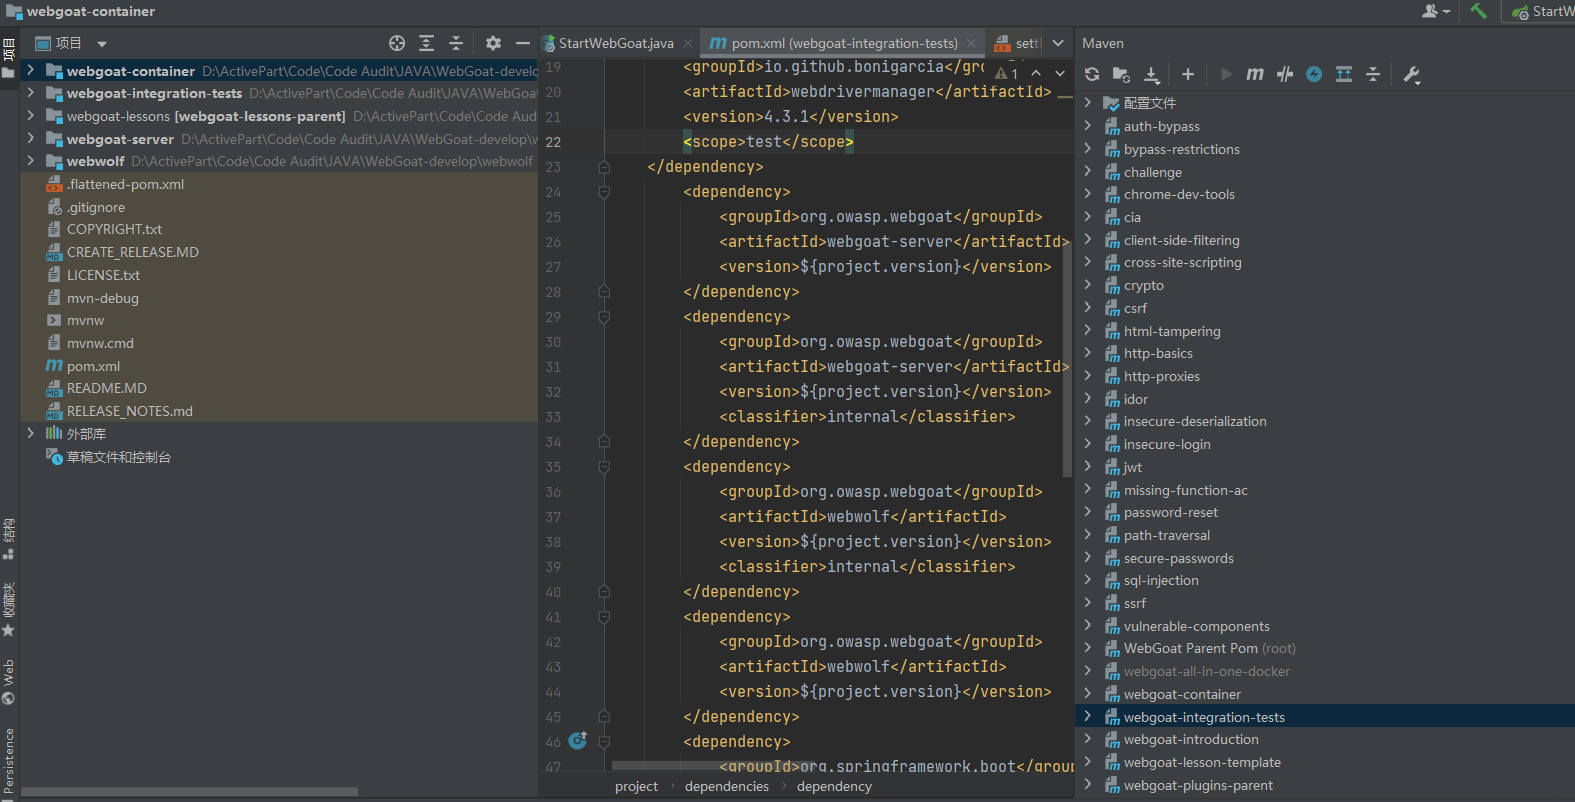
这个过程中可能会遇到包已经在仓库中存在但是mvn依赖报红,可以尝试关闭项目后,重新导入项目。最终效果:
0x04 JDK和热重载配置
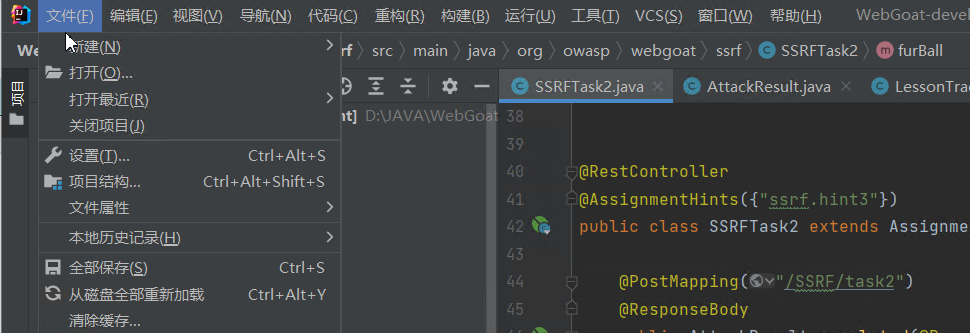
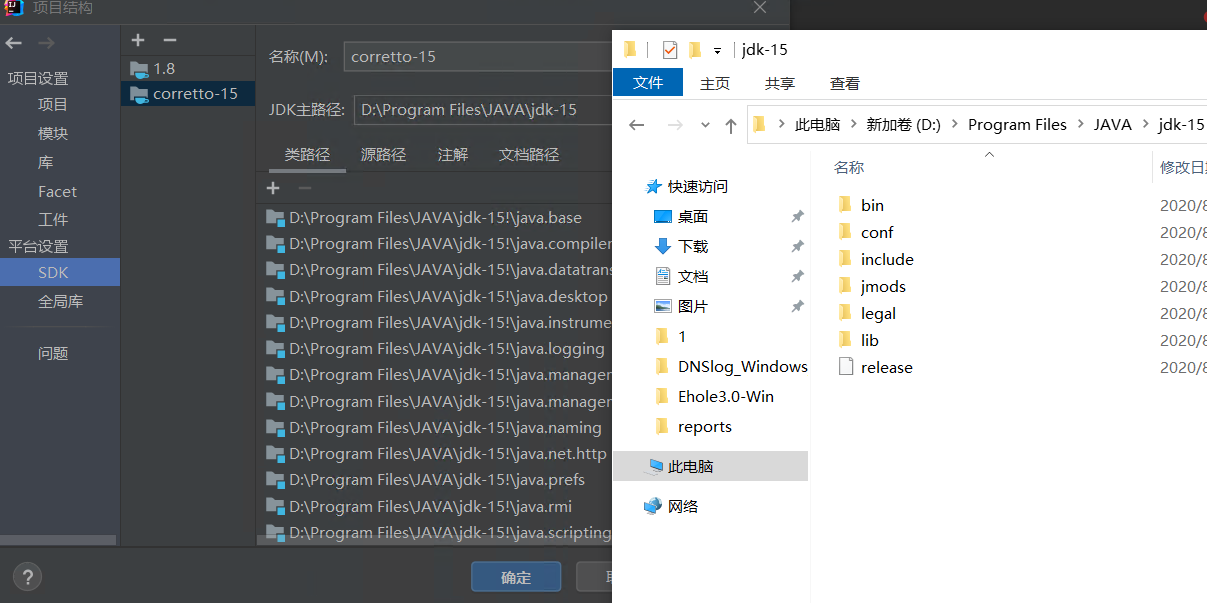
WebGoat需要使用JDK15来运行,在菜单”文件”-“项目结构”-“JDK”中配置版本为JDK15:
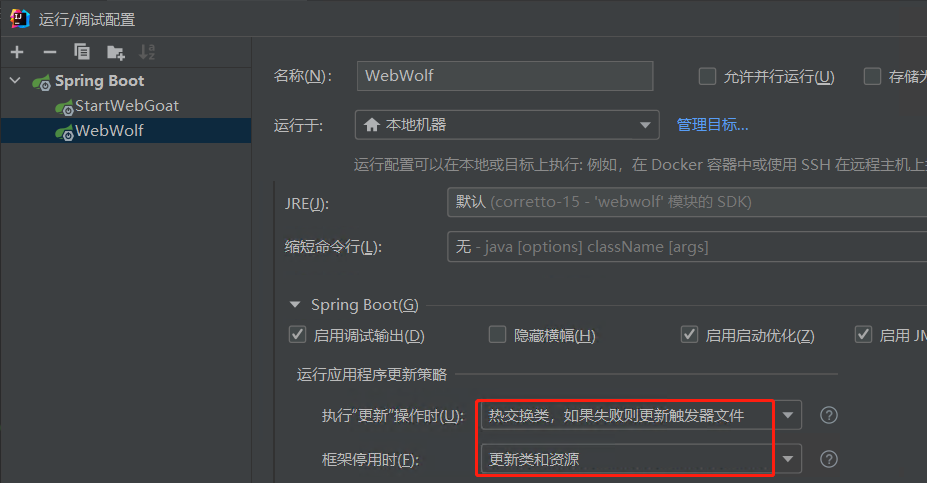
然后在左上角🔨图标配置菜单里选择编辑项目配置,添加一个Spring Boot配置,名称为StartWebGoat,主类org.owasp.webgoat.StartWebGoat,这一步可能输入了主类会报错,提示找不到main函数,要等idea扫描一下类,然后就自己好了:

同样配置webwolf(用来验证一些请求的服务,如SSRF之类的),下面记得设置下更新操作,用来在代码中增加语句后热重载:
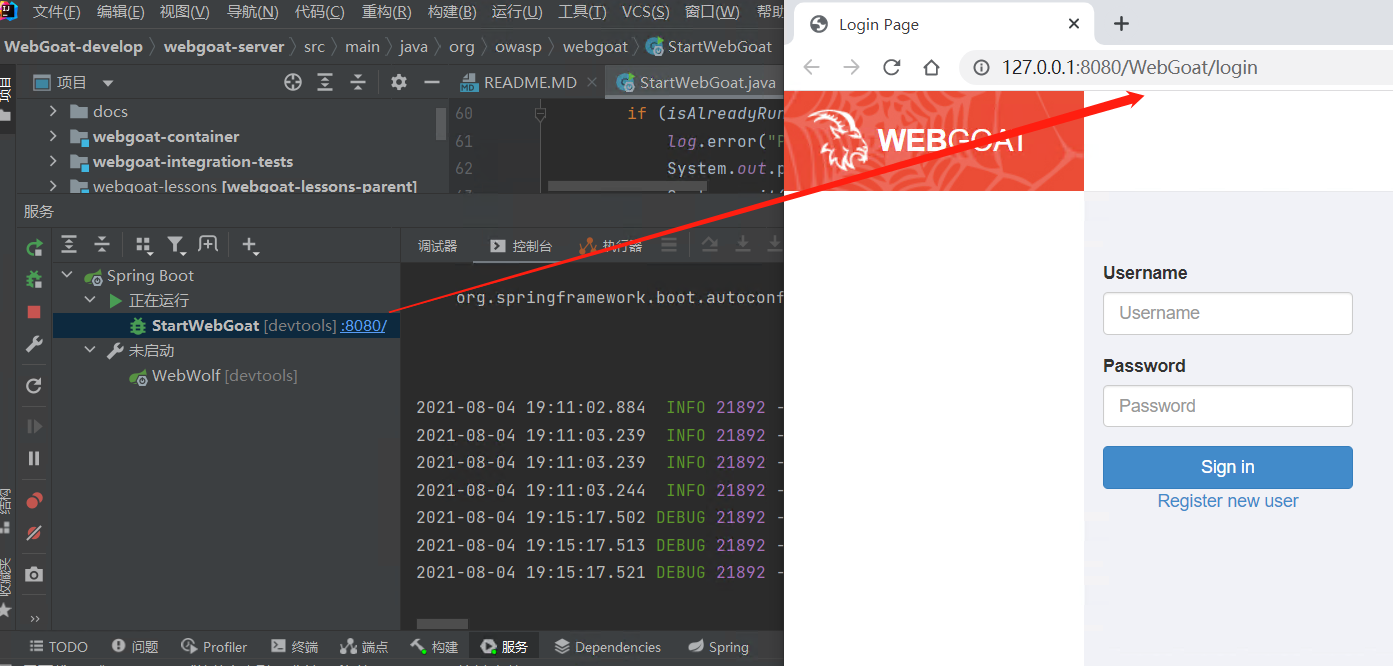
点击调试按钮,访问本地8080,程序已经运行起来了:
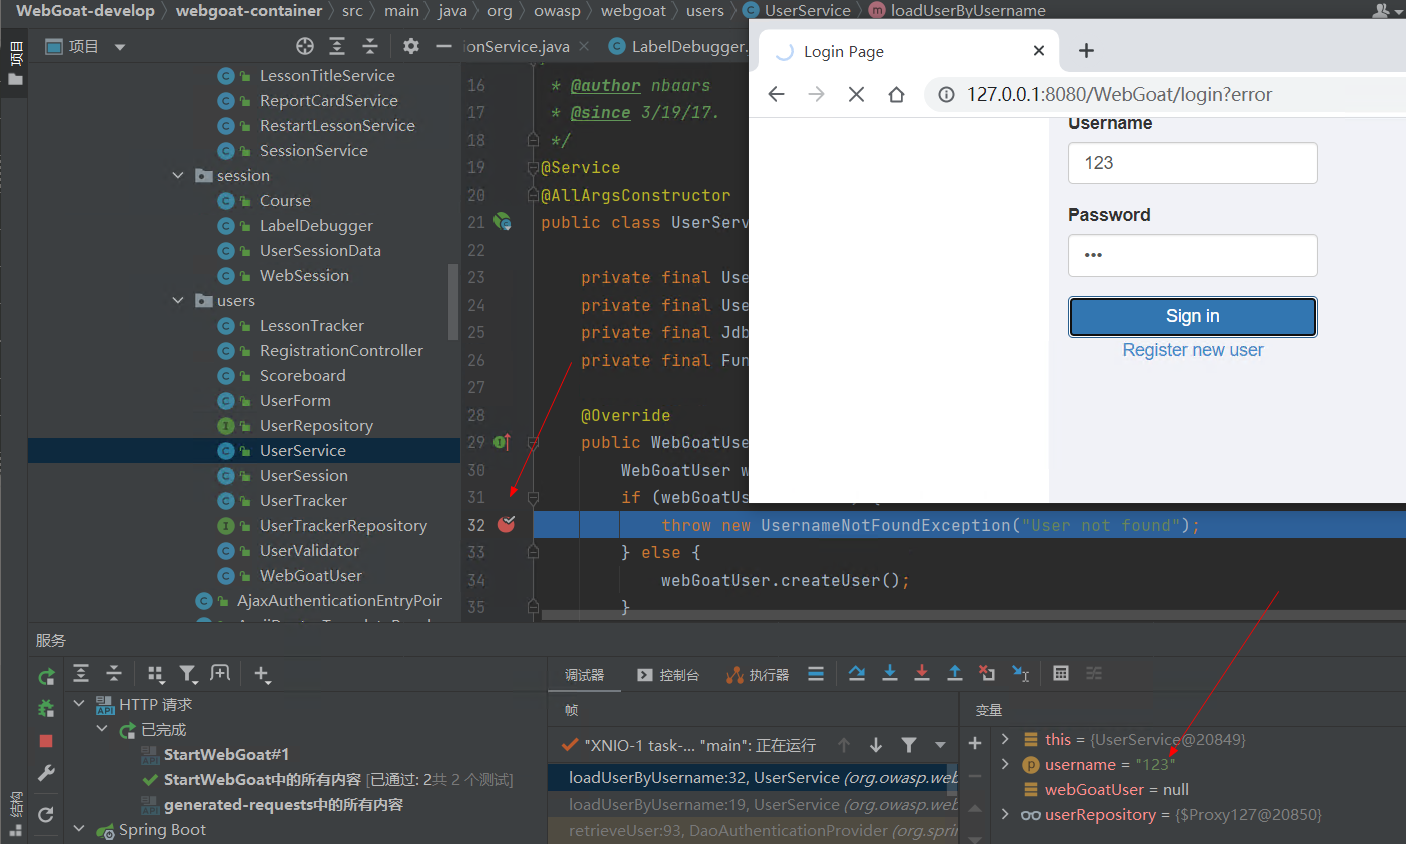
然后在src/main/java/org/owasp/webgoat/users/UserService.java中用户名检查断点,浏览器中登录,可以看到成功命中:
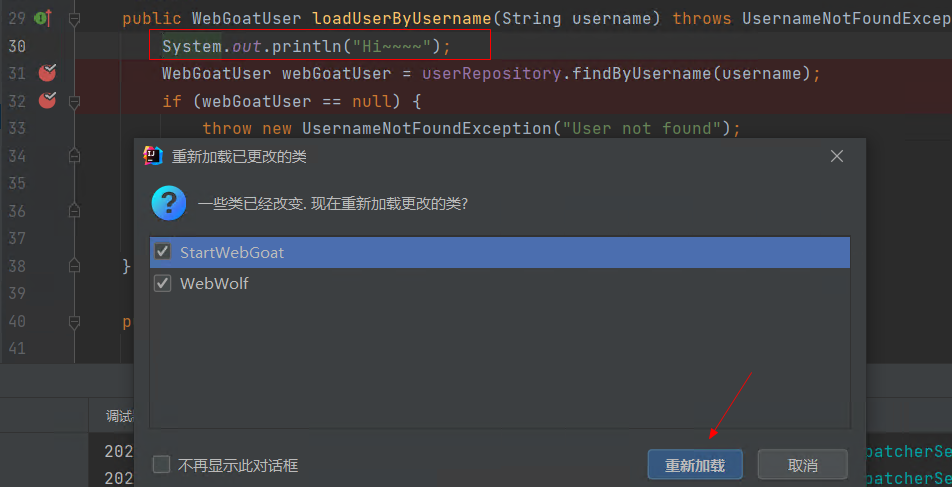
再试试热重载,加入一条打印语句,然后重载类:
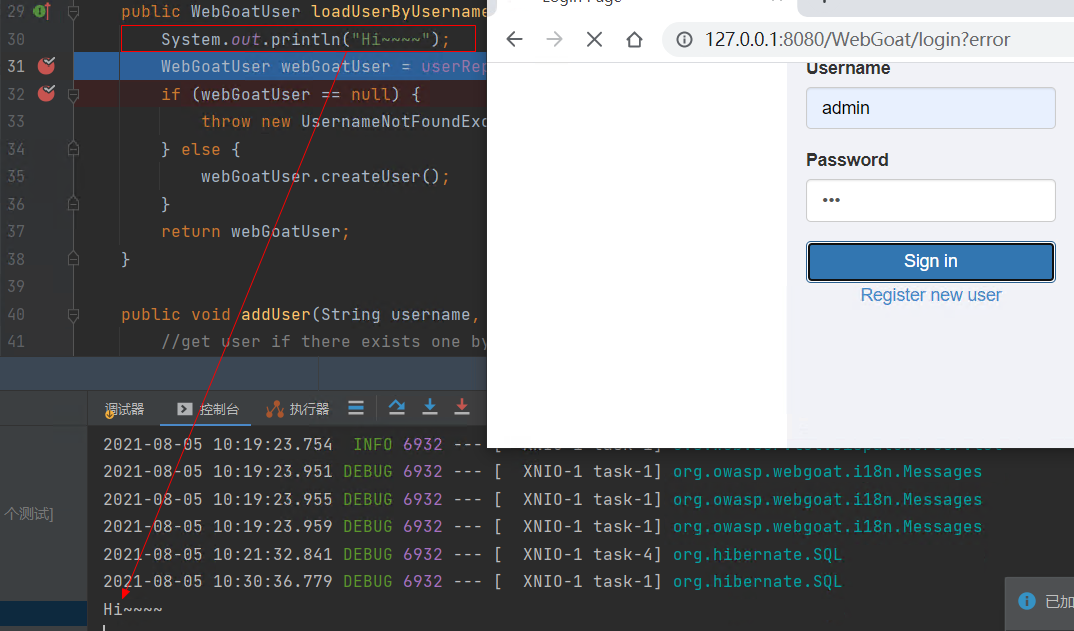
已经输出了调试语句:
0x04 Burp抓包配置
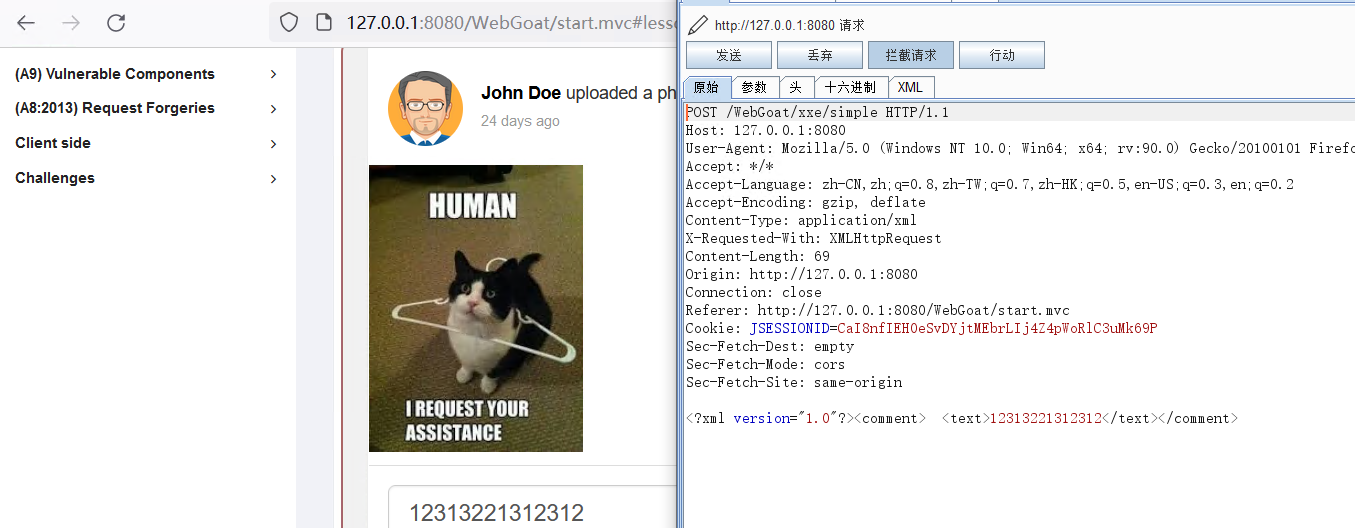
Webgoat为了安全只会在本地127.0.0.1开启靶场服务,使用burp抓包的时,在Google中没法对127.0.0.1抓包。可以使用Firefox设置本地代理,在地址栏输入about:config,然后搜索network.proxy.allow_hijacking_localhost,设置为True:

然后就可以在Burp中拦截数据包了:
0x05 源码打包
有时候可能有对源码进行修改后重新打包为JAR进行部署的需求,但是对源码进行 mvn clean install时会出现各种报错,如:
1.JDK版本错误
No compiler is provided in this environment. Perhaps you are running on a JRE rather than a JDK?
这是由于没有用正确的JDK版本构建出现的错误,可在cmd中设置正确的jdk位置,如set JAVA_HOME=D:\Program Files\JAVA\jdk-15,然后再执行mvn clean install。
2.UTF-8 序列的字节 1 无效
Failures:
[ERROR]   ContentTypeAssignmentTest.workingAttack:74 JSON path "$.feedback"
Expected: is "Congratulations. You have successfully completed the assignment."
     but: was "You are posting XML but there is no XXE attack performed"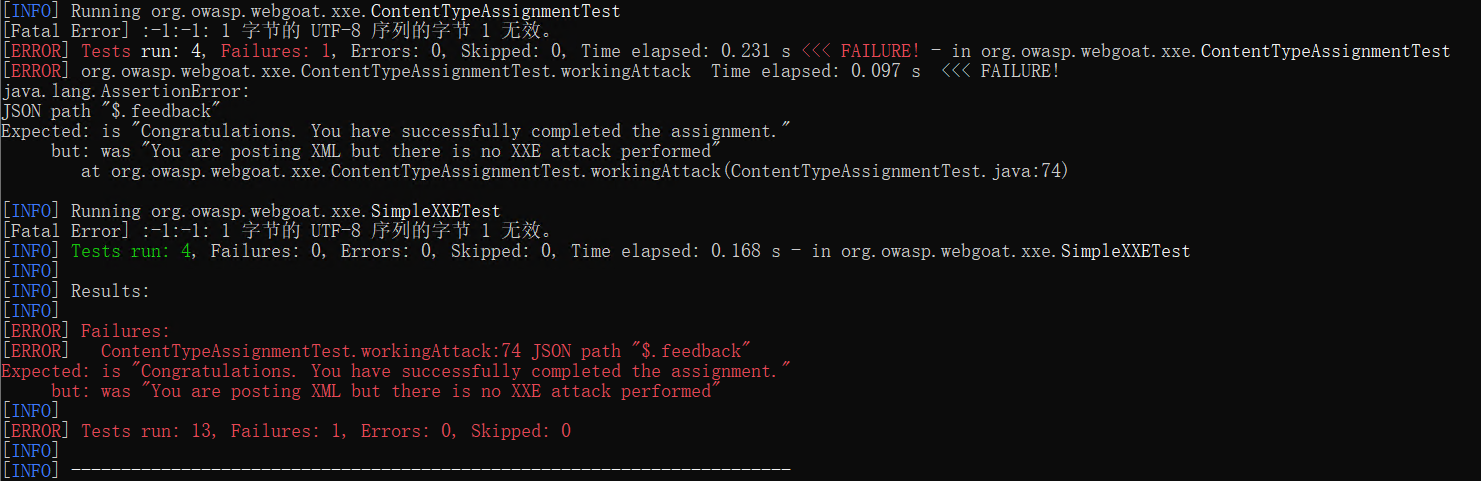
在测试模式中这个问题一直出现,也有相关的issues,关注后续的官方解决方案。因为这里是测试模式中的问题,所以可以在构建时跳过测试来绕过该问题:
// 跳过单元测试,但是会继续编译
mvn clean install -DskipTests
//不执行测试用例,也不编译测试用例类
mvn clean install -Dmaven.test.skip=true 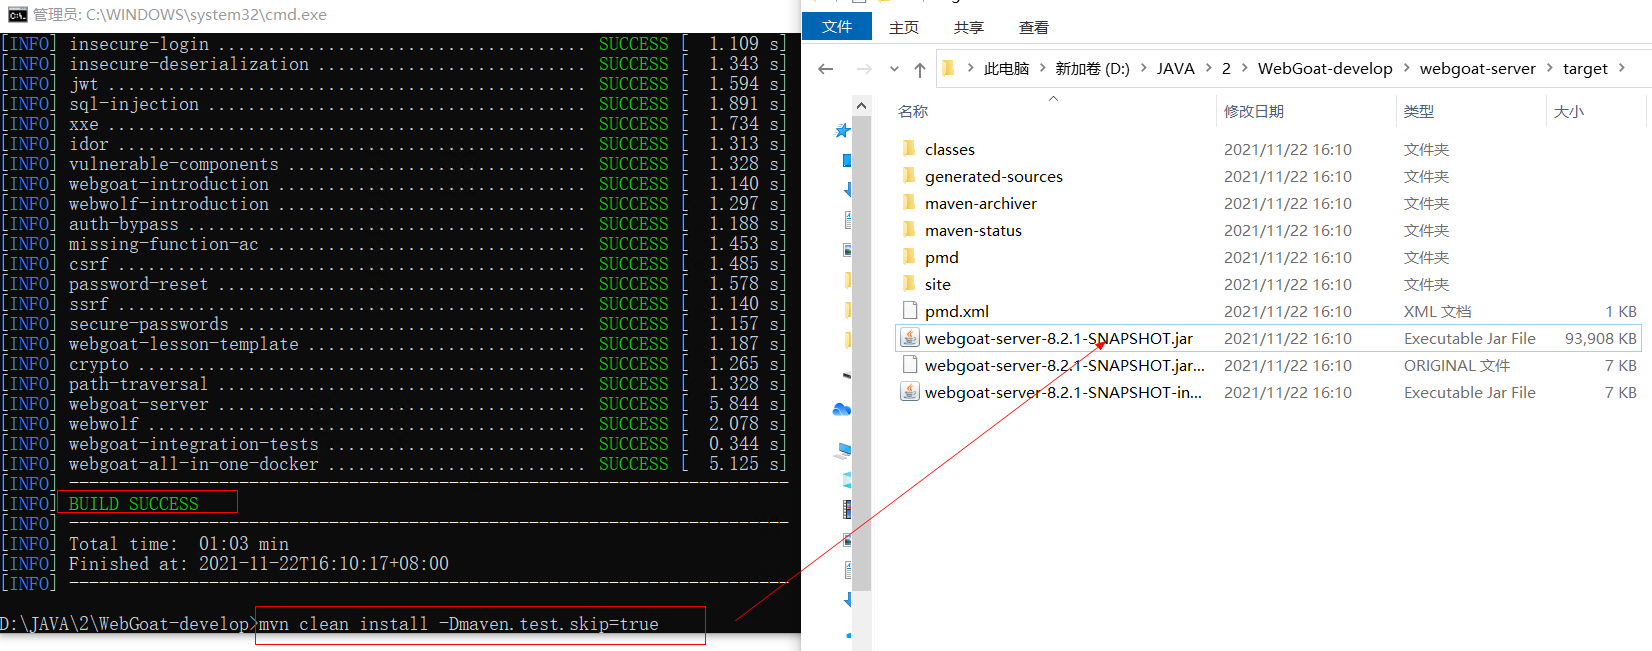
在IEDA中点击下图标即可跳过测试和联网更新(更新包非常慢,所以可以设置为脱机模式):
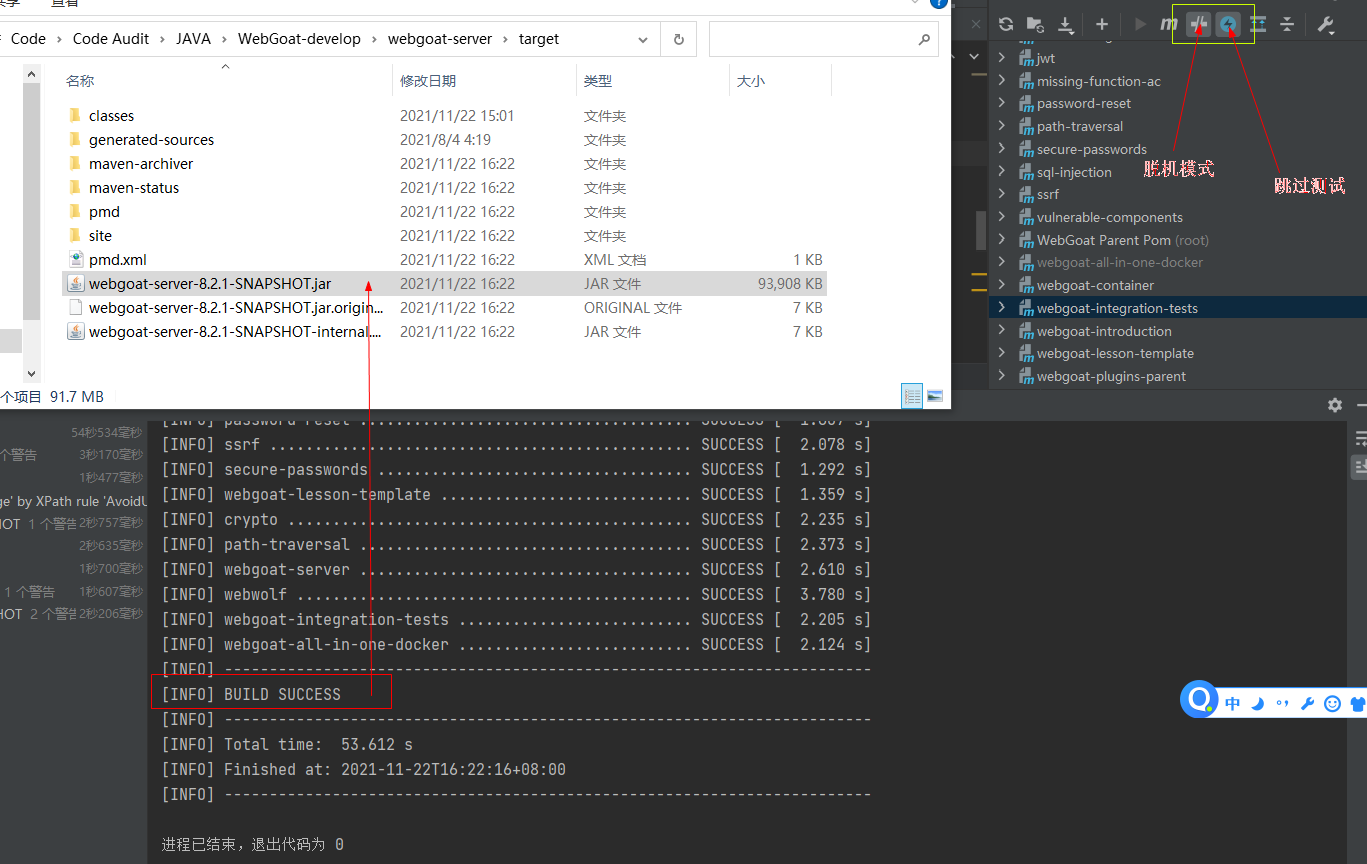
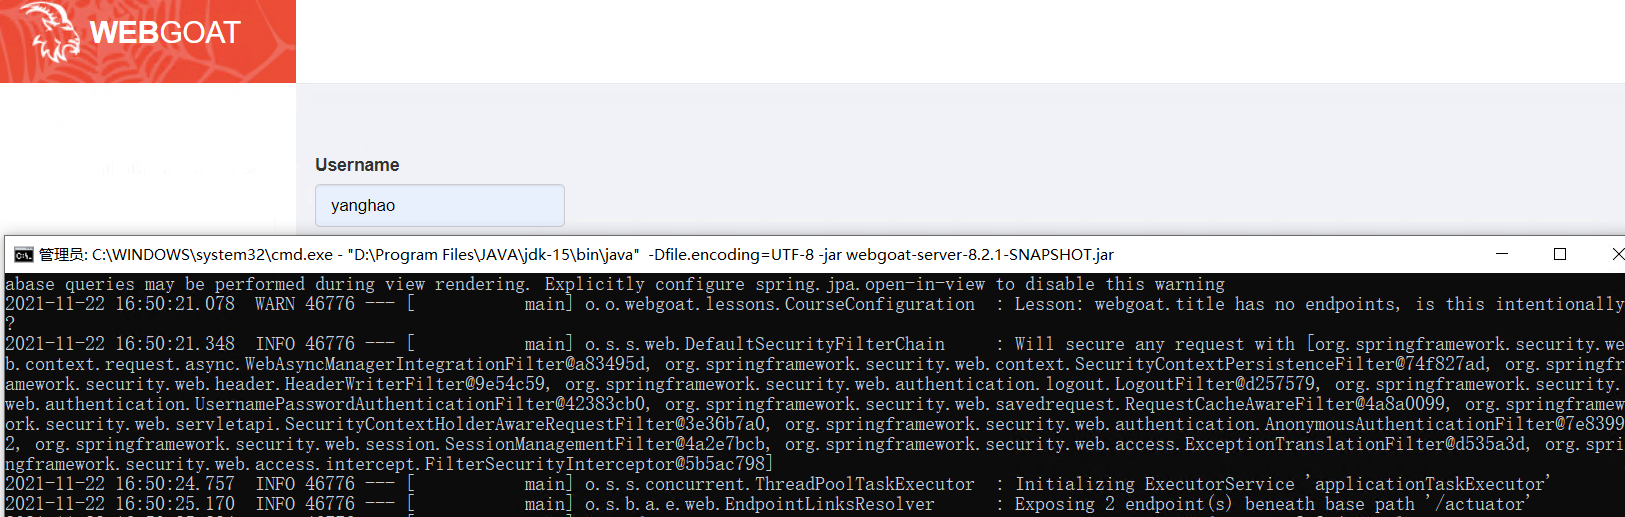
编译完成后的JAR包生成在目录webgoat-server/target中,使用 "D:\Program Files\JAVA\jdk-15\bin\java" -Dfile.encoding=UTF-8 -jar webgoat-server-8.2.1-SNAPSHOT.jar 启动:
0x06 参考链接
https://github.com/WebGoat/WebGoat
https://owasp.org/www-project-webgoat/
https://blog.csdn.net/Decline1/article/details/111591085
Recommend
About Joyk
Aggregate valuable and interesting links.
Joyk means Joy of geeK