

HarmonyOS手表Demo—定位套件之一
source link: https://os.51cto.com/article/706429.html
Go to the source link to view the article. You can view the picture content, updated content and better typesetting reading experience. If the link is broken, please click the button below to view the snapshot at that time.


在当今的软件开发中,一个完整移动应用功能的完善不仅需要用到大量的开源第三方组件,而且还需要由特定机构的云端技术服务提供支持,诸如游戏服务,推送服务等等。而在本期的知识分享中,笔者将循序渐进地给出一个定位服务Demo的完整创建过程,旨在帮助初学者们了解如何将云端服务融入一个应用的功能中。
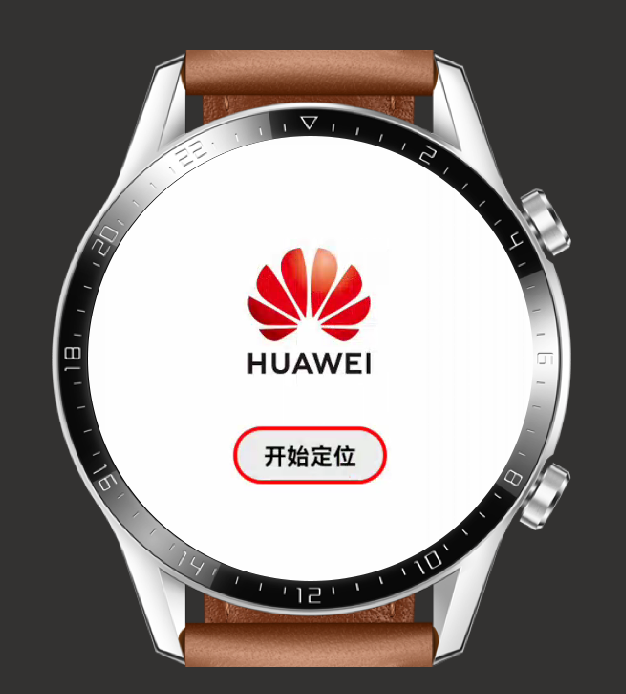
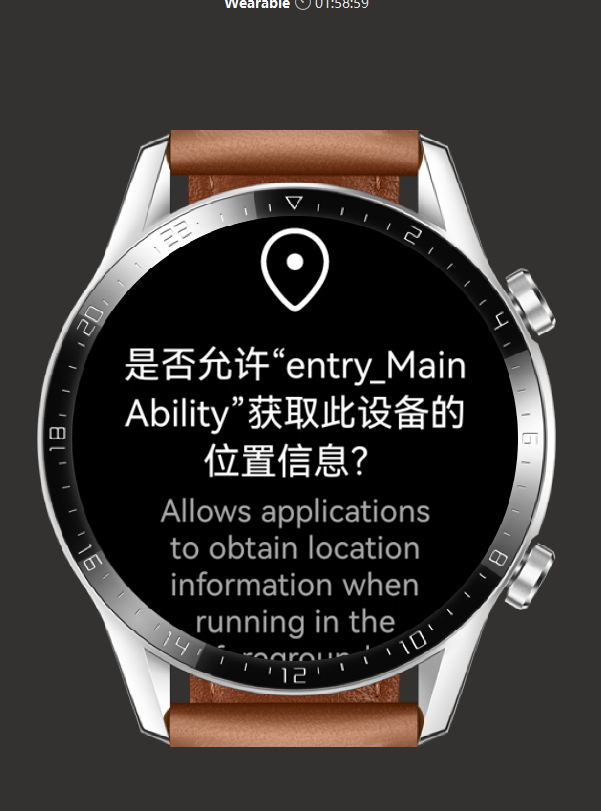
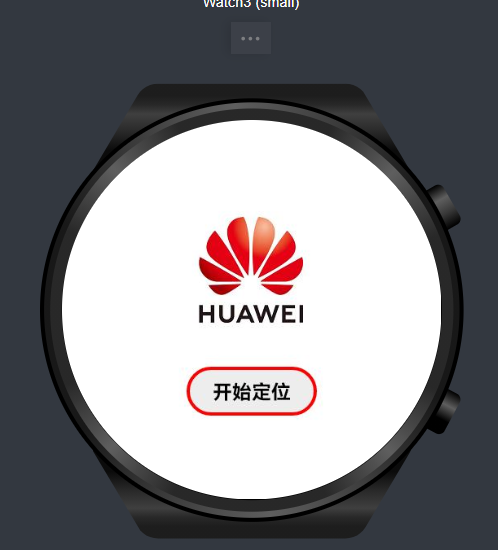
定位服务Demo的使用效果图如下:
话不多说,Let us begin our journey。
创建一个项目
打开DevEco Studio, 创建一个新项目,相关勾选如下:
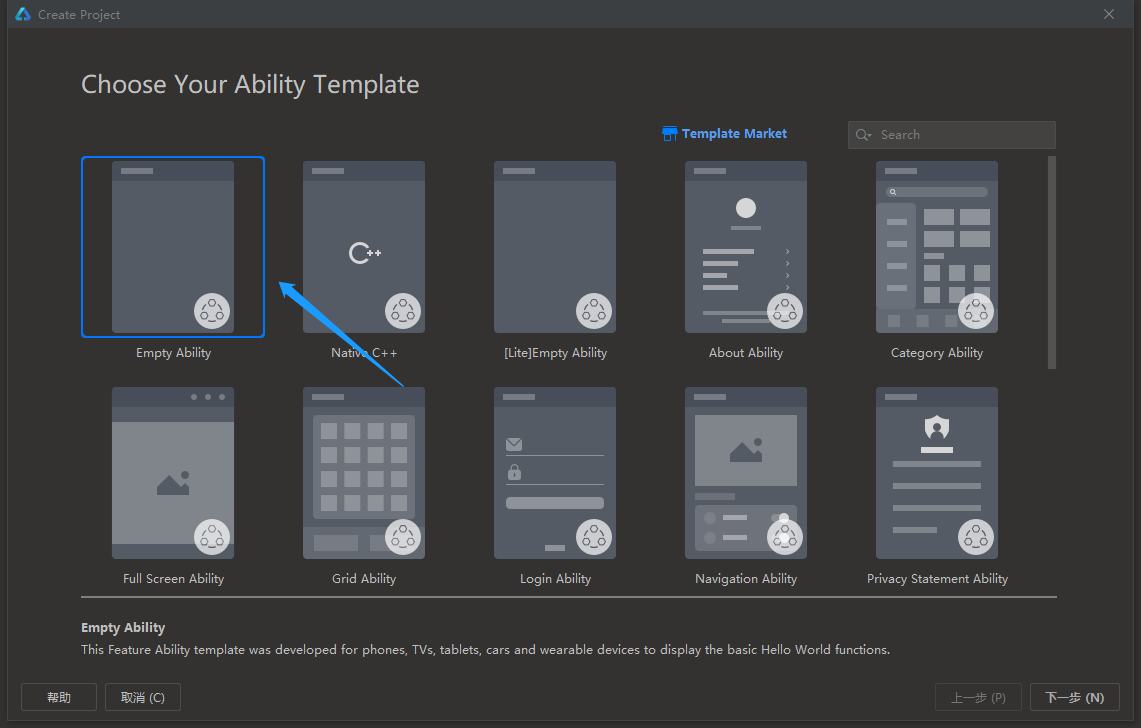
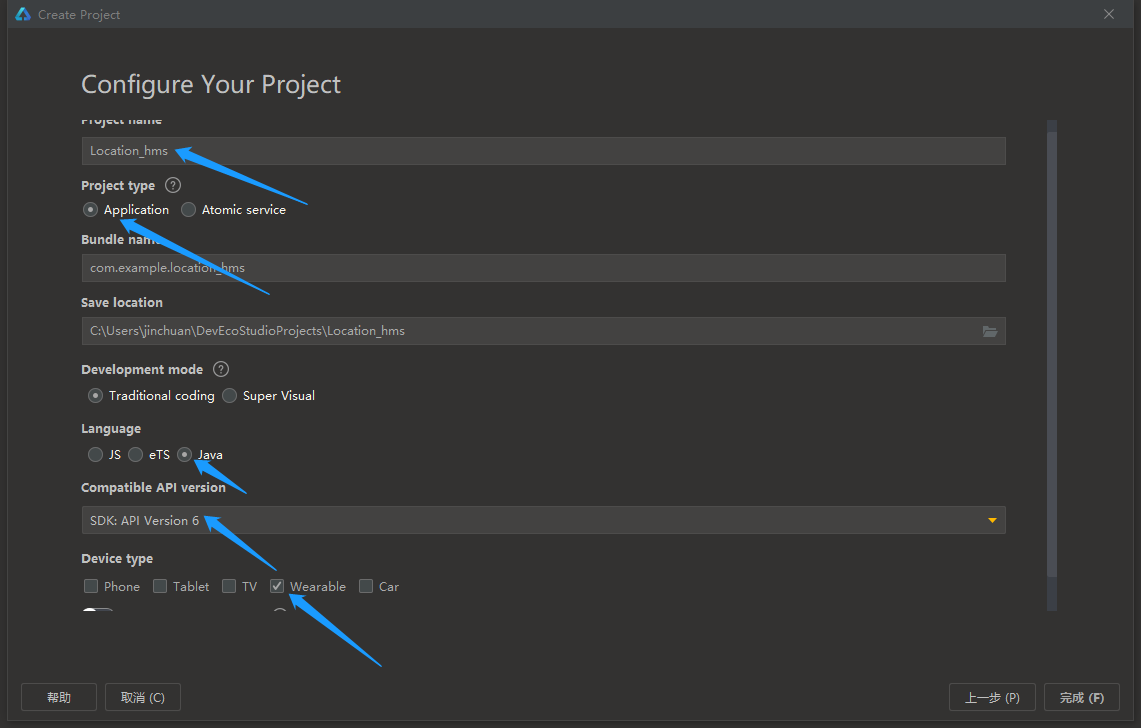
(提示:【1】包名可以自取,但尽量取复杂一点,这对后面的步骤有用; 【2】SDK一定要配置版本号为6的API,因为Wearable(智能穿戴)的模拟机仅支持此API)。
设计UI界面
(1) 我们需要制作的第一个UI界面如下:
首先,打开entry>src>main>resources>base>graphic>background_ability_main.xml,将代码修改为如下:
<?xml version="1.0" encoding="UTF-8" ?>
<shape xmlns:ohos="http://schemas.huawei.com/res/ohos"
       ohos:shape="rectangle">
    <corners
        ohos:radius="30"/>  //设置圆角
    <stroke
        ohos:width="4"
        ohos:color="red"/>  //设置边框的厚度与颜色
    <solid
        ohos:color="#EDEDED"/>  //设置背景色
</shape>
接着,我们将这张图片复制到剪切板上:

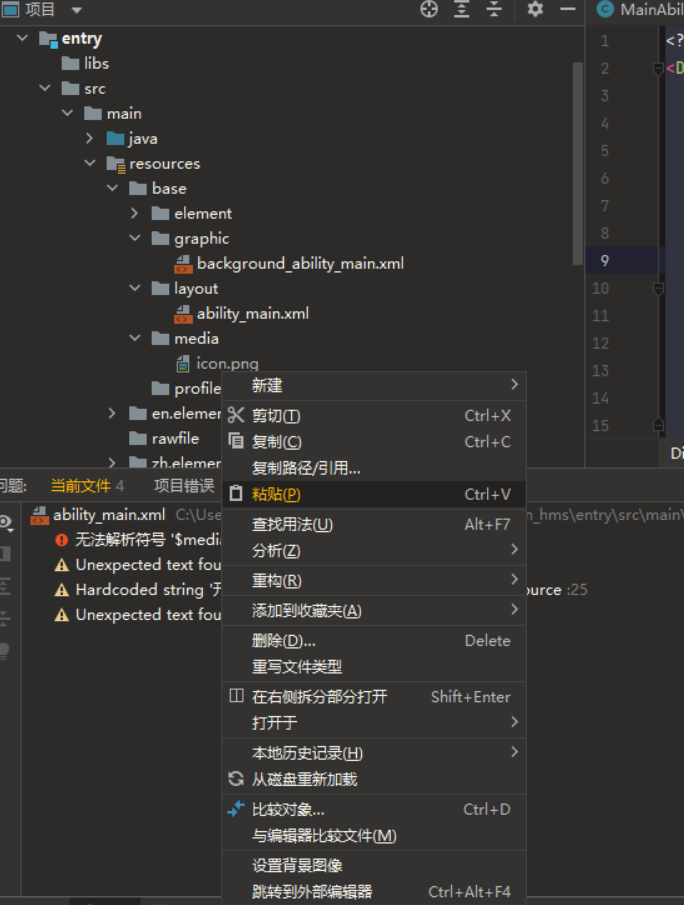
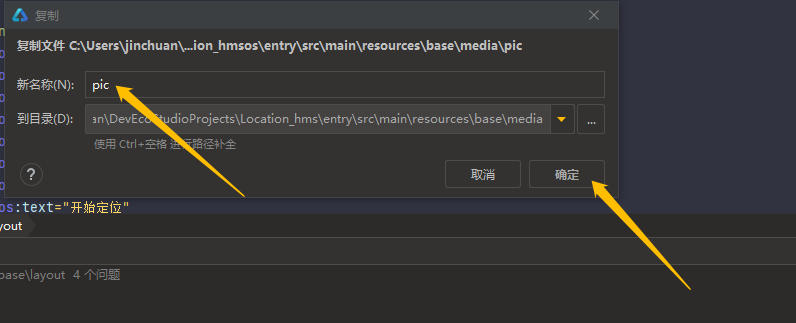
然后打开之前在IDE创建的项目,并打开entry>src>main>resources>base>media,右击icon.png并选择粘贴,之后将所粘贴的图片命名为pic。
最后,打开entry>src>main>resources>base>layout>ability_main.xml,将代码修改为如下:
<?xml version="1.0" encoding="utf-8"?>
<DirectionalLayout
    xmlns:ohos="http://schemas.huawei.com/res/ohos"
    ohos:height="match_parent"
    ohos:width="match_parent"
    ohos:alignment="center"
    ohos:orientation="vertical">
    <Image
        ohos:height="80vp"
        ohos:width="80vp"
        ohos:image_src="$media:pic"
        ohos:margin="10vp"
        />  //加入一个Image组件
    <Button
        ohos:id="$+id:bn1"
        ohos:height="30vp"
        ohos:width="80vp"
        ohos:background_element="$graphic:background_ability_main"
        ohos:text_color="black"
        ohos:text_weight="700"
        ohos:text_size="12vp"
        ohos:text="开始定位"
        ohos:margin="10vp"
        />   //加入一个Button组件
</DirectionalLayout>
第一个UI界面便设计完成了,打开Previewer可查看效果。
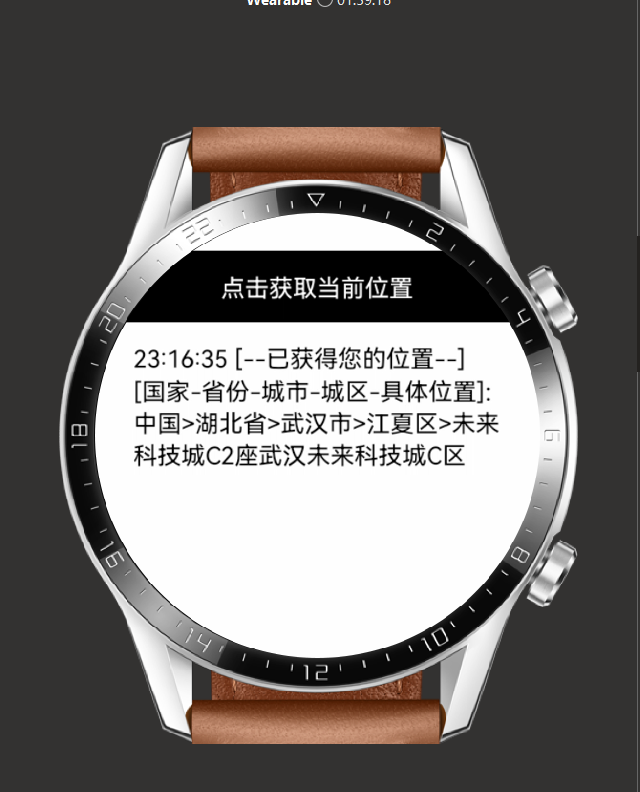
(2) 我们需要制作的第二个UI界面如下:

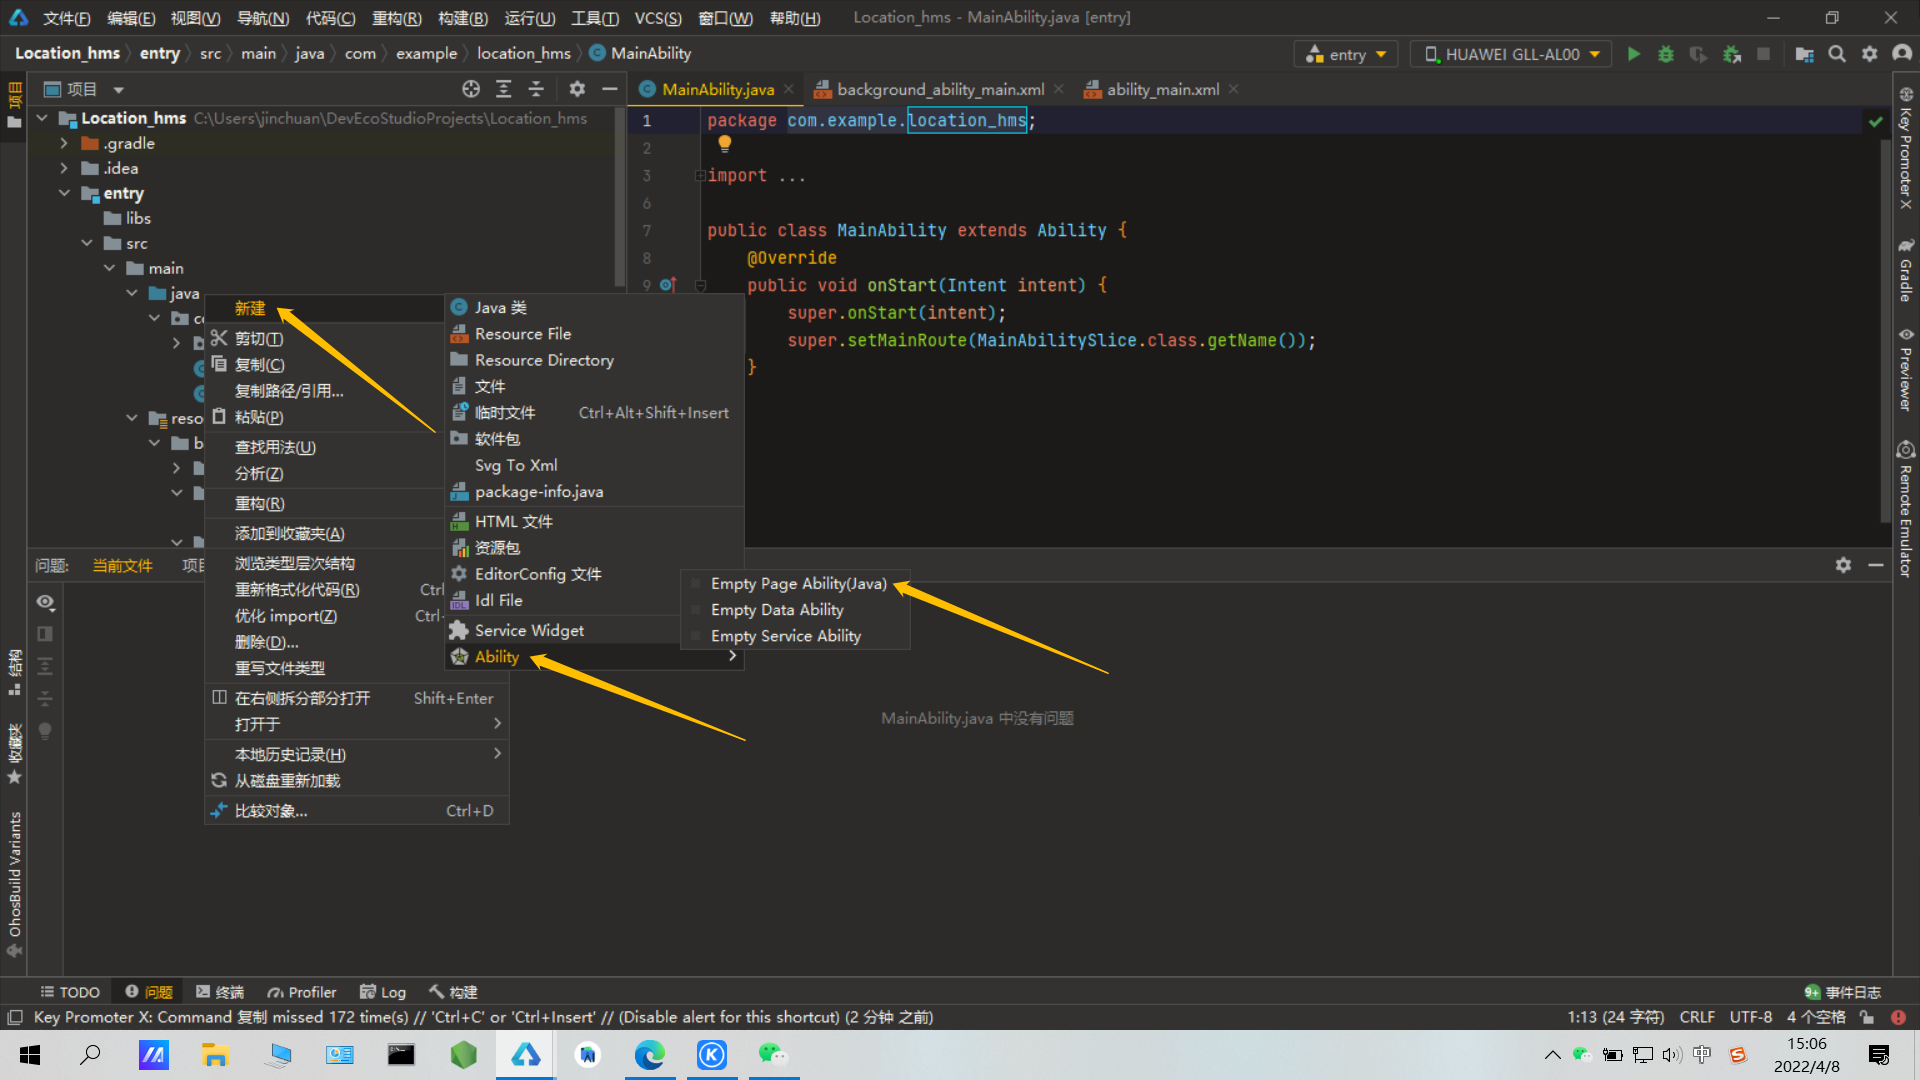
首先,我们需要创建一个新的Page Ability: 打开entry>src>main>Java>com.example.location_hms,右击MainAbility,选择并点击新建>Ability>Empty Page Ability(Java)。
之后,将新建的Page Ability命名如下:
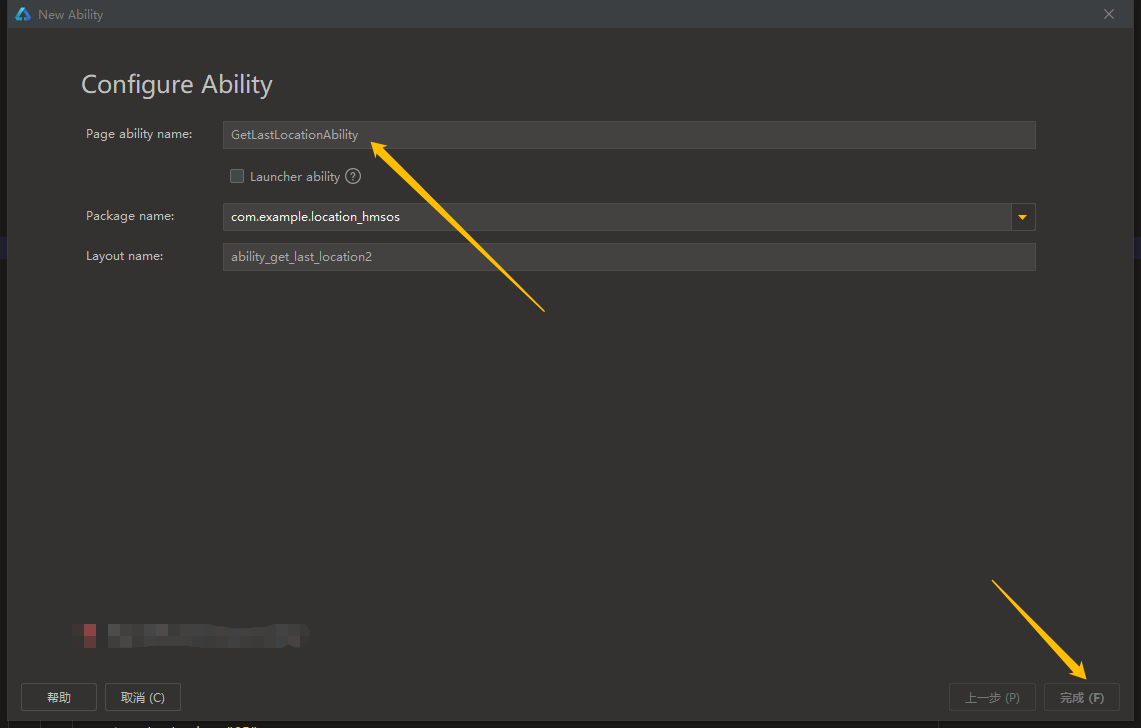
这样,新的Page Ability(即GetLastLocationAbility)便被成功创建,它的默认AbilitySlice(即GetLastLocationAbilitySlice)与xml布局文件(即ability_get_last_location.xml)也随之生成。
此时,打开entry>src>main>resources>base>layout>ability_get_last_location.xml,将代码修改为如下:
<DirectionalLayout
    xmlns:ohos="http://schemas.huawei.com/res/ohos"
    ohos:height="match_parent"
    ohos:width="match_parent"
    ohos:orientation="vertical"
    ohos:padding="32">
    <ScrollView
        ohos:height="match_parent"
        ohos:width="match_parent">  //设置滚轮
        <DirectionalLayout
            ohos:height="match_content"
            ohos:width="match_parent"
            ohos:orientation="vertical">
            <Button
                ohos:id="$+id:btn_getLastLocationWithAddress"
                ohos:height="match_content"
                ohos:width="666vp"
                ohos:background_element="black"
                ohos:layout_alignment="horizontal_center"
                ohos:margin="5vp"
                ohos:padding="10vp"
                ohos:text="点击获取当前位置"
                ohos:text_color="white"
                ohos:text_size="25"/>
            //设置Button组件
            <Text
                ohos:id="$+id:show_location"
                ohos:height="match_content"
                ohos:width="match_parent"
                ohos:margin="5vp"
                ohos:text_color="black"
                ohos:layout_alignment="horizontal_center"
                ohos:text_size="25"
                />
            //设置一个用于显示定位信息的Text组件
        </DirectionalLayout>
    </ScrollView>
</DirectionalLayout>
第二个UI界面便设计完成了,打开Previewer可查看效果。
在AppGallery Connect上申请定位服务
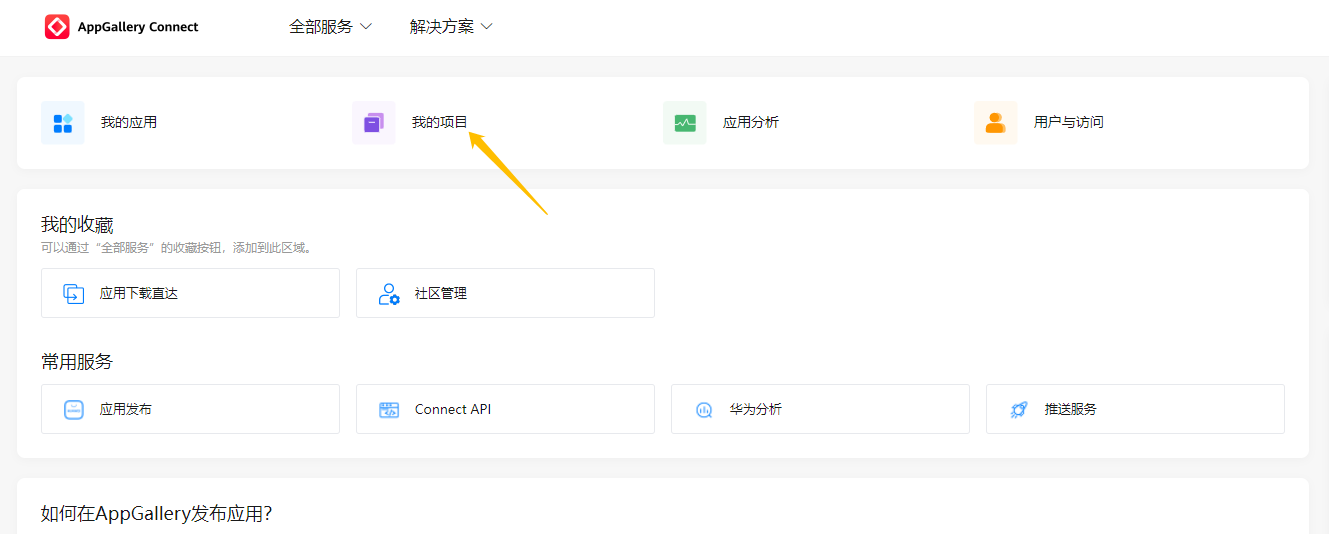
首先,进入AppGallery Connect的官网——https://developer.huawei.com/consumer/cn/service/josp/agc/index.html#/。
然后,登陆你的华为账号。
登陆完成后,点击我的项目。
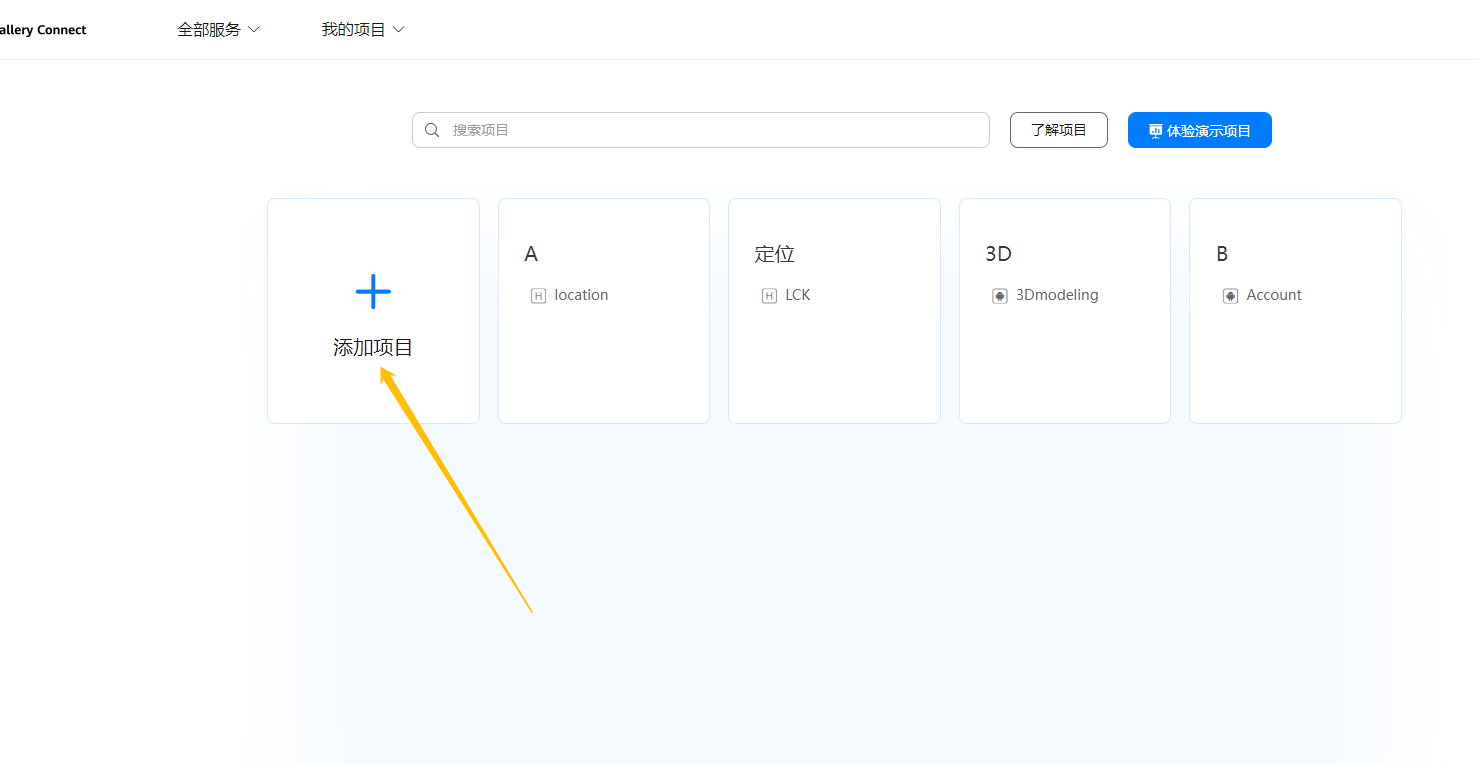
之后,点击添加项目,并自取一个项目名。
取完项目名后,点击添加应用。
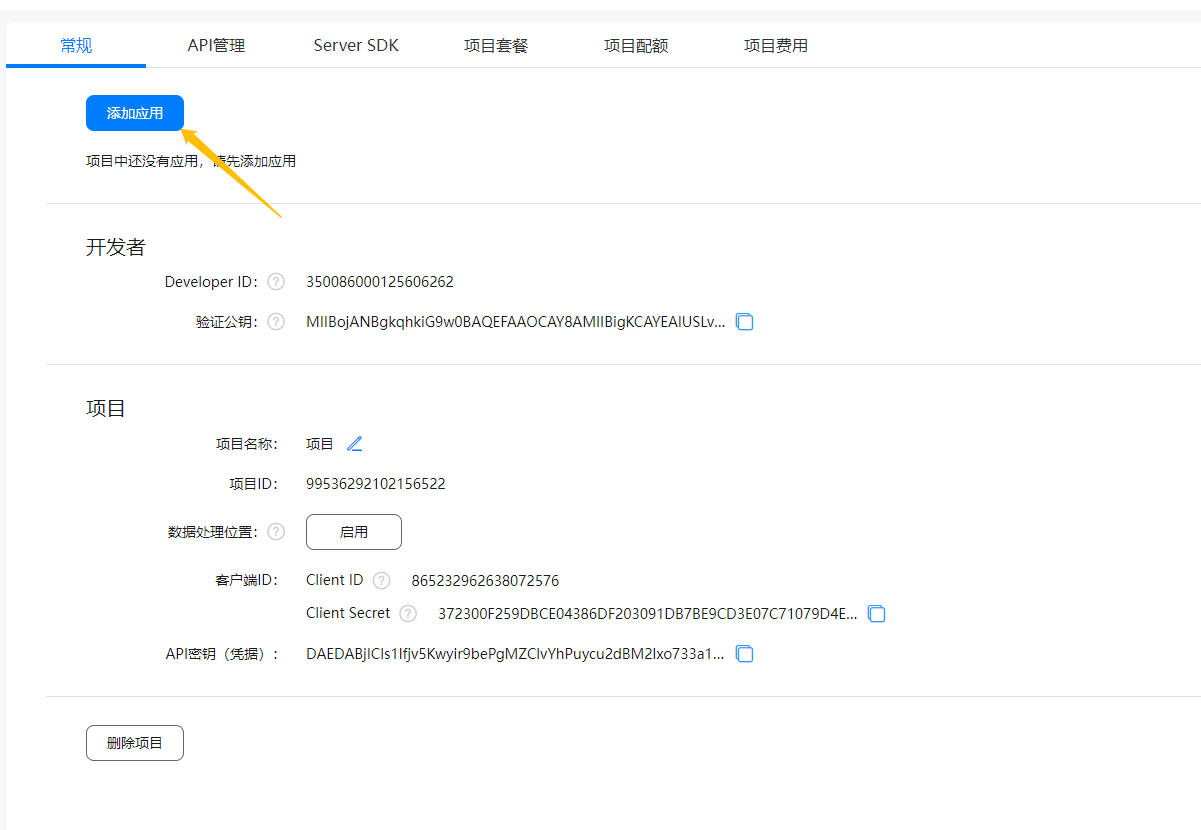
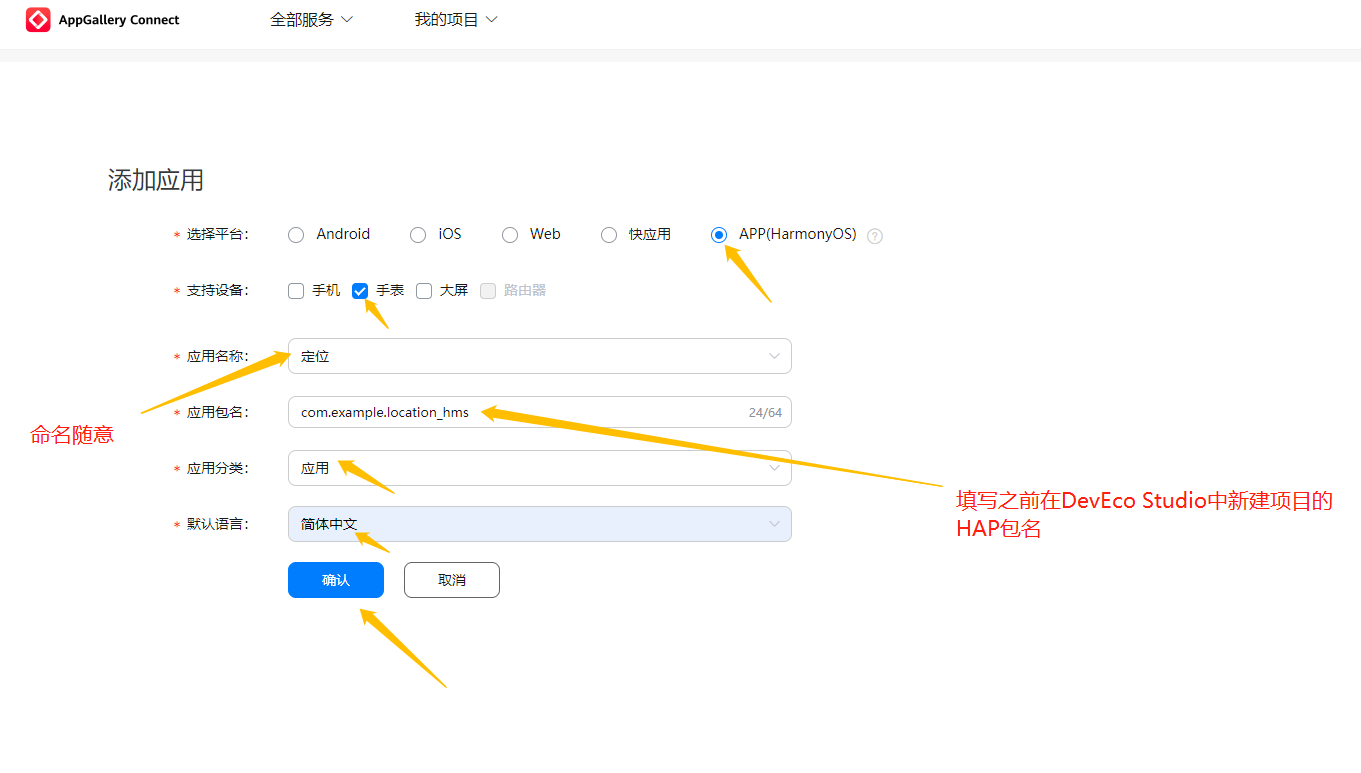
接着,依照下图正确填写关于添加应用的信息。
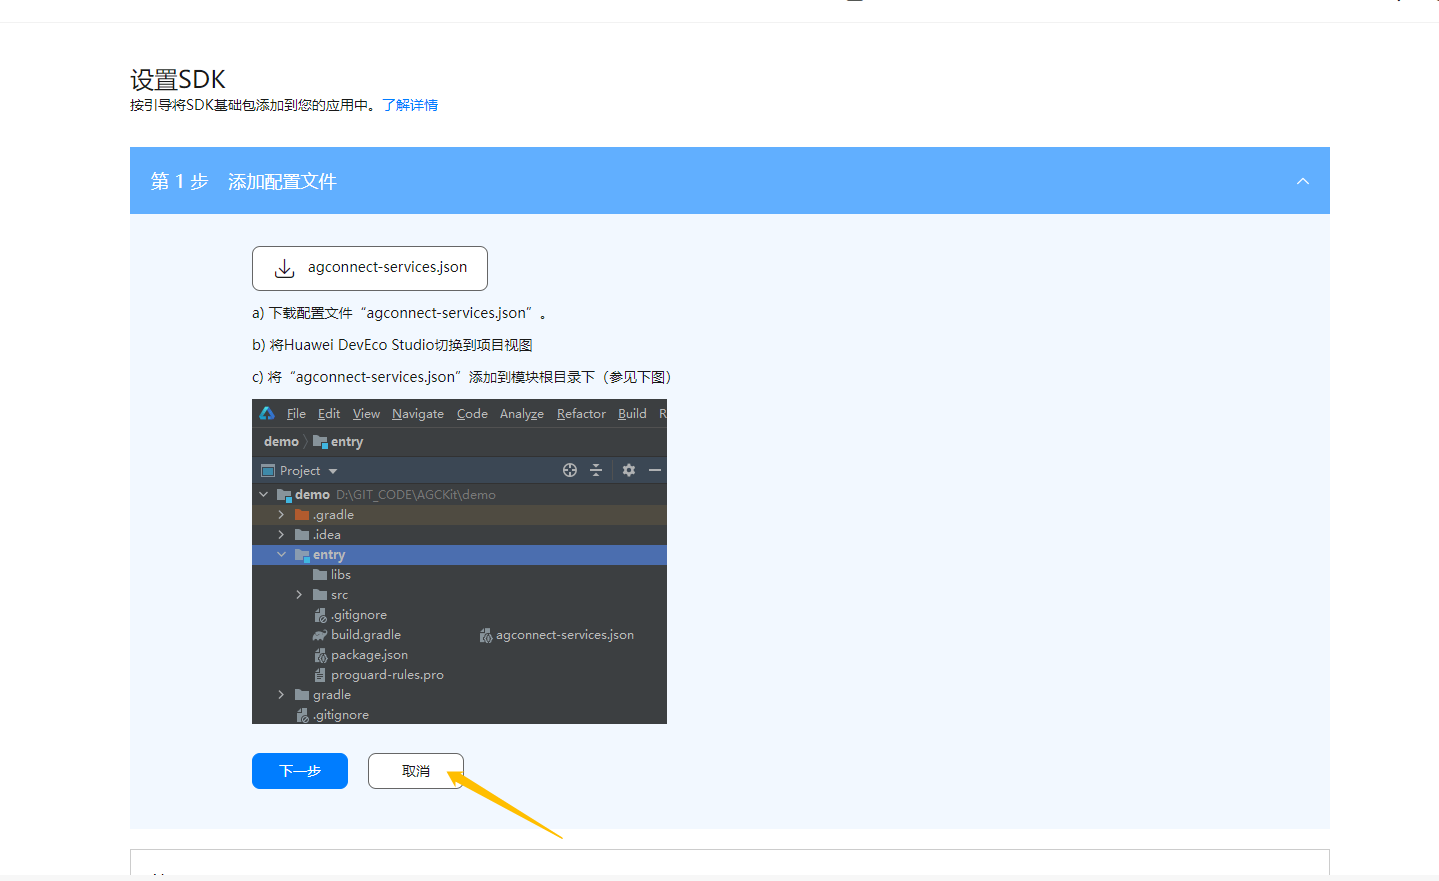
完成之后,网页会给一些操作提示,但我们先点击取消,暂时跳过这些步骤。
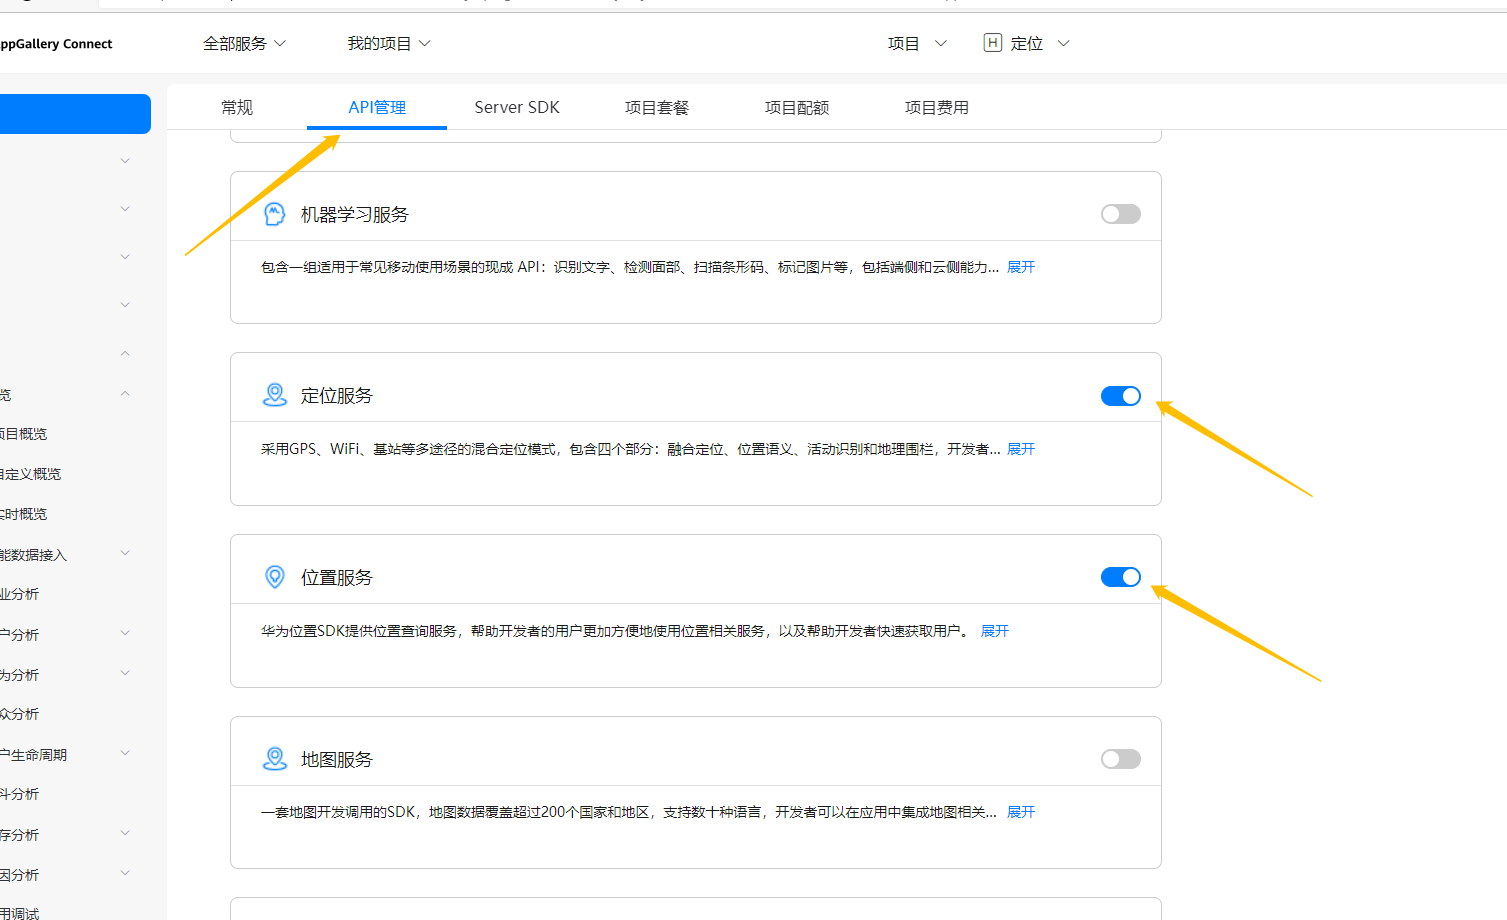
最后,点击上方的API管理,并开启定位服务与位置服务。
本期的内容就先分享到这,剩下的内容笔者将在下期的文章里揭晓。

Recommend
About Joyk
Aggregate valuable and interesting links.
Joyk means Joy of geeK