

如何构建用户态 Linux
source link: https://os.51cto.com/article/704876.html
Go to the source link to view the article. You can view the picture content, updated content and better typesetting reading experience. If the link is broken, please click the button below to view the snapshot at that time.

“用户态 Linux” 是什么?它是一种可以在用户态运行的 Linux 内核。(用户态是什么,这里就不解释了)
它有什么用?它用于内核隔离、替代 QEMU/Bochs 来调试 Linux 内核,也可以在低性能设备上代替 KVM 进行虚拟化。
但它也存在一些缺陷,比如不支持 ARM 架构以及多核系统。
编译 Linux 内核
首先通过 git 下载 Linux 内核源代码:
git clone --depth 1 https://mirrors.tuna.tsinghua.edu.cn/git/linux.git(这里使用了清华大学的镜像站,kernel.org 也是可以的。)
然后采用如下步骤编译它:
    $ cd linux
    $ export ARCH=um # 非常重要 设置架构为用户态
    $ make defcongig
    $ make -j8
     LD      .tmp_vmlinux.kallsyms1
     KSYMS   .tmp_vmlinux.kallsyms1.S
     AS      .tmp_vmlinux.kallsyms1.S
     LD      .tmp_vmlinux.kallsyms2
     KSYMS   .tmp_vmlinux.kallsyms2.S
     AS      .tmp_vmlinux.kallsyms2.S
     LD      vmlinux
     SYSMAP  System.map
     LINK linux
     MODPOST modules-only.symvers
     GEN     Module.symvers
经过漫长的编译之后,你获得了一个 vmlinux 文件。它和正常的 Linux 内核的区别是,这个 vmlinux 可以在用户态运行。
准备根文件系统
先别着急启动,先来准备内核所使用的根文件系统。
以下内容以 Debian Linux 为例。
首先安装 debootstrap 软件包:
sudo apt install debootstrap以下命令皆需要 root 权限,先切换到 root 用户:
$ sudo su然后构建根文件系统,存放在 rootfs 文件中:
    # dd if=/dev/zero of=rootfs seek=2G # 创建一个 2GB 大小的空 rootfs 文件
     2000000000字节(2 GB,2 GB)已复制,0.137825 s,570 MB/s`
    # mkfs.ext4 rootfs # 将其格式化为 ext4 格式
     mke2fs 1.46.5 (30-Dec-2021)
     Discarding device blocks: done
     Creating filesystem with 76748 1k blocks and 19200 inodes
     Filesystem UUID: 9dc7f1f6-8b16-4c64-9e22-94ede327c532
     Superblock backups stored on blocks:
        8193, 24577, 40961, 57345, 73729
    Allocating group tables: done
    Writing inode tables: done
    Creating journal (4096 blocks): done
    Writing superblocks and filesystem accounting information: done
然后挂载 rootfs 到 /mnt 下:
# mount rootfs /mnt在其中创建 Debian Linux 的根文件系统(/):
    # cd /mnt
    # debootstrap sid ./ https://mirrors.tuna.tsinghua.edu.cn/debian
     I: Configuring python-central...
     I: Configuring ubuntu-minimal...
     I: Configuring libc-bin...
     I: Configuring initramfs-tools...
     I: Base system installed successfully.
通过 chroot 将其改变为根目录:
# chroot ./设置 root 密码:
    # passwd
     New password:
     Retype new password:
然后退出 chroot 环境,并卸载:
    # exit # 退出 chroot 环境
    # cd ..
    # umount /mnt
    # exit # 退出 sudo 环境
设置 rootfs 的所有权为普通用户:
$ sudo chown `whoami` rootfs这样,这个用户态 Linux 的根文件系统就准备好了。
测试用户态 Linux
然后就可以用这个内核启动了,只需要一行命令:
$ screen ./vmlinux mem=1G root=/dev/root rootfstype=hostfs hostfs=./rootfs
con=null con0=null,fd:2 con1=fd:0,fd:1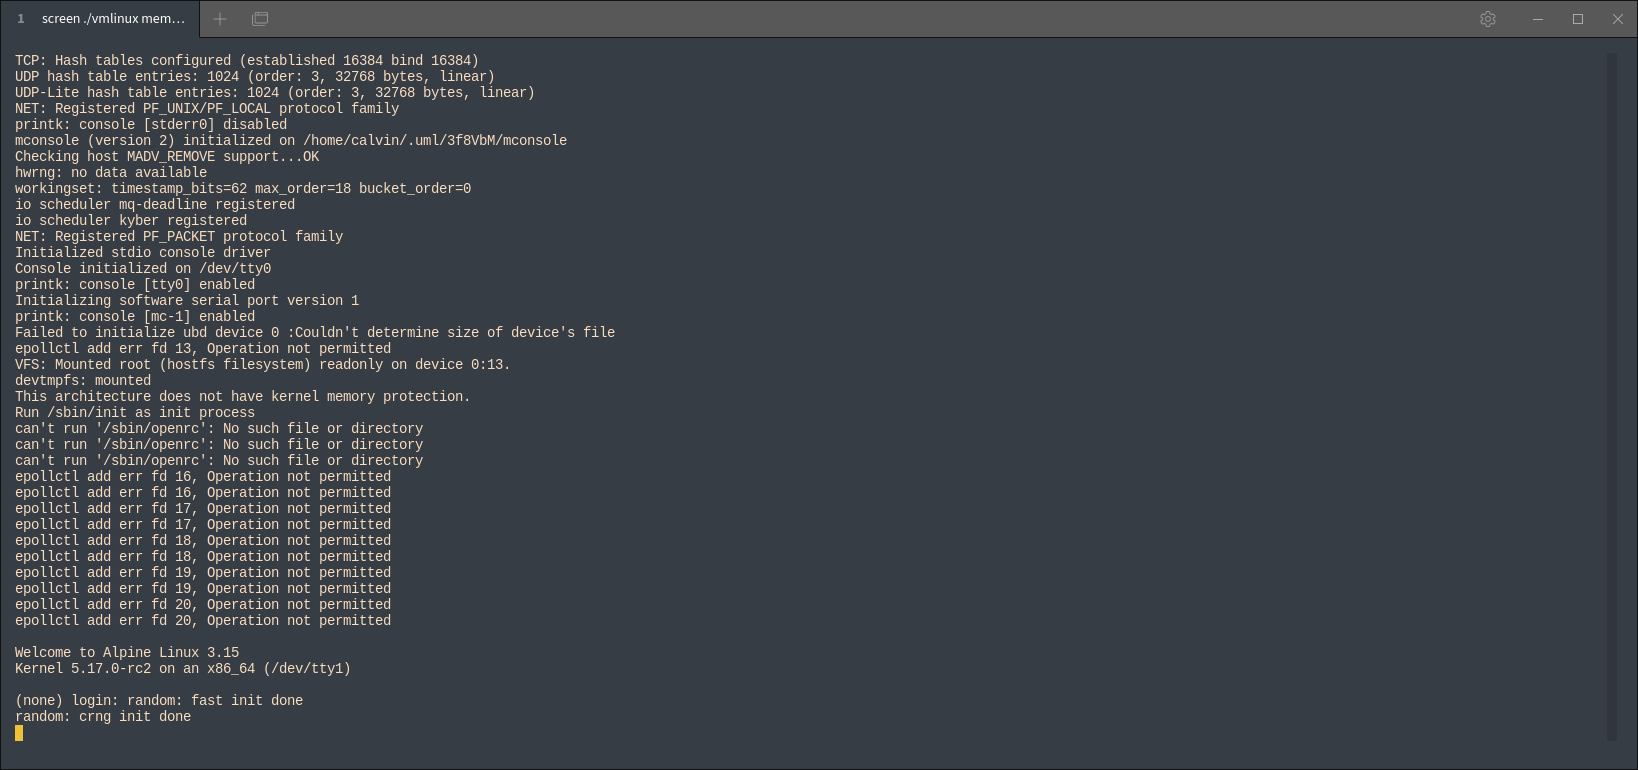
启动后,使用你前面设置的 root 用户/密码登录,便可以进入到用户态 Linux 容器中了。
有别于 Docker,这个容器的内核和宿主的内核是隔离的,可以使用这个容器作为一个调试内核的工具,如:
    echo 1 > /proc/sys/kernel/sysrq
    echo c > /proc/sysrq-trigger
即可手动触发一个“内核恐慌Kernel Panic”错误。
作者简介:calvinlin:一个普通的深圳初中生。
Recommend
About Joyk
Aggregate valuable and interesting links.
Joyk means Joy of geeK