

openwrt 安装 netdata | Package size mismatch 解决办法
source link: https://hellodk.cn/post/248
Go to the source link to view the article. You can view the picture content, updated content and better typesetting reading experience. If the link is broken, please click the button below to view the snapshot at that time.

2021年03月25日 更新
openwrt 安装 netdata 出现 Package size mismatch 问题 解决办法
尝试增加 --force-checksum 选项(Ignore checksum mismatches)
opkg --force-checksum install netdata
root@dkRouter:/mnt/ThreeTB2# opkg install netdata
Installing netdata (1.29.3-1) to root...
Downloading https://openwrt.proxy.ustclug.org/snapshots/packages/x86_64/packages/netdata_1.29.3-1_x86_64.ipk
Collected errors:
 * opkg_install_pkg: Package size mismatch: netdata is 1690583 bytes, expecting 1690582 bytes
 * opkg_install_cmd: Cannot install package netdata.
root@dkRouter:/mnt/ThreeTB2# opkg --force-checksum install netdata
Installing netdata (1.29.3-1) to root...
Downloading https://openwrt.proxy.ustclug.org/snapshots/packages/x86_64/packages/netdata_1.29.3-1_x86_64.ipk
Ignored netdata size mismatch.
Ignored netdata sha256sum mismatch.
Installing libjson-c5 (0.15-1) to root...
Downloading https://openwrt.proxy.ustclug.org/snapshots/packages/x86_64/base/libjson-c5_0.15-1_x86_64.ipk
Configuring libjson-c5.
Configuring netdata.

root@dkRouter:/mnt/ThreeTB2# /etc/init.d/netdata start
由以上文本记录可以看出来,增加的安装选项是有效的。安装成功。netdata 默认监听端口 19999
以下是原文
首先声明,我一开始用的 opkg 配置信息 不是上篇博客中提到的那样,所以踩了不少坑。直接 git clone the_repo_url 的,然后使用的是原生的方式安装的 netdata 可以参考 我以前的一篇 article: Ubuntu VPS安装netdata简记 https://hellodk.cn/post/16
ubuntu apt 的软件源环境不同于 lede 的 opkg, 两者软件包数量和质量都无法比较 (肯定是 ubuntu 以绝对优势胜出)
第一次卡在了 编译工具上
执行了 ./netdata-installer.sh 后 提示我 autotools 没有安装,搜索了下 opkg 中没有这个软件包,然后搜了十几分钟安装了 automake
opkg install automake安装了 automake 后的确可以进行下一步安装了 但是又提示 cmake uuid-dev zlib1g-dev json-c-dev 这些依赖包 都没有安装
千辛万苦,opkg 没有这些名字的包,但自以为是的安装了类似名字的所有的程序包,期待能够安装成功,但是最终没能成功
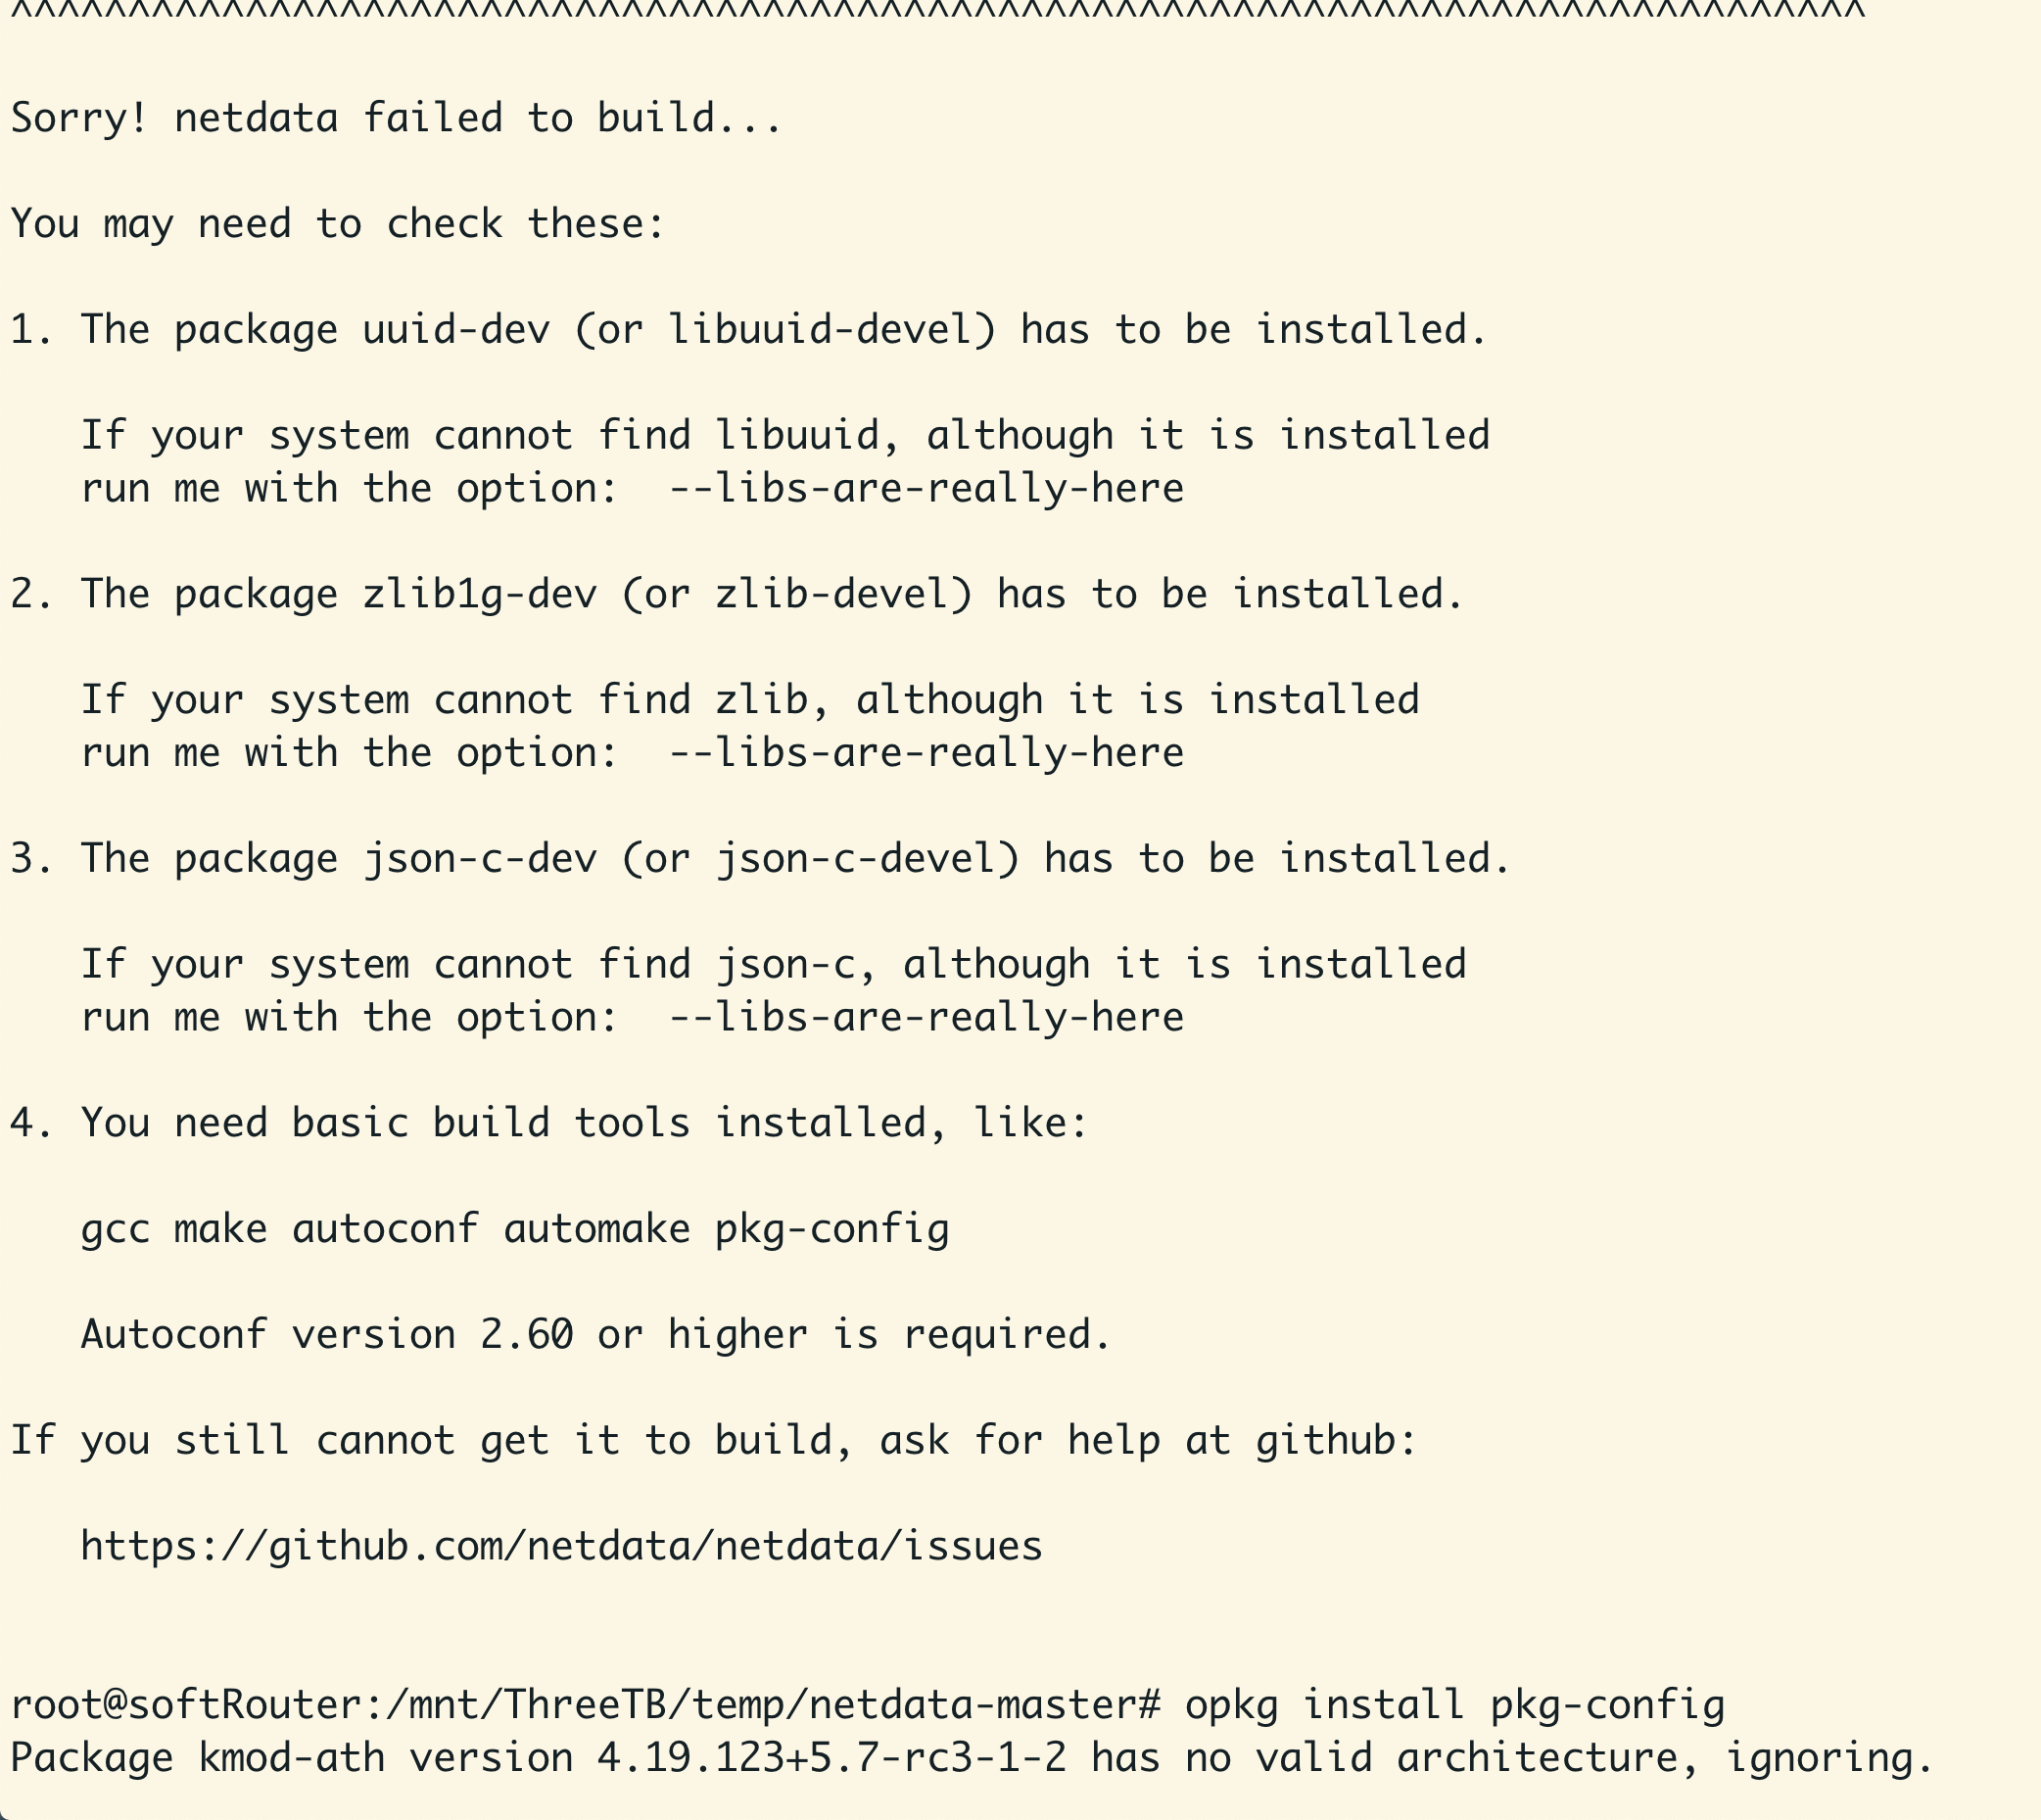
安装失败 对于这些依赖我实在无能为力
搜索了很久。最终安装成功了 netdata
说出来让人哭笑不得。配置好 opkg 环境 (根据上一篇的 opkg 配置来) 发现 opkg 源里有 netdata 程序,安装它 只需要一行命令
opkg install netdata于是顺利安装成功
安装成功 此时通过 home.to:19999 访问,下面配置一个独立的域名给它
下面通过 dns 配置 和 nginx 转发 将 home.to:19999 转到 stats.home.to
1. dnsmasq 相关配置
在 /etc/dnsmasq.hosts 文件末尾 追加一条 dns a记录
10.10.10.1 stats.home.to保存退出后,重载 dnsmasq 服务
/etc/init.d/dnsmasq reload2. nginx 转发配置
新增文件 /etc/nginx/vhost/stats.conf
填写以下内容:
server { listen 80; server_name stats.home.to; location / { proxy_pass http://127.0.0.1:19999; index index.html index.php;检测语法问题和重载 nginx 服务
nginx -tnginx -s reload然后就可以大功告成啦!

通过 stats.home.to 访问 netdata 的主页面成功!
本次记录到此为止
Recommend
About Joyk
Aggregate valuable and interesting links.
Joyk means Joy of geeK