

Build a Workflow that Sends Form Submissions to Discord
source link: https://hackernoon.com/build-a-workflow-that-sends-form-submissions-to-discord
Go to the source link to view the article. You can view the picture content, updated content and better typesetting reading experience. If the link is broken, please click the button below to view the snapshot at that time.

Build a Workflow that Sends Form Submissions to Discord
Audio Presented by
audio element.If you want to establish some nice automated integration between two or more applications, you can make use of low-code tools like Zapier or Integromat. These tools have over 1000 apps available for integration.
You can link up multiple applications and create a smooth automation workflow. 😎

smooth gif image
In this article, we’ll make use of Integromat to connect Discord to a form.
Creating our Integromat account
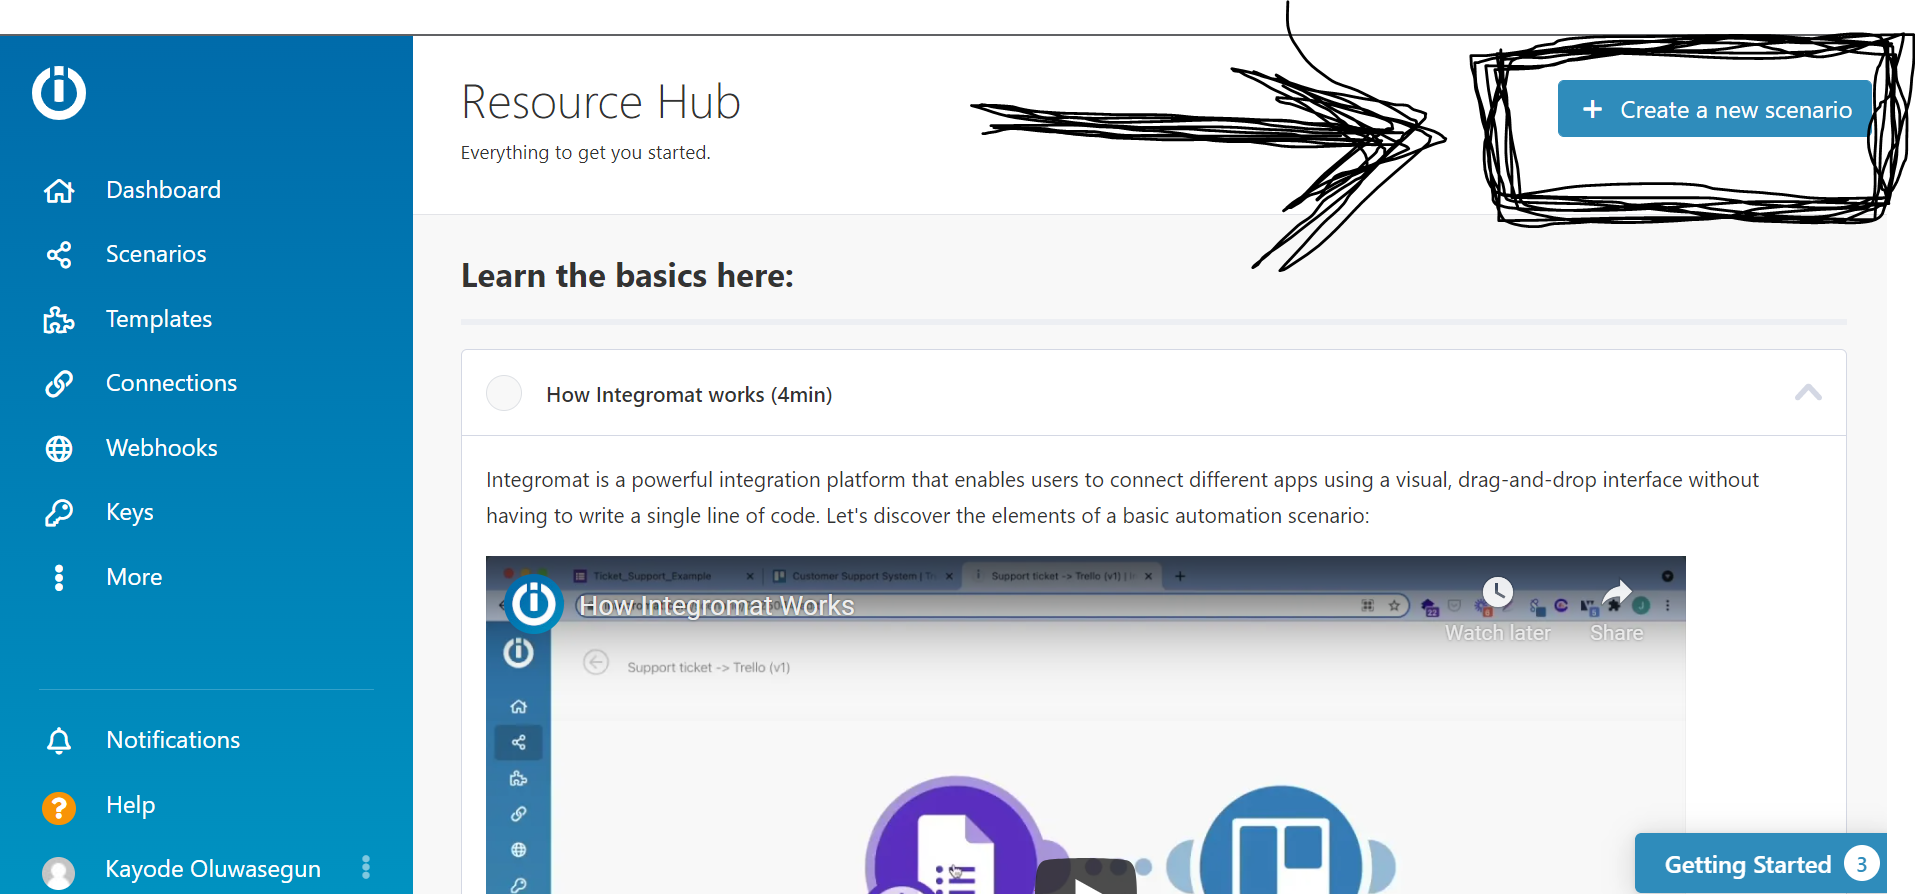
We’d open Integromat homepage and proceed to sign up/in.
Click on the Create a new scenario button
integromate-homepage.PNG
With the huge “+”, we can start adding an application and create connections with other applications.
Configuring a webhook
We’ll set up a webhook URL that we can send form data to and trigger appropriate reactions
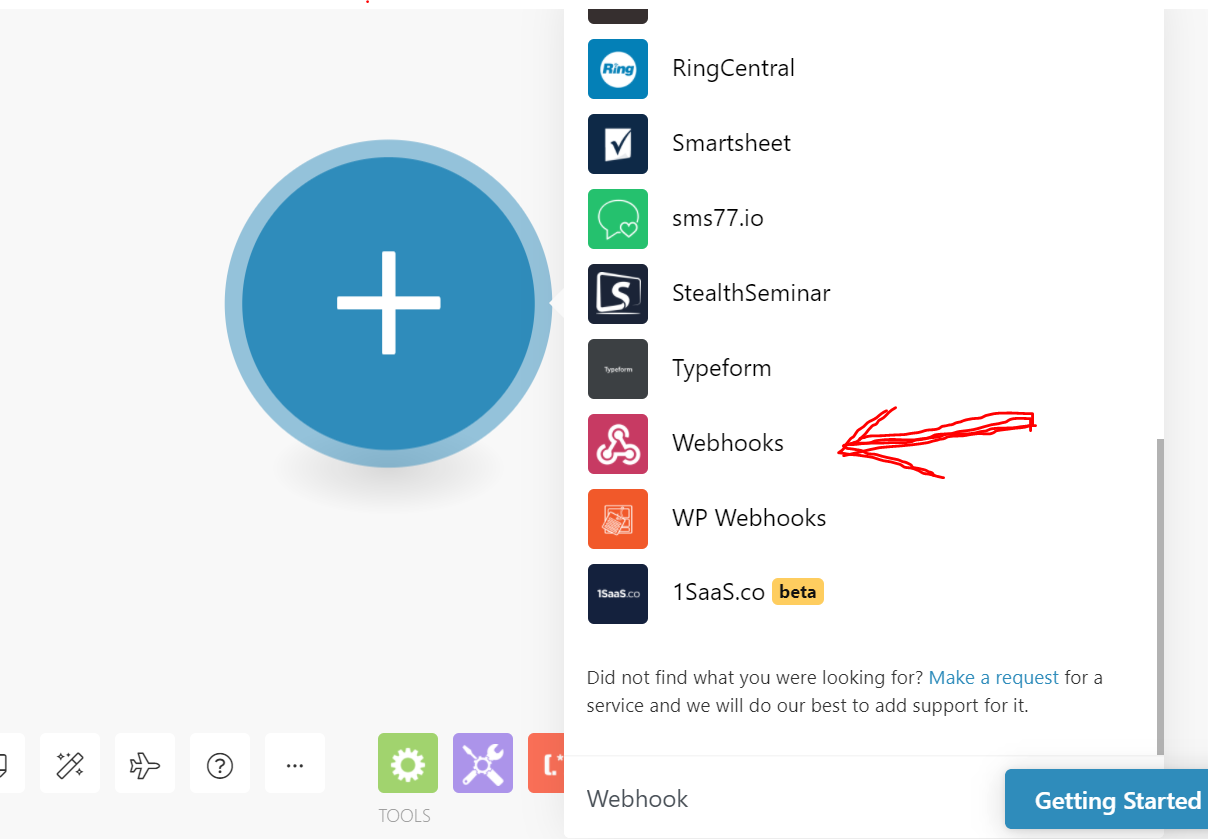
So, we’d click the big “+” button and select the Webhooks application
select-webhooks.PNG
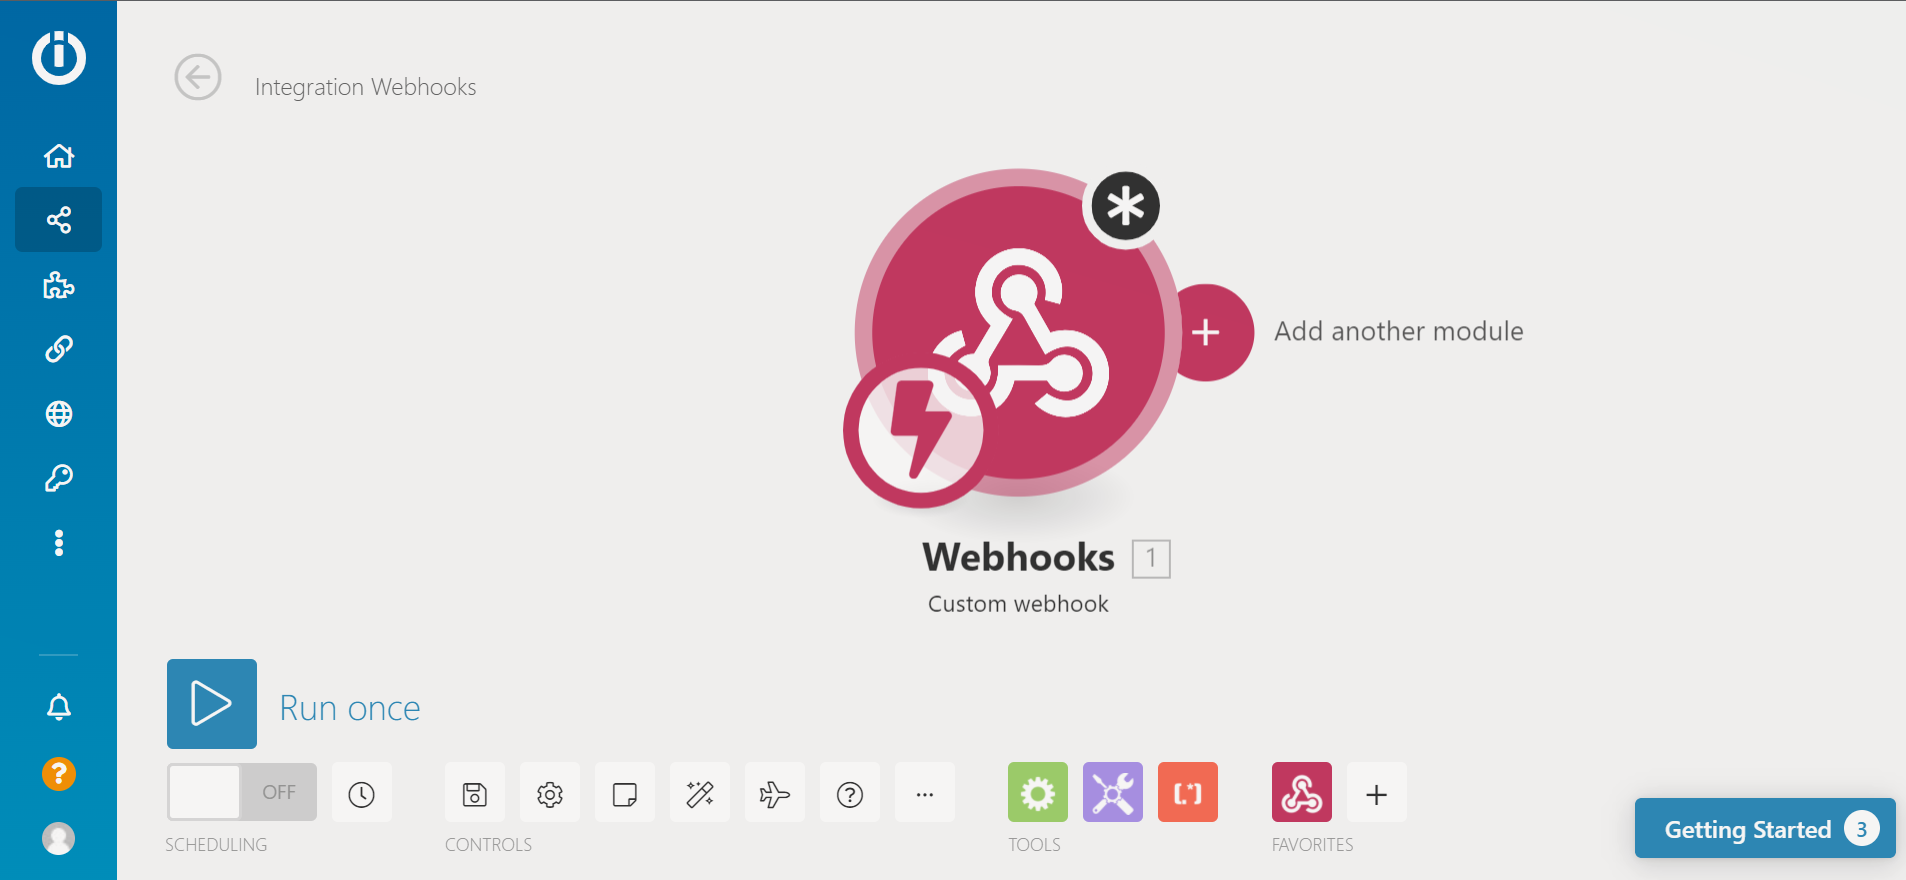
Select Custom webhook then select Add and give the custom webhook a name. We’d get a webhook URL that we will keep for later.
We’d add a new module
add_new_module.png
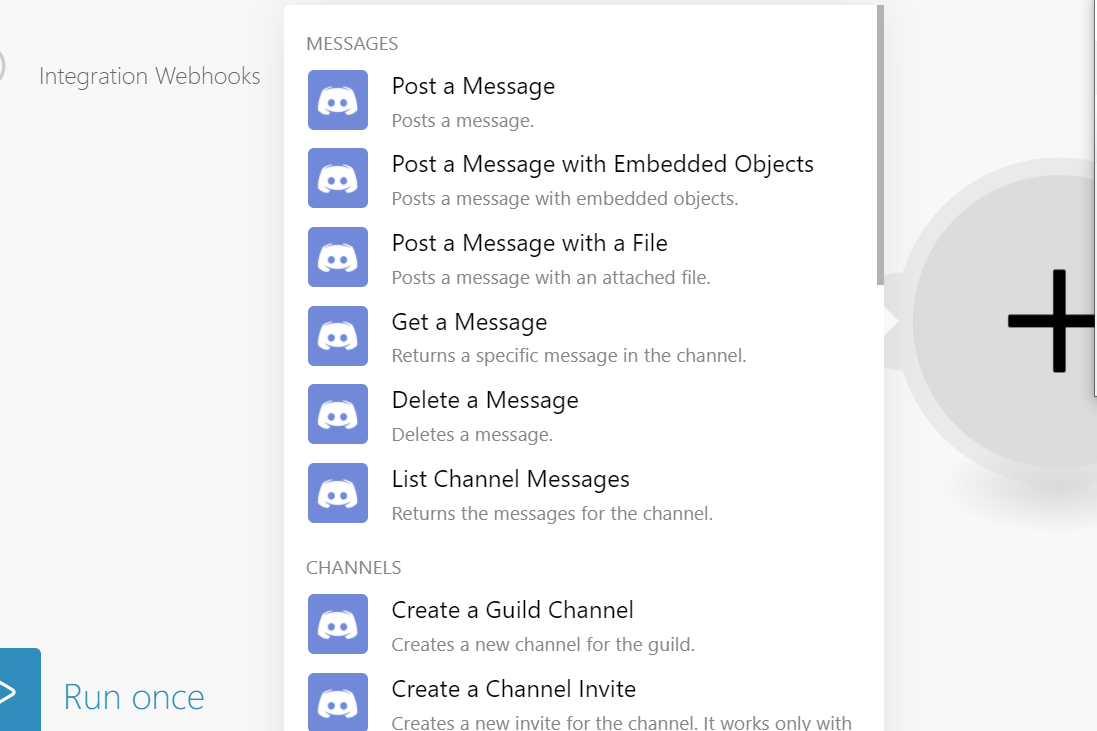
We’d select the Post a Message to discord, add a new connection with any text in the content and approve Integromat permissions to our Discord server. Then we should see the bot in our server:
post-message.PNG
We’d create a simple HTML form next to send data to the webhook URL by adding the URL to the
actionattribute. (This is just a demo form, you can choose how to send data and how your application should react to each form submission):
<!DOCTYPE html>
<html lang="en">
<head>
    <title>Form</title>
</head>
<body>
    <form method="post" action="https://hook.integromat.com/hxmcktv6o41acj46lcuw6vio7iqhyisg">
        <label for="firstname">First name</label>
        <input type="text" name="firstname" id="firstname">
        <br />
        <br />
        <label for="message">Message</label>
        <br />
        <textarea name="message" id="message" cols="30" rows="10"></textarea>
        <button type="submit">Submit</button>
    </form>
</body>
</html>
Open your Integromat scenario, click on Run once, open the web page and send some data to access the placeholders.
We now have access to our form response placeholder. We’d head over to our scenario, click on the Discord module edit the content. Then activate the scenario:
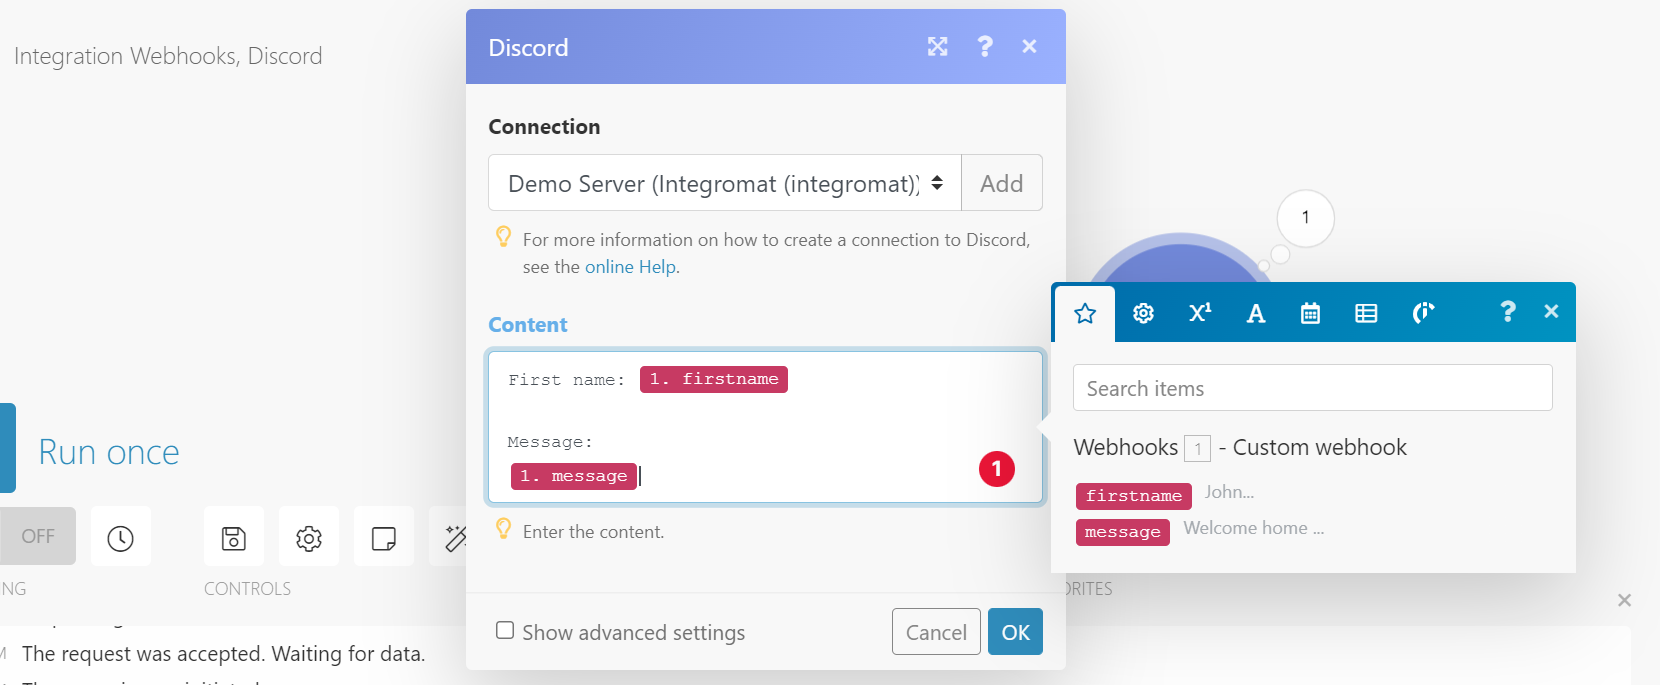
edit-content.PNG
Submit the form again and we can see our response

discord-message.PNG
Conclusion
I hope you find this article helpful in creating an automated workflow between some applications you regularly use.
Though Integromat free plan has some limitations, it can pretty much satisfy some of your automation needs. This is not any form of promotion, I am only sharing a tool I find useful.
Thanks for reading!
First published here
Recommend
About Joyk
Aggregate valuable and interesting links.
Joyk means Joy of geeK