

How to initialize NSViewController programmatically without nib
source link: https://sarunw.com/posts/how-to-initialize-nsviewcontroller-programmatically-without-nib/
Go to the source link to view the article. You can view the picture content, updated content and better typesetting reading experience. If the link is broken, please click the button below to view the snapshot at that time.

How to initialize NSViewController programmatically without nib
Table of Contents
In iOS, you can ditch out storyboard/nib and initialize UIViewController programmatically without any problem.
import UIKit

class ViewController: UIViewController {}

let vc = ViewController()
The situation isn't easy for AppKit and NSViewController. If you try to do the same with an NSViewController subclass, you will get an "[NSNib _initWithNibNamed:bundle:options:] could not load the nibName: ModuleName.ViewController in bundle (null)" error.
import Cocoa

class ViewController: NSViewController {}

// Error
let vc = ViewController()
Initialize NSViewController subclass this way would cause the following runtime error.
-[NSNib _initWithNibNamed:bundle:options:] could not load the nibName: example_mac_no_storyboard.ViewController in bundle (null).
If you want to set up a macOS project without a storyboard, you can learn how to do it in How to create a macOS app without storyboard or nib files.
You can easily support sarunw.com by checking out this sponsor.

How does NSViewController work behind the scene
To solve this problem, let's find out what caused the error.
From an Apple NSViewController documentation, the default implementation of NSViewController's loadView() method will automatically look for a nib file with the same name as the view controller. That's why you get an error about nib name not being found.
... in macOS 10.10 and later, the loadView() method automatically looks for a nib file with the same name as the view controller. To take advantage of this behavior, name a nib file after its corresponding view controller and pass nil to both parameters of the init(nibName:bundle:) method.
You can confirm this behavior by overriding the loadView() method with an empty implementation—this will opt out from that default behavior.
class ViewController: NSViewController {
    override func loadView() {

}
}
Run your app again, and the error is gone.
You can easily support sarunw.com by checking out this sponsor.
Override loadView
We know the default implementation of the loadView() method is the problem and opt-out from this by overriding it with an empty statement. One problem remains, what should we put in the loadView() method implementation?
There is no better place to find an answer than the Apple documentation. From the documentation, loadView() instantiates a view from a nib file and sets the value of the view property. That's all we need to do.
Since we no longer rely on a nib file, we need to create an NSView and set it to view property ourselves.
In this case, we create a view of size 300x300 and add a label at the center of the view.
override func loadView() {
    // 1
    view = NSView(frame: NSMakeRect(0.0, 0.0, 300, 300))

// 2
    let label = NSTextField(labelWithString: "NSViewController without Storyboard")
    label.translatesAutoresizingMaskIntoConstraints = false
    view.addSubview(label)

NSLayoutConstraint.activate([
        label.centerXAnchor.constraint(equalTo: view.centerXAnchor),
        label.centerYAnchor.constraint(equalTo: view.centerYAnchor),
    ])
}
1 We crate an NSView and assign it to the view property. That's all we need to do.
2 This is where we do the customization for your view controller. In this case, I added a label at the center of our view.
Here is the result.
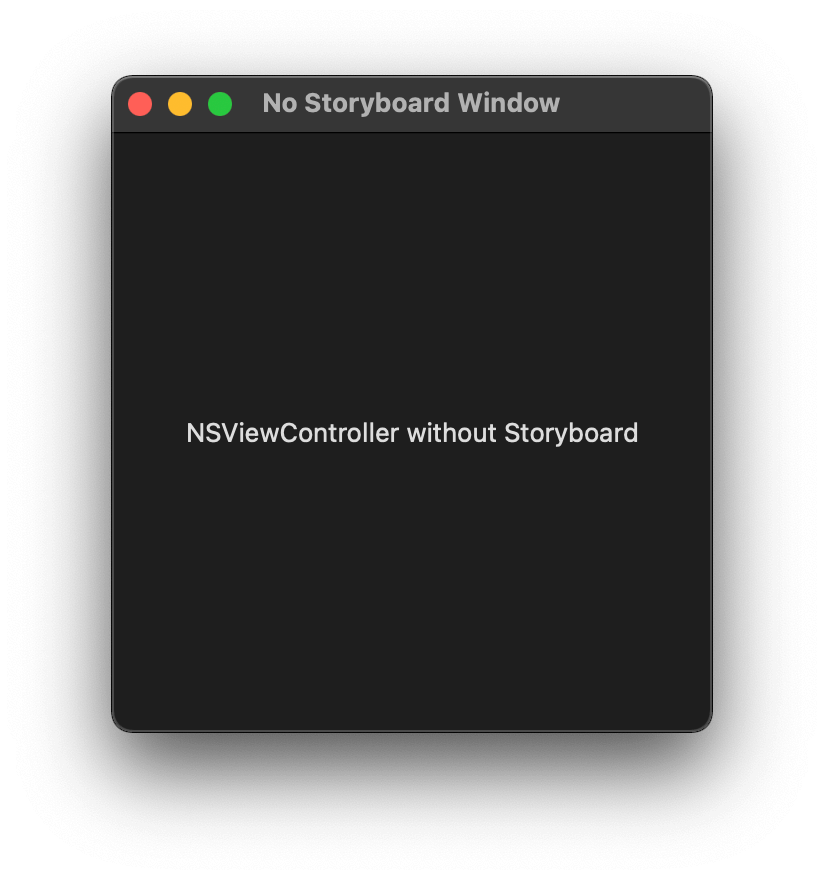 A view with a label at the center.
You may also like
macOS is tightly coupled with storyboard and xib than iOS. To build your UI entirely in code, we have to do some initial setup.
macOSOnce the sidebar is collapsed, there is no way to get it back. Learn how to mitigate the situation.
SwiftUI macOSRead more article about macOS, SwiftUI,
or see all available topic
Enjoy the read?
If you enjoy this article, you can subscribe to the weekly newsletter.
Every Friday, you'll get a quick recap of all articles and tips posted on this site. No strings attached. Unsubscribe anytime.
Feel free to follow me on Twitter and ask your questions related to this post. Thanks for reading and see you next time.
If you enjoy my writing, please check out my Patreon https://www.patreon.com/sarunw and become my supporter. Sharing the article is also greatly appreciated.
How to use different fonts for different languages in an iOS application
There is no way to add a custom font for each language. Luckily, we can indirectly set that with fallback fonts. Let's learn how to do it.
How to make a macOS menu bar app
Let's learn how to make a simple menu bar app in this article.
Recommend
-
44
README.md python-support.nvim use :PythonSupportInitPython2 and :PythonSupportInitPython3 to initialize python support for neovim. If you like setup python for...
-
80
面试题1:Category中有load方法吗?load方法是什么时候调用?面试题2:load,initialize的区别是什么?它们在Category中的调用顺序以及出现继承时它们之间的调用过程是怎么样的?
-
39
(Last Updated On: December 5, 2018) Follow @vlad_mihalcea Introduction In this article, we are going to see the best way to initialize LAZY pr...
-
34
开始接触苹果的 GUI 框架时,经常对 NSView/UIView 和NSViewControoler/UIViewController 的关系感到疑惑,因为包括 Windows 界面开发在内的很多GUI框架,都只有 View,而没有 ViewController 的概念。而且在很长一段时间的实际使用中,也...
-
36
README.md Tosin
-
6
David Cordero Swift: Raiders of the Lost Nib Published on 03 Dec 2014 If you are us...
-
4
Friday Q&A 2012-04-13mikeash.com: just this guy, you know? Friday Q&A 2012-04-13: Nib Memory Management by Mike Ash I'm back from my hia...
-
9
How to get the resource for the NIB file on MAC OSX advertisements Is there a tool to get all string for NIB file on MAC OSX? Right now, I hav...
-
3
Inside nib’s digital transformation journey By Published: 16 September 2021 Brendan Mills, CIO of nib, talks to Computer Weekly about the insurance company’s digital transformation strate...
-
6
Little Snitch continued or the broken nib files! Little Snitch is an awesome target to learn tons of stuff about Mac OS X. It’s a very worthy challenge and I’m loving it… I gave up on it for a while to read some stuff about
About Joyk
Aggregate valuable and interesting links.
Joyk means Joy of geeK