

手把手从0到1实现一个web工程通用脚手架工具
source link: https://segmentfault.com/a/1190000040825360
Go to the source link to view the article. You can view the picture content, updated content and better typesetting reading experience. If the link is broken, please click the button below to view the snapshot at that time.

前端工程化是人们常常提到的东西,其目的基本上都是为了提高开发效率,降低成本以及保证质量。而脚手架工具则是前端工程化中很重要的环节,一个好用的web工程通用脚手架工具可以在很大程度上做到上面所提到的。
我们不仅要会用市面上很多成熟的脚手架,还要能根据实际的项目情况,去实现一些适合自己项目的脚手架。本文就将和大家一起实现一个基础的通用脚手架工具,后续就可以随意拓展了。
项目的整体结构如下,后面我们会一步步编写代码,最终实现整个脚手架工具。
xman-cli
├─ bin
│  └─ xman.js
├─ command
│  ├─ add.js
│  ├─ delete.js
│  ├─ init.js
│  └─ list.js
├─ lib
│  ├─ remove.js
│  └─ update.js
├─ .gitignore
├─ LICENSE
├─ package.json
├─ README.md
└─ templates.json
初始化项目
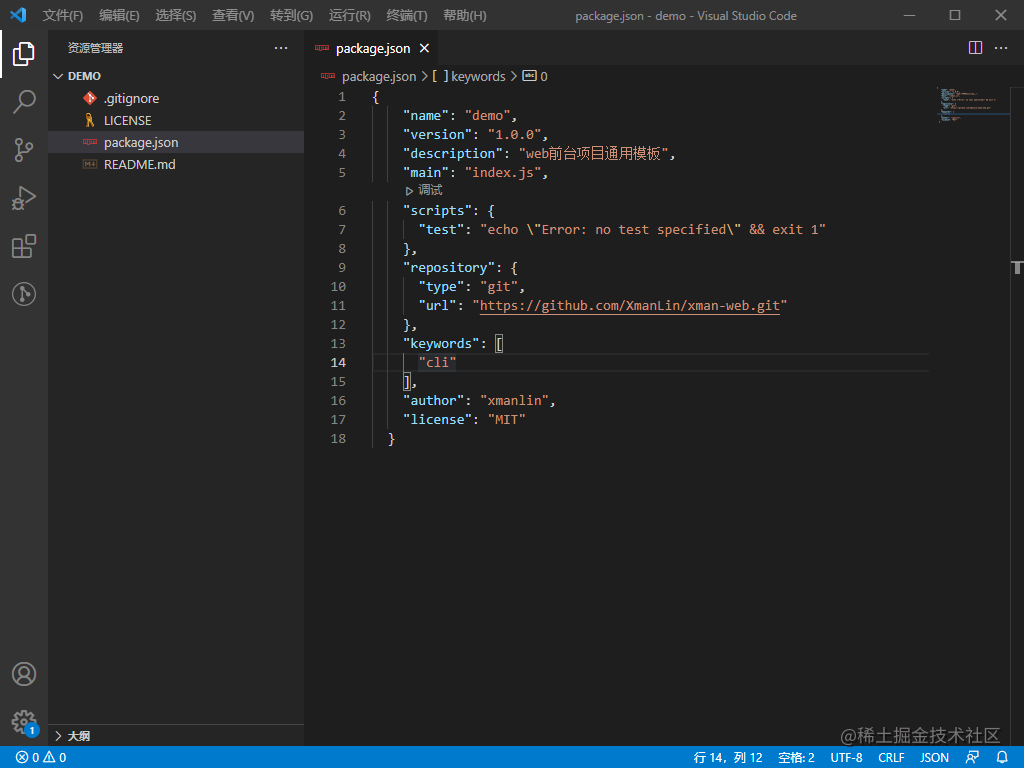
可以用 npm init 进行创建,也可以根据下面列出的 package.json 进行修改。
{
  "name": "xman-cli",
  "version": "1.0.0",
  "description": "web通用脚手架工具",
  "bin": {
    "xman": "bin/xman.js"
  },
  "scripts": {
    "test": "echo \"Error: no test specified\" && exit 1"
  },
  "repository": {
    "type": "git",
    "url": "https://github.com/XmanLin/xman-cli.git"
  },
  "keywords": [
    "cli"
  ],
  "author": "xmanlin",
  "license": "MIT",
  "bugs": {
    "url": "https://github.com/XmanLin/xman-cli/issues"
  },
  "homepage": "https://github.com/XmanLin/xman-cli#readme",
  "dependencies": {
    "chalk": "^4.1.2",
    "clear": "^0.1.0",
    "clui": "^0.3.6",
    "commander": "^8.2.0",
    "figlet": "^1.5.2",
    "handlebars": "^4.7.7",
    "inquirer": "^8.1.5",
    "update-notifier": "^5.1.0"
  }
}
这里提两点:
bin字段:可以自定义脚手架工具的命令,例如上面的xman,而xman后面的就是命令的执行脚本。- 项目中的依赖后面会用到,用到的时候会介绍。
编写bin/xman.js
要使得脚本可执行,就需要在xman.js的最顶部添加以下代码:
#!/usr/bin/env node
编写好后引入commander(node.js命令行界面的完整解决方案),可以点击链接或者到npm官网查看具体API的用法,后面一些列的相关依赖都一样。
#!/usr/bin/env node

const { program } = require('commander');
此时,我们可以定义当前脚手架的版本以及版本查看的命令。
#!/usr/bin/env node

const { program } = require('commander');

program
    .version(require('../package').version, '-v, --version');

program.parse(process.argv); // 这里是必要的

if (!program.args.length) {
    program.help();
}
在当前xman-cli目录下,执行 npm link 后,就可以在本地对脚手架工具进行调试了。
然后在当前目录下执行
xman -v
就能看到我们定义的版本号了,也证明脚手架工具初步搭建成功。

利用脚手架工具初始化搭建项目
这个是脚手架工具的最核心的功能点,通过脚手架工具命令快速选择拉取,事先在git仓库中构建好基础项目模板。我们可以根据实际需求,自定义项目模板,并在项目中制定相关的开发规范和约定。
首先在git上搭建好自己的基础项目,这里需要注意的是:在搭建基础项目模板的时候,项目的 package.json中的 name 字段要写成下面这种形式:
{
    "name": "{{name}}",
}
至于为什么要这样写,后面的代码中会有体现。
然后在根目录下创建 templates.json:
{
    "templates": {
        "xman-manage": {
            "url": "https://github.com/XmanLin/xman-manage.git",
            "branch": "master"
        },
        "xman-web": {
            "url": "https://github.com/XmanLin/xman-web.git",
            "branch": "master"
        }
    }
}
以上 xman-manage 和 xman-web 分别代表不同的项目,可以根据实际情况自定义,url 为基础项目的地址, branch为自动拉取时的分支。
接着在command文件夹(这个文件夹下会放后续一些列命令的实现逻辑)下创建init.js:
const fs = require('fs'); // node.js文件系统
const exec = require('child_process').exec; // 启动一个新进程,用来执行命令
const config = require('../templates'); // 引入定义好的基础项目列表
const chalk = require('chalk'); // 给提示语添加色彩
const clear = require('clear'); // 清除命令
const figlet = require('figlet'); // 可以用来定制CLI执行时的头部
const inquirer = require('inquirer'); // 提供交互式命令行
const handlebars = require('handlebars'); // 一种简单的模板语言,可以自行百度一下
const clui = require('clui'); // 提供等待的状态
const Spinner = clui.Spinner;
const status = new Spinner('正在下载...');
const removeDir = require('../lib/remove'); // 用来删除文件和文件夹

module.exports = () => {
    let gitUrl;
    let branch;
    clear();
    // 定制酷炫CLI头部
    console.log(chalk.yellow(figlet.textSync('XMAN-CLI', {
        horizontalLayout: 'full'
    })));
    inquirer.prompt([
        {
            name: 'templateName',
            type: 'list',
            message: '请选择你需要的项目模板:',
            choices: Object.keys(config.templates),
        },
        {
            name: 'projectName',
            type: 'input',
            message: '请输入你的项目名称:',
            validate: function (value) {
                if (value.length) {
                    return true;
                } else {
                    return '请输入你的项目名称';
                }
            },
        }
    ])
    .then(answers => {
        gitUrl = config.templates[answers.templateName].url;
        branch = config.templates[answers.templateName].branch;
        // 执行的命令,从git上克隆想要的项目模板
        let cmdStr = `git clone ${gitUrl} ${answers.projectName} && cd ${answers.projectName} && git checkout ${branch}`;
        status.start();
        exec(cmdStr, (error, stdou, stderr) => {
            status.stop();
            if (error) {
                console.log('发生了一个错误:', chalk.red(JSON.stringify(error)));
                process.exit();
            }
            const meta = {
                name: answers.projectName
            };
            // 这里需要注意:项目模板的 package.json 中的 name 要写成 "name": "{{name}}"的形式
            const content = fs.readFileSync(`${answers.projectName}/package.json`).toString();
            // 利用handlebars.compile来进行 {{name}} 的填写
            const result = handlebars.compile(content)(meta);
            fs.writeFileSync(`${answers.projectName}/package.json`, result);
            // 删除模板自带的 .git 文件
            removeDir(`${answers.projectName}/.git`);
            console.log(chalk.green('\n √ 下载完成!'));
            console.log(chalk.cyan(`\n cd ${answers.projectName} && yarn \n`));
            process.exit();
        })
    })
    .catch(error => {
        console.log(error);
        console.log('发生了一个错误:', chalk.red(JSON.stringify(error)));
        process.exit();
    });
}
lib/remove.js
const fs = require('fs');
let path = require('path');

function removeDir(dir) {
    let files = fs.readdirSync(dir); //返回一个包含“指定目录下所有文件名称”的数组对象
    for (var i = 0; i < files.length; i++) {
        let newPath = path.join(dir, files[i]);
        let stat = fs.statSync(newPath); // 获取fs.Stats 对象
        if (stat.isDirectory()) {
            //判断是否是文件夹,如果是文件夹就递归下去
            removeDir(newPath);
        } else {
            //删除文件
            fs.unlinkSync(newPath);
        }
    }
    fs.rmdirSync(dir); //如果文件夹是空的,就将自己删除掉
};

module.exports = removeDir;
最后继续在 xman.js 定义命令:
#!/usr/bin/env node

const { program } = require('commander');

...

program
    .command('init')
    .description('Generate a new project')
    .alias('i')
    .action(() => {
        require('../command/init')()
    });


...
随便再找个文件夹下执行定义好的命令:
xman i

打开我们下载好的模板项目看看:
通过命令添加项目模板配置
现在我们能够通过命令拉取构建项目了,但是如果以后有了新的项目模板了怎么办?难道每次都是手动去修改 templates.json 吗。这当然是不合理的,所以接下来我们要实现通过命令添加项目模板。
首先在git仓库里面新建一个项目模板,随便叫什么,我这里叫 xman-mobile ,然后开始编写项目模板添加的逻辑和命令,新建command/add.js:
const config = require('../templates.json');
const chalk = require('chalk');
const fs = require('fs');
const inquirer = require('inquirer');
const clear = require('clear');

module.exports = () => {
    clear();
    inquirer.prompt([
        {
            name: 'templateName',
            type: 'input',
            message: '请输入模板名称:',
            validate: function (value) {
                if (value.length) {
                    if (config.templates[value]) {
                        return '模板已存在,请重新输入';
                    } else {
                        return true;
                    }
                } else {
                    return '请输入模板名称';
                }
            },
        },
        {
            name: 'gitLink',
            type: 'input',
            message: '请输入 Git https link:',
            validate: function (value) {
                if (value.length) {
                    return true;
                } else {
                    return '请输入 Git https link';
                }
            },
        },
        {
            name: 'branch',
            type: 'input',
            message: '请输入分支名称:',
            validate: function (value) {
                if (value.length) {
                    return true;
                } else {
                    return '请输入分支名称';
                }
            },
        }
    ])
    .then(res => {
        config.templates[res.templateName] = {};
        config.templates[res.templateName]['url'] = res.gitLink.replace(/[\u0000-\u0019]/g, ''); // 过滤unicode字符
        config.templates[res.templateName]['branch'] = res.branch;
        fs.writeFile(__dirname + '/../templates.json', JSON.stringify(config), 'utf-8', (err) => {
            if (err) {
                console.log(err);
            } else {
                console.log(chalk.green('新模板添加成功!\n'));
            }
            process.exit();
        })
    })
    .catch(error => {
        console.log(error);
        console.log('发生了一个错误:', chalk.red(JSON.stringify(error)));
        process.exit();
    });
}
继续在bin/xman.js中添加命令
#!/usr/bin/env node

const { program } = require('commander');

...

program
    .command('add')
    .description('Add a new template')
    .alias('a')
    .action(() => {
        require('../command/add')()
    });

...
执行 npm link --force ,然后再执行配置好的命令 xman a:

可以看到 templates.json 中,新的模板信息已经被添加上了。
通过命令删除项目模板配置
既然有添加,那就肯定有删除命令了。同样,新建command/delete.js:
const fs = require('fs');
const config = require('../templates');
const chalk = require('chalk');
const inquirer = require('inquirer');
const clear = require('clear');

module.exports = () => {
    clear();
    inquirer.prompt([
        {
            name: 'templateName',
            type: 'input',
            message: '请输入要删除的模板名称:',
            validate: function (value) {
                if (value.length) {
                    if (!config.templates[value]) {
                        return '模板不存在,请重新输入';
                    } else {
                        return true;
                    }
                } else {
                    return '请输入要删除的模板名称';
                }
            },
        }
    ])
    .then(res => {
        config.templates[res.templateName] = undefined;
        fs.writeFile(__dirname + '/../templates.json', JSON.stringify(config), 'utf-8', (err) => {
            if (err) {
                console.log(err);
            } else {
                console.log(chalk.green('模板已删除!'));
            }
            process.exit();
        });
    })
    .catch(error => {
        console.log(error);
        console.log('发生了一个错误:', chalk.red(JSON.stringify(error)));
        process.exit();
    });
}
继续添加命令:
#!/usr/bin/env node

const { program } = require('commander');

...

program
    .command('delete')
    .description('Delete a template')
    .alias('d')
    .action(() => {
        require('../command/delete')()
    });

...
执行 npm link --force ,然后再执行配置好的命令 xman d。查看 templates.json ,我们已经删除了想要删除的模板信息。
通过命令快速查看已有模板
一般来说我们不可能记住已经添加的所有模板,有时候需要去快速查看。所以接下来我们将要实现一个简单的快速查看模板列表的命令:
新建command/list.js
const config = require('../templates');
const chalk = require('chalk');

module.exports = () => {
    let str = '';
    Object.keys(config.templates).forEach((item, index, array) => {
        if (index === array.length - 1) {
            str += item;
        } else {
            str += `${item} \n`;
        }
    });
    console.log(chalk.cyan(str));
    process.exit();

}
添加命令:
#!/usr/bin/env node

const { program } = require('commander');

...

program
    .command('list')
    .description('show temlpate list')
    .alias('l')
    .action(() => {
        require('../command/list')()
    });

...
执行 npm link --force ,然后再执行配置好的命令 xman l:
通过命令检查CLI版本是否是最新版本
一个通用的脚手架工具肯定不是自己一个人用的,使用的人可能需要知道CLI是不是有最新版本,所以也需要有检查CLI版本的功能。
新建 bin/update.js:
const updateNotifier = require('update-notifier');  // 更新CLI应用程序的通知
const chalk = require('chalk');
const pkg = require('../package.json');

const notifier = updateNotifier({
    pkg,
    updateCheckInterval: 1000 * 60 * 60, // 默认为 1000 * 60 * 60 * 24(1 天)
})

function updateChk() {
    if (notifier.update) {
        console.log(`有新版本可用:${chalk.cyan(notifier.update.latest)},建议您在使用前进行更新`);
        notifier.notify();
    } else {
        console.log(chalk.cyan('已经是最新版本'));
    }
};

module.exports = updateChk;
添加命令:
#!/usr/bin/env node

const { program } = require('commander');

...

program
    .command('upgrade')
    .description("Check the js-plugin-cli version.")
    .alias('u')
    .action(() => {
        updateChk();
    });

...
执行 npm link --force ,然后再执行配置好的命令 xman u:

到此,我们已经实现了一个基础但很完整的web工程通用脚手架工具。大家可以根据自己的实际需求进行修改和拓展了。
一个web工程通用脚手架的本质作用其实就是以下几点:
- 快速的创建基础项目结构;
- 提供项目开发的规范和约定;
- 根据实际项目需求,定制不同的功能,来提高我们的效率。
Recommend
About Joyk
Aggregate valuable and interesting links.
Joyk means Joy of geeK