
10

手把手教你opencv做人脸识别(附源码+文档)
source link: https://blog.csdn.net/weixin_46211269/article/details/120118177
Go to the source link to view the article. You can view the picture content, updated content and better typesetting reading experience. If the link is broken, please click the button below to view the snapshot at that time.

pip install opencv-python
python3.9
pycharm2020
人狠话不多,直接上代码,注释在代码里面,不说废话。
二、使用Haar级联进行人脸检测
测试案例:
代码:(记得自己到下载地址下载对应的xml)
# coding=gbk
"""
作者:川川
@时间  : 2021/9/5 16:38
https://github.com/opencv/opencv/tree/master/data/haarcascades
"""
import cv2

# 待检测的图片路径
imagepath="2.jpg"

image = cv2.imread(imagepath)#读取图片
gray = cv2.cvtColor(image,cv2.COLOR_BGR2GRAY)#图像转换为灰度图:

face_cascade = cv2.CascadeClassifier(r'./haarcascade_frontalface_default.xml')#加载使用人脸识别器

faces = face_cascade.detectMultiScale(gray)#检测图像中的所有面孔

#为每个人脸绘制一个蓝色矩形
for x, y, width, height in faces:
	# 这里的color是 蓝 黄 红,与rgb相反,thickness设置宽度
    cv2.rectangle(image, (x, y), (x + width, y + height), color=(255, 0, 0), thickness=2)

# 最后,让我们保存新图像
cv2.imwrite("beauty_detected.jpg", image)
效果:
效果可以看出这个效果并不是很好。
三、Haar级联结合摄像头
代码:(还是用的前面得xml)
# coding=gbk
"""
摄像头人脸识别
作者:川川
@时间  : 2021/9/5 17:15
Haar级联结合摄像头
"""
import cv2

#创建新的cam对象
cap = cv2.VideoCapture(0,cv2.CAP_DSHOW)
#初始化人脸识别器(默认的人脸haar级联)
face_cascade = cv2.CascadeClassifier(r'./haarcascade_frontalface_default.xml')

while True:
    # 从摄像头读取图像
    _, image = cap.read()
    # 转换为灰度
    image_gray = cv2.cvtColor(image, cv2.COLOR_BGR2GRAY)
    # 检测图像中的所有人脸
    faces = face_cascade.detectMultiScale(image_gray, 1.3, 5)
    # 为每个人脸绘制一个蓝色矩形
    for x, y, width, height in faces:
        cv2.rectangle(image, (x, y), (x + width, y + height), color=(255, 0, 0), thickness=2)
    cv2.imshow("image", image)
    if cv2.waitKey(1) == ord("q"):
        break

cap.release()
cv2.destroyAllWindows()
效果: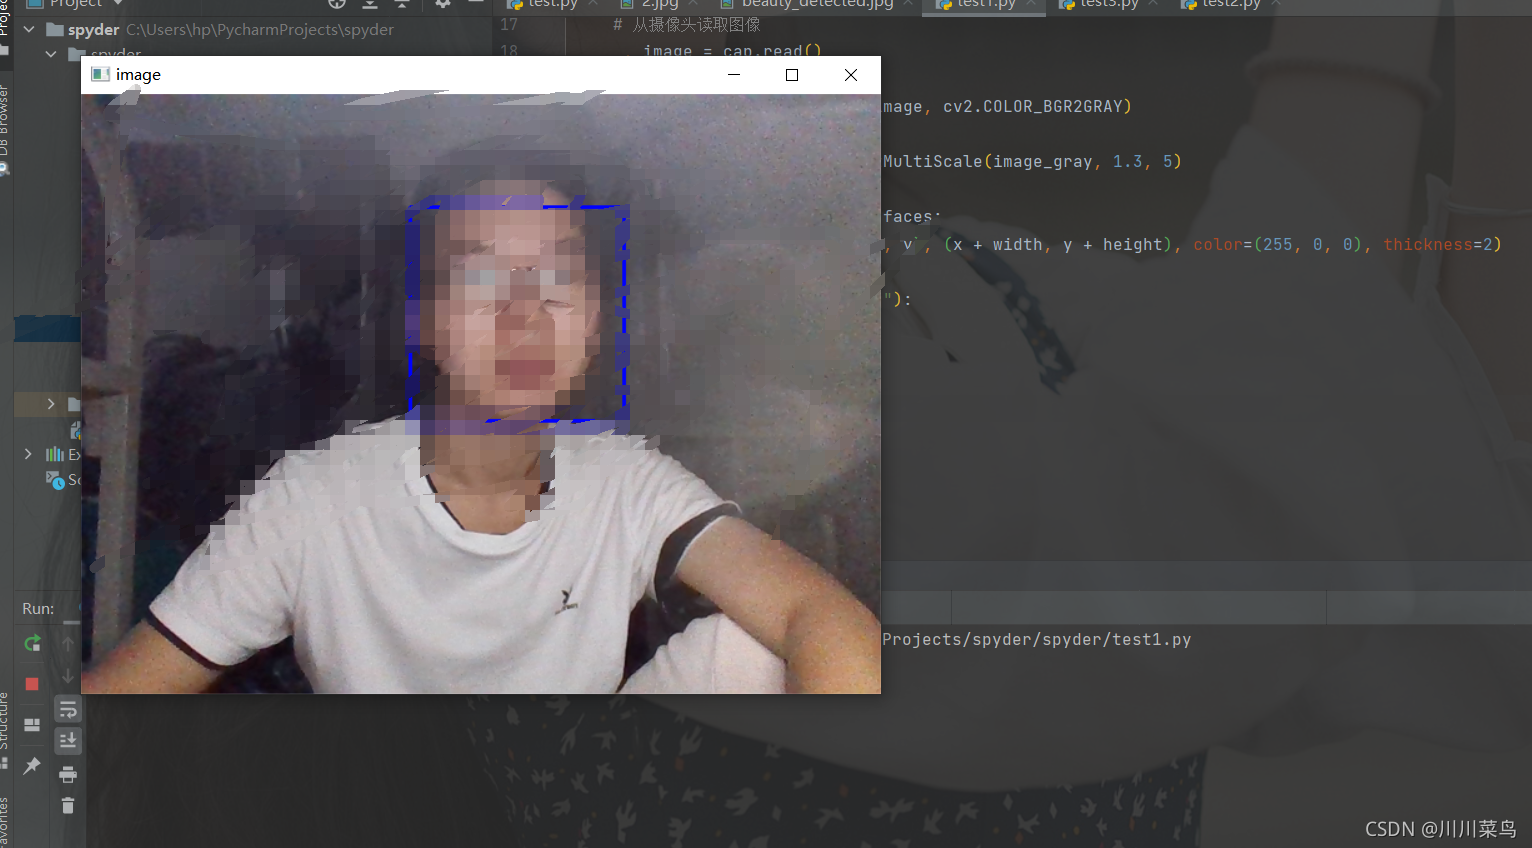
四、使用SSD的人脸检测
# coding=gbk
"""
图片人脸识别
作者:川川
@时间  : 2021/9/5 17:22
"""
import cv2
import numpy as np
# 下载链接:https://raw.githubusercontent.com/opencv/opencv/master/samples/dnn/face_detector/deploy.prototxt
prototxt_path = r"./deploy.prototxt.txt"
# 下载链接:https://raw.githubusercontent.com/opencv/opencv_3rdparty/dnn_samples_face_detector_20180205_fp16/res10_300x300_ssd_iter_140000_fp16.caffemodel
model_path =r"./res10_300x300_ssd_iter_140000_fp16.caffemodel"
model = cv2.dnn.readNetFromCaffe(prototxt_path, model_path)
image = cv2.imread("2.jpg")
h, w = image.shape[:2]
blob = cv2.dnn.blobFromImage(image, 1.0, (300, 300),(104.0, 177.0, 123.0))
model.setInput(blob)
output = np.squeeze(model.forward())
font_scale = 1.0
for i in range(0, output.shape[0]):
    confidence = output[i, 2]
    if confidence > 0.5:
        box = output[i, 3:7] * np.array([w, h, w, h])
        start_x, start_y, end_x, end_y = box.astype(np.int)
        cv2.rectangle(image, (start_x, start_y), (end_x, end_y), color=(255, 0, 0), thickness=2)
        cv2.putText(image, f"{confidence*100:.2f}%", (start_x, start_y-5), cv2.FONT_HERSHEY_SIMPLEX, font_scale, (255, 0, 0), 2)
cv2.imshow("image", image)
cv2.waitKey(0)
cv2.imwrite("beauty_detected.jpg", image)
效果: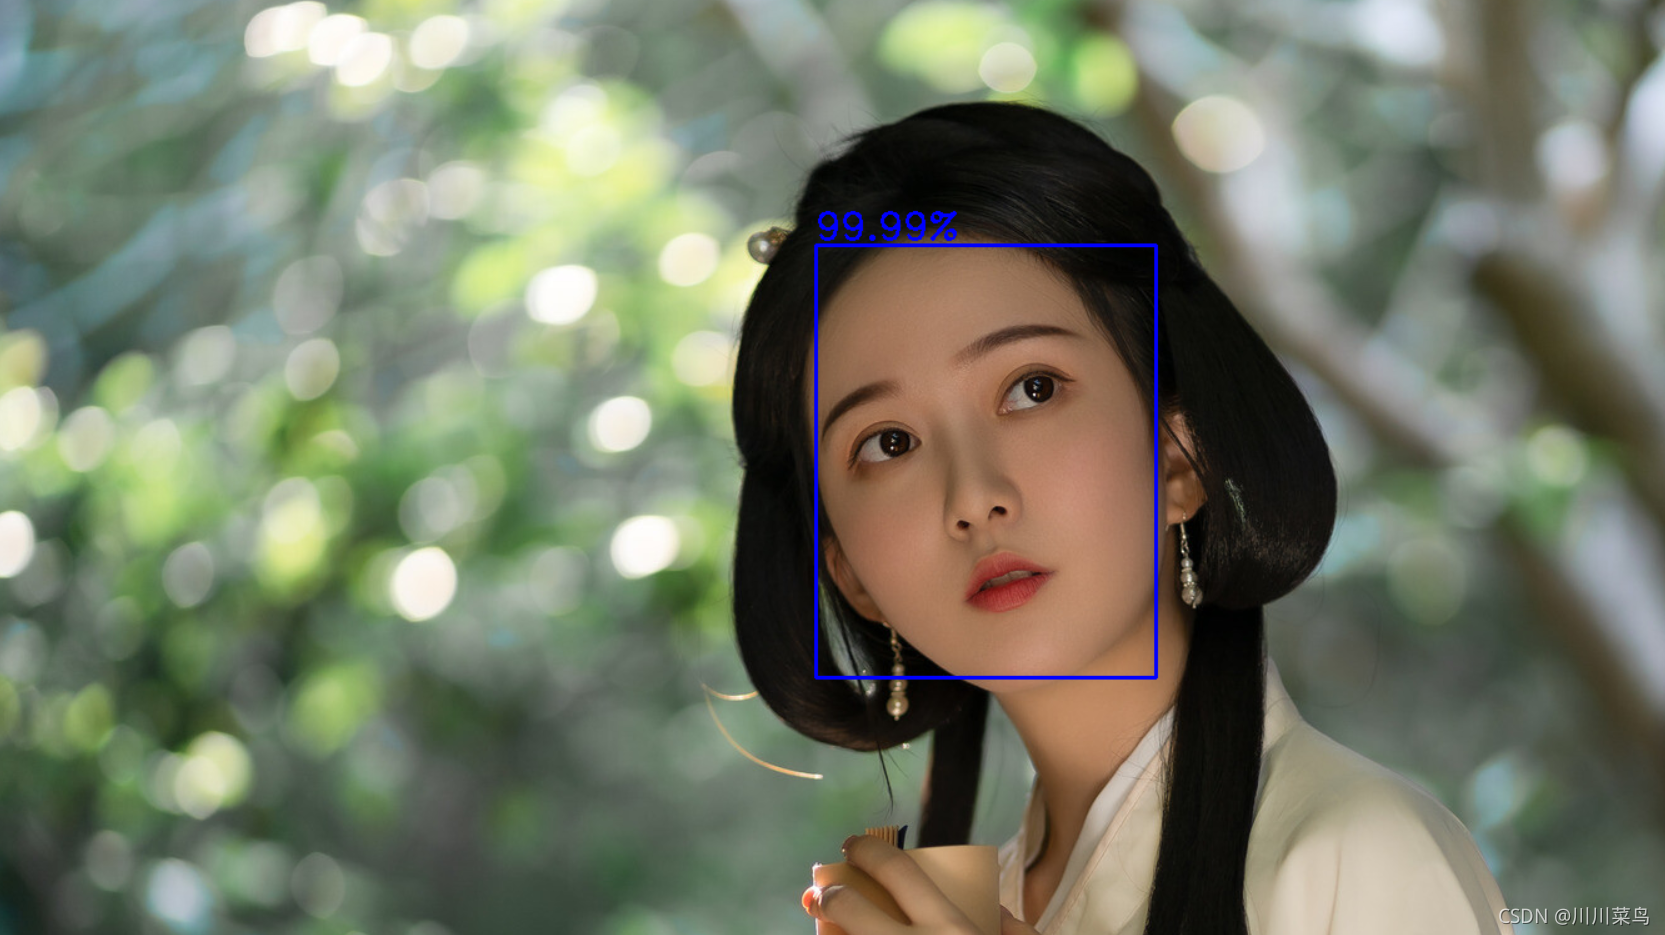
我们可以看到现在的识别效果非常好了。
五、 SSD结合摄像头人脸检测
# coding=gbk
"""
作者:川川
@时间  : 2021/9/5 17:26
SSD结合摄像头的人脸检测
"""
import cv2
import numpy as np
prototxt_path = "deploy.prototxt.txt"
model_path = "res10_300x300_ssd_iter_140000_fp16.caffemodel"
model = cv2.dnn.readNetFromCaffe(prototxt_path, model_path)
cap = cv2.VideoCapture(0)
while True:
    _, image = cap.read()
    h, w = image.shape[:2]
    blob = cv2.dnn.blobFromImage(image, 1.0, (300, 300), (104.0, 177.0, 123.0))
    model.setInput(blob)
    output = np.squeeze(model.forward())
    font_scale = 1.0
    for i in range(0, output.shape[0]):
        confidence = output[i, 2]
        if confidence > 0.5:
            box = output[i, 3:7] * np.array([w, h, w, h])
            start_x, start_y, end_x, end_y = box.astype(np.int)
            cv2.rectangle(image, (start_x, start_y), (end_x, end_y), color=(255, 0, 0), thickness=2)
            cv2.putText(image, f"{confidence*100:.2f}%", (start_x, start_y-5), cv2.FONT_HERSHEY_SIMPLEX, font_scale, (255, 0, 0), 2)
    cv2.imshow("image", image)
    if cv2.waitKey(1) == ord("q"):
        break
cv2.destroyAllWindows()
cap.release()
效果: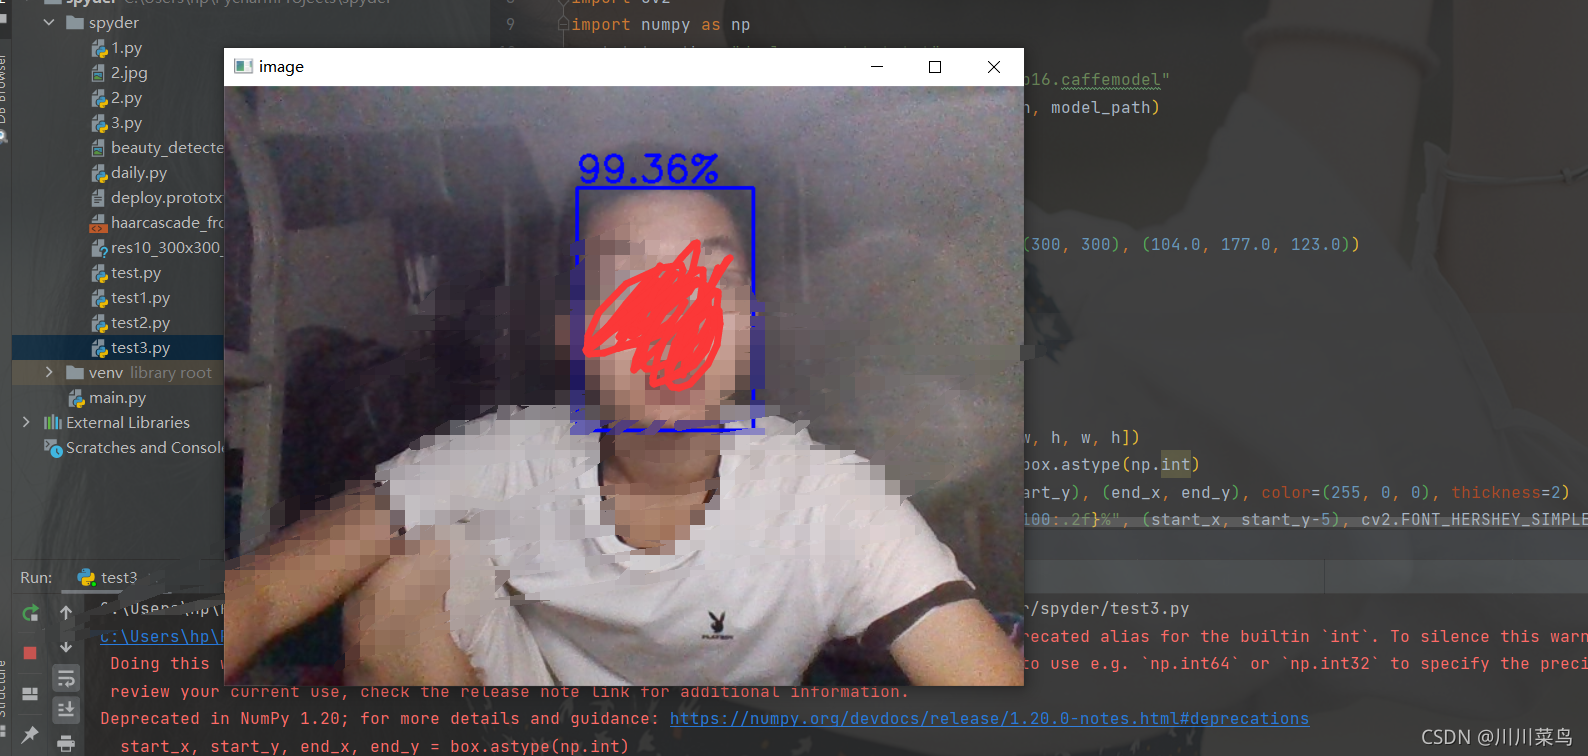
可以发现SSD效果特别好!
如果你想更深了解这些原理,去读一下opencv文档吧,中文官方文档如下:
https://woshicver.com/
在很多人调用xm会遇到一些坑,我在这里说一下,读取xml的时候用相对路径./这种,参考我的,建议不要路径中出现中文,其它没啥了。如果对你有帮助,三连支持一下,谢谢。
Recommend
About Joyk
Aggregate valuable and interesting links.
Joyk means Joy of geeK