

C# For Beginners - Getting Started
source link: https://dev.to/coding_mama/c-for-beginners-getting-started-4poa
Go to the source link to view the article. You can view the picture content, updated content and better typesetting reading experience. If the link is broken, please click the button below to view the snapshot at that time.

How The Tutorial Works
The tutorial is divided into a number of lessons. Each lesson introduces new concepts, and sample code is displayed to demonstrate those concepts.
If possible, try not to copy and paste the code. Instead, do your best to follow along by typing out each line. You will start building coding "muscle memory" this way.
At the end of each lesson the tutorial will test your knowledge, with questions or challenges for you to complete yourself. Make sure that before you tackle them, you fully understand what the question or the challenge is looking for.
Sometimes beginner programmers get stuck because they have gone through the material too fast, and accidentally formed an incorrect assumption because of a small error.
If you find yourself unable to solve a challenge, try going through the lesson again. Don't be afraid to go slowly - you might have missed something small. C# can be very strict, so you need to ensure that your code is precise and follows the exact structure expected.
Set Up Your Workspace
You'll use Dotnet Interactive Notebooks as your workspace. It's an extension for Visual Studio Code (a code editor) that allows you to write and run C# code directly in the virtual notebook.
Tip
Visual Studio Code and the Dotnet Interactive Notebooks extension can be downloaded as a single installer. Go to https://dotnet.microsoft.com/learntocode and download the ".NET Coding Pack".
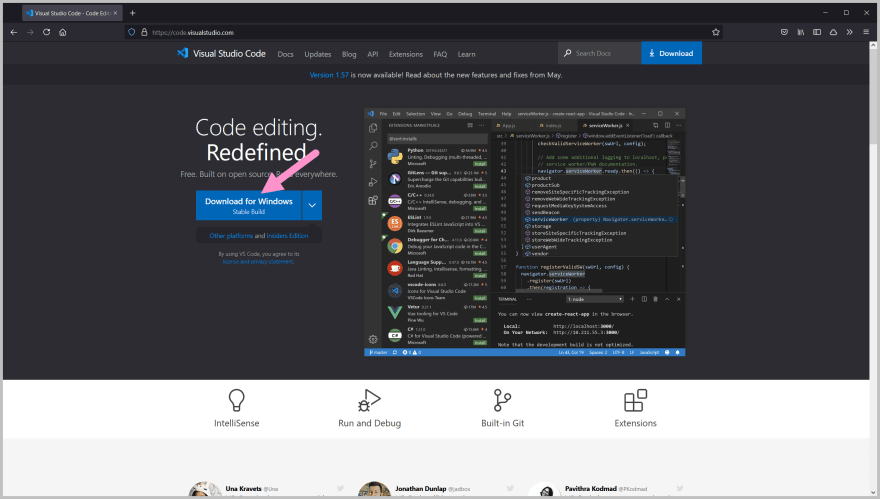
Download and install Visual Studio Code.
Launch Visual Studio Code. You'll see a screen similar to the one below.
Open the Extensions panel by clicking the button on sidebar, or from the menu bar by clicking on View then selecting Extensions.
Type ".NET Interactive Notebooks" in the search bar on the Extensions panel. Click on the Install button to install the extension.
Create a new Notebook by opening the Command Palette (Ctrl + Shift + P in Windows, Cmd + Shift + P on Mac) and selecting ".NET Interactive: Create new blank notebook".
You can also use the keyboard shortcut Ctrl + Shift + Alt + N (Windows) or Cmd + Shift + Alt + N (Mac) to create the notebook.
Select "Create as .dib" in the next section.
Next, select "C#" as the language.
The .NET Interactive files will download if they haven't been installed yet.
When you see this screen, your notebook is ready! Write your C# code in the box.
To run the code, click on the Execute button on the left-hand side, or press Ctrl + Alt + Enter (Windows) / Cmd + Alt + Enter (Mac).
Recommend
About Joyk
Aggregate valuable and interesting links.
Joyk means Joy of geeK