

DocumentViewer: Deploying Forms
source link: https://www.textcontrol.com/blog/2021/07/02/document-viewer-deploying-forms/
Go to the source link to view the article. You can view the picture content, updated content and better typesetting reading experience. If the link is broken, please click the button below to view the snapshot at that time.

The DocumentViewer for ASP.NET and Angular supports the completion of MS Word compatible form fields including text form fields, checkboxes, dropdowns and date picker fields. Form fields are available automatically when they are part of the document that is loaded into the DocumentViewer. Based on the Conditional Instructions , required fields can be validated.
Forms, that can be created in the TX Text Control editor, are deployed using the DocumentViewer that allows end-users to complete form fields. The completed data can be merged back into the document in order to create a PDF document or it is possible to extract the form data only. This is helpful, if the completed data should be used to write them back into a database or the form data should be analyzed.
This ASP.NET Core sample shows how to deploy a form and how to collect the resulting data. For demo purposes, all Deployments are stored in a simple JSON file server-side. After creating a new Deployment, the list of available deployments is updated:
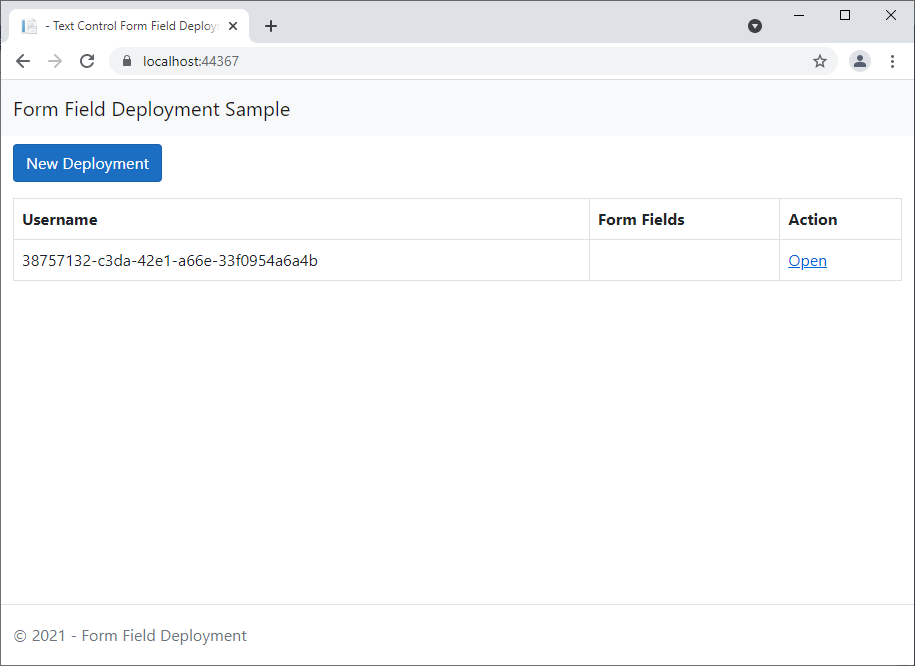
The Deployment simply stores a user name (or id) and the available form fields:
public class Deployment { public string Username { get; set; } public FormField[] FormFields { get; set; } }
The FormField model contains the Name, Type and Value and is returned by the forms.getValues JavaScript method of the DocumentViewer:
public class FormField { public string name { get; set; } public string type { get; set; } public dynamic value { get; set; } }
After clicking on Open, the end-user's view is opened in a new tab:
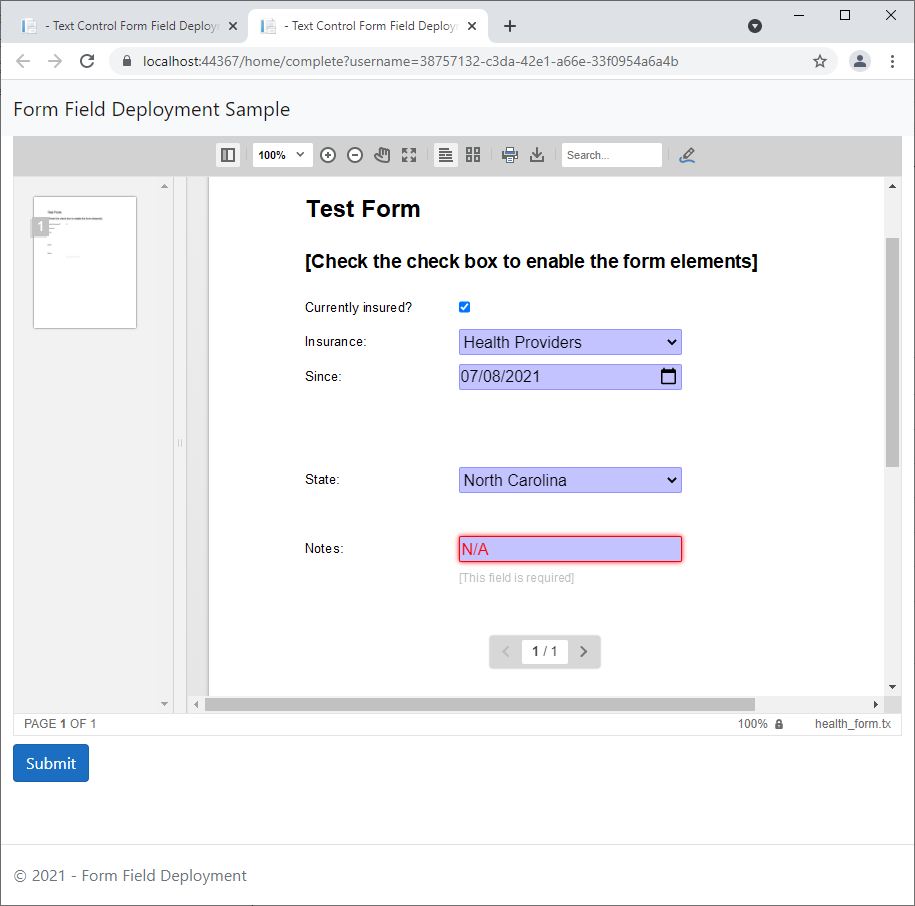
After all fields have been completed, the form field values are posted back to the controller:
function submitform() {
// validate forms var valid = TXDocumentViewer.forms.validate();
if (valid === false) { // not valid $('.alert-info').text( "Document contains invalid form fields.").show().delay(5000).fadeOut(); return; }
// -> valid
// get the form values var formsJson = JSON.stringify(TXDocumentViewer.forms.getValues());
// send values to controller var serviceURL = "@Url.Action("FormValues", "Home", new { username = Model.Username })";
$.ajax({ type: "POST", url: serviceURL, contentType: 'application/json', data: formsJson, success: successFunc, error: errorFunc });
function successFunc(data, status) { $('.alert-info').text( "Thanks. Your document has been submitted!").show().delay(5000).fadeOut(); TXDocumentViewer.downloadDocument(TXDocumentViewer.StreamType.AdobePDF, true); }
function errorFunc() { $('.alert-info').text("Oops! There was an error.").show().delay(5000).fadeOut(); } }
The controller method FormValues is deserializing the form field values and calls the helper method DeploymentHelpers.WriteValue:
[HttpPost] public IActionResult FormValues(string Username) {
// read stream to retrieve form field values Stream inputStream = Request.Body; FormField[] fields;
StreamReader str = new StreamReader(inputStream);
string sBuf = str.ReadToEndAsync().Result; fields = (FormField[])JsonConvert.DeserializeObject(sBuf, typeof(FormField[]));
// write the values DeploymentHelpers.WriteValue(Username, fields);
return Ok(); }
The DeploymentHelpers.WriteValue method is writing the completed form field values into the Deployments data source:
public static bool WriteValue(string username, FormField[] formFields) {
List<Deployment> deployments = GetDeployments();
foreach (Deployment deployment in deployments) { if (deployment.Username == username) { deployment.FormFields = formFields;
System.IO.File.WriteAllText("App_Data/deployments.json", JsonConvert.SerializeObject(deployments));
return true; } }
return false; }
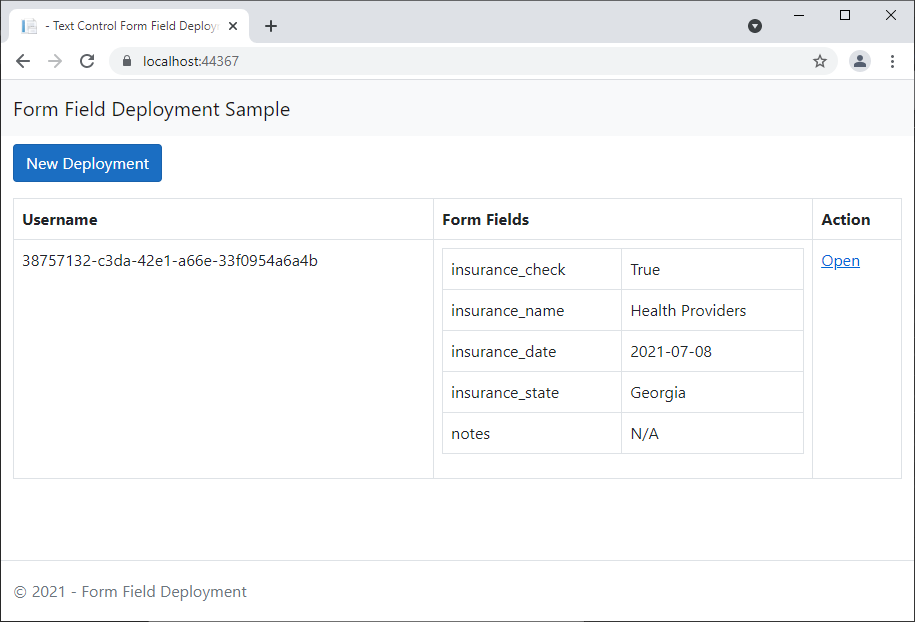
Back in the overview, the posted values are now visible in the table:
You can test this sample on your own by downloading the project from our GitHub account.
Recommend
About Joyk
Aggregate valuable and interesting links.
Joyk means Joy of geeK