

The March of IDEs – Installing Visual Studio Code on Ubuntu
source link: https://mikesmithers.wordpress.com/2017/08/28/the-march-of-ides-installing-visual-studio-code-on-ubuntu/
Go to the source link to view the article. You can view the picture content, updated content and better typesetting reading experience. If the link is broken, please click the button below to view the snapshot at that time.

The March of IDEs – Installing Visual Studio Code on Ubuntu
When I started programming, the world was black and white. I’d write my code in Vi on Unix ( Sequent’s dynix/ptx if you want to get personal) and then run it through a compiler to find any errors. End of story, [Esc]:wq!.
Then, along came GUI IDEs with their white backgrounds and syntax colouring.
Things now seem to have come full circle as the colour schemes currently en vogue for IDEs tend to look a bit like this :

Finding a lightweight, general purpose IDE for Linux has been something of a quest for me. It’s not that there aren’t any out there, it’s just that none of them quite seemed to be exactly what I was looking for. Until now.
Look, I know that programmers tend to be rather attached to their favourite editor/IDE and this post is not an attempt to prise anyone away from their current toolset. It is simply an account of how I managed to install and configure Visual Studio Code in Ubuntu to use for Python.
Hang on, lightweight ? We’re talking about Microsoft Visual Studio, right ?
Actually, Visual Studio Code (VS Code) is a rather different beast from the Visual Studio Professional behemoth that’s used for knocking up .Net applications on Windows.
What I’m going to cover here is :
- Installing VS Code
- Adding the Python plug-in
- Adding a Python linter
- Executing a program the simple way
- Using intellisense for code-completion
- Debugging a program
- Executing a program inside VS Code
If you’ve stumbled across this post in the hope of finding some information about setting up VS Code for PL/SQL, I would refer you to Morten Braten’s excellent post on the subject.
Here and now though, it’s Python all the way…
Installation
For the purposes of this post, I’m running Ubuntu 16.04 LTS as my OS.
To obtain VS Code, you could simply search the Ubuntu Software Centre for vscode and install from there.
Alternatively, you can point your browser at the Visual Studio Code download page :

In my case, I’m running Ubuntu so I need the Debian package. A 41MB download later and I’m the proud owner of…
code_1.15.0-1502309460_amd64.debwhich I can install by running …
dpkg -i code_1.15.0-1502309460_amd64.deb …which will lead to output similar to…
Selecting previously unselected package code.(Reading database ... 176222 files and directories currently installed.)Preparing to unpack code_1.15.0-1502309460_amd64.deb ...Unpacking code (1.15.0-1502309460) ...Setting up code (1.15.0-1502309460) ...Processing triggers for gnome-menus (3.13.3-6ubuntu3.1) ...Processing triggers for desktop-file-utils (0.22-1ubuntu5.1) ...Processing triggers for bamfdaemon (0.5.3~bzr0+16.04.20160824-0ubuntu1) ...Rebuilding /usr/share/applications/bamf-2.index...Processing triggers for mime-support (3.59ubuntu1) ...Now that’s done, I can see Visual Studio Code when I search in the Unity lens. Furthermore, the installation process creates a symbolic link to the Visual Studio Code executable in /usr/bin, which is in your $PATH by default. Therefore, you can start it from the command line, simply by typing :
codeJust in case things aren’t going exactly as I’ve described here, you can always refer to the full official installation instructions.
Now we’re up and running the next step is…
Adding the Python plug-in
To customize Visual Studio Code to work with a language, you’re probably going to need to add an extension. In this case, we need one for Python.
Start by clicking on the Extensions icon…
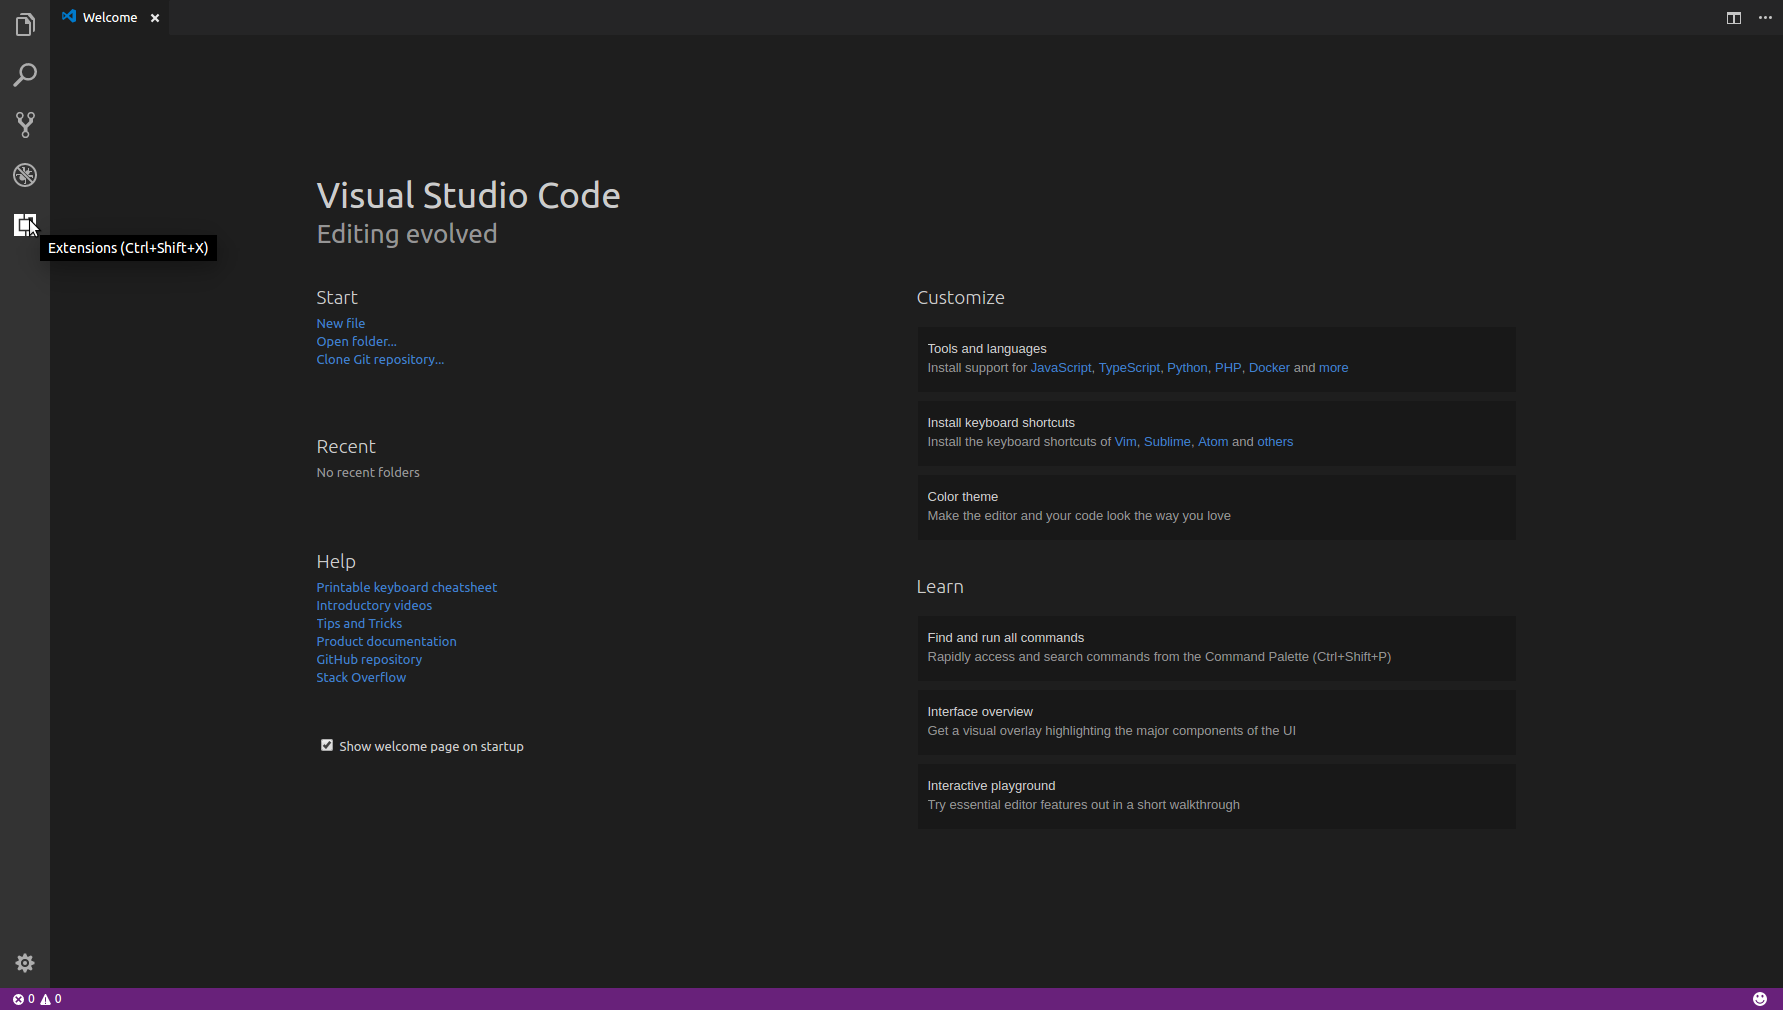
…which should display the Extensions Marketplace…
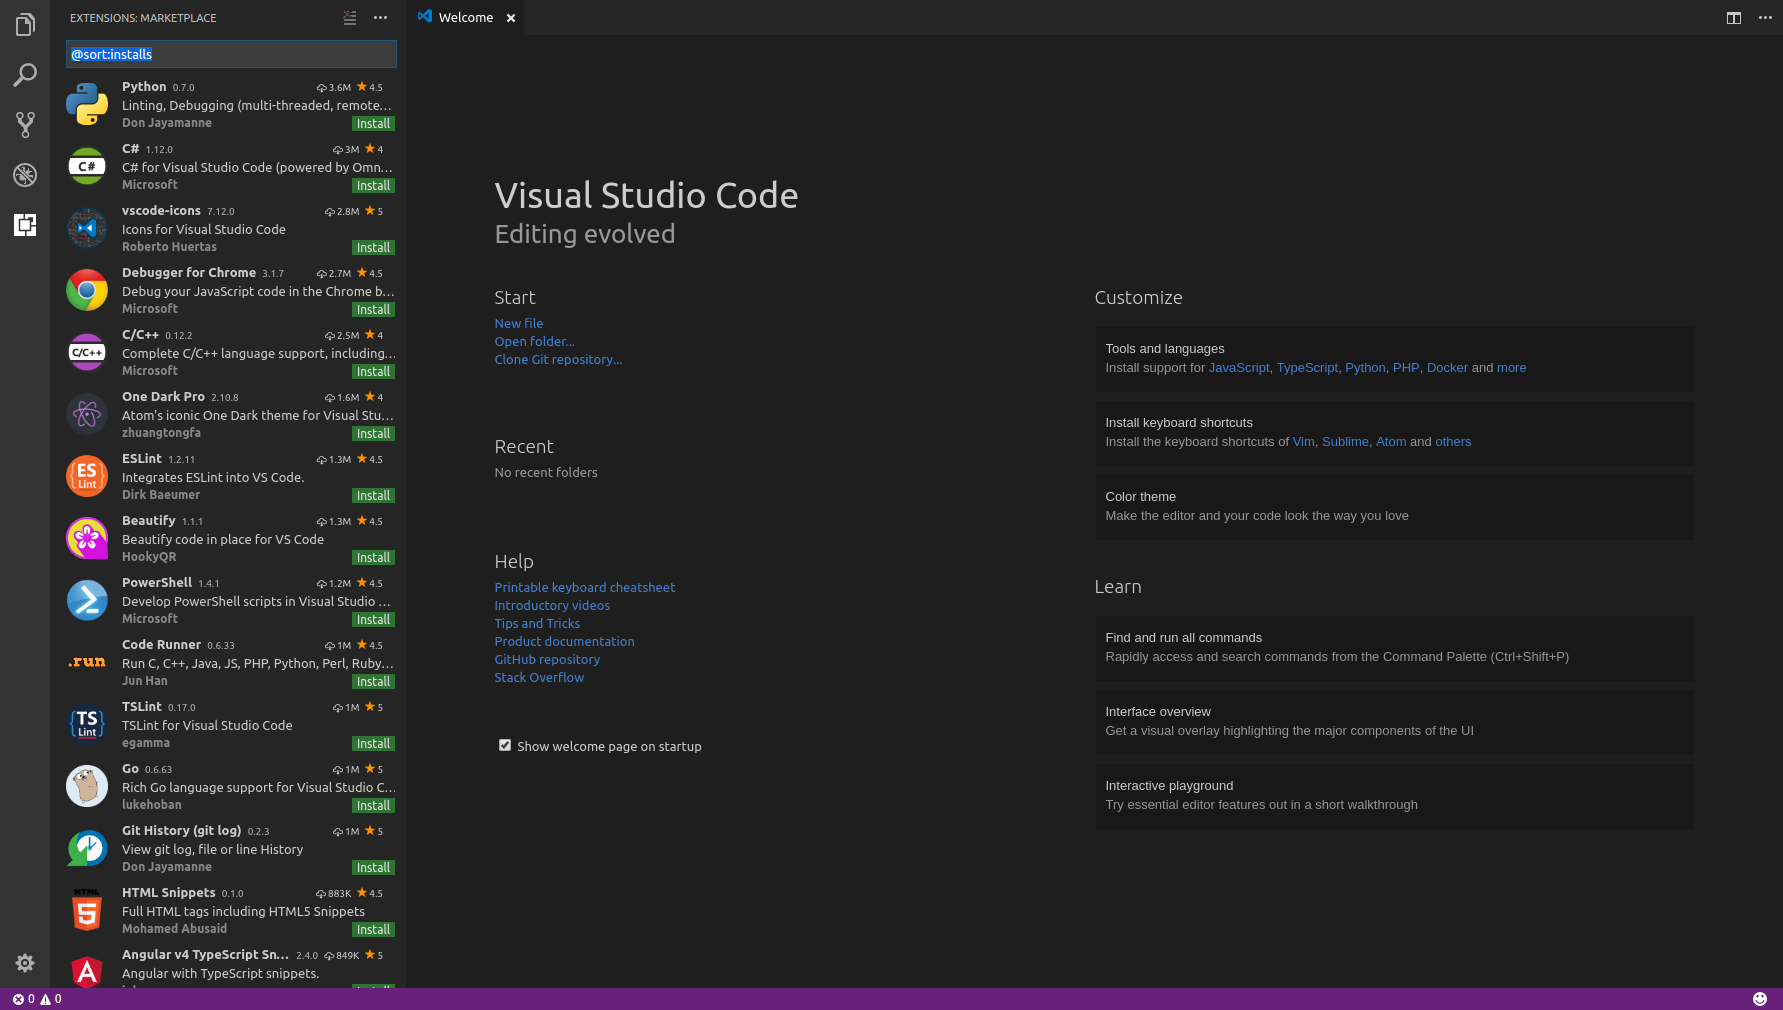
Clicking on an item in the marketplace causes further details to be displayed. I want to equip VS Code for Python so…

Click the Install button and wait for a bit. Eventually, the green install button will disappear and we’re ready to write some python…
Adding the Python Linter
OK, not quite ready. Like many IDE’s, VS Code works on the concept of workspaces which pretty much map to directories on disk.
So, I’ve created a directory under my Home in Ubuntu to hold my pythonic masterpieces…
mkdir $HOME/python_stuffI can now open this folder from the File menu in VS Code (using the Open Folder option).
VS Code now recognizes that we’re writing a Python program.
It’s first action at this point, is to moan about the absence of a linter…

Tempting as it may be to dismiss this error and press on, it really is worth listening to VS Code.
Yes, at it’s worst, a linter can just be a way of automating your OCD – complaining about a space after a bracket here or trailing spaces there. At it’s best however, it does do the job of a compiler and point out some not-so trivial mistakes before you find them yourself by running the code and wading back through the error stack.
So, click on the Install pylint option…
At this point you may get one or more of the following errors…
If you’re using a vanilla install of Ubuntu, or most other distros for that matter, it’s likely that you haven’t got the python package manager, Pip, installed.
This will cause VS Code to display something like this in the terminal window :
/usr/bin/python -m pip install pylint/usr/bin/python: No module named pipWe can fix this by installing pip :
sudo apt-get -y install python-pipOnce that’s done, you now need to re-execute the command VS Code was trying to run.
Just a pause before we get there though. If you did have pip installed, you would be likely to run across a different error.
This is likely to be a permissions issue. Simply re-executing the command as sudo should resolve this.
sudo /usr/bin/python -m pip install pylintsAnyhow, now we’ve got the linter installed we can now edit message.py. Let’s keep things simple…
print('Ooohh, this is new !')As you start typing Intellisense kicks in offering completion options.
Once you save the file, you can click on the problems tab and see that the linter is at it’s most obsessive/compulsive…
Picky, picky, picky
Among other things, you’ll notice that the linter is complaining about the brackets in the print statement. This is because we’re using the distros default python executable – i.e. 2.7.6.
You can persuade VS Code to use Python 3 should you be so inclined. Details for doing this can be found in the articles I’ve linked to at the end of the post.
After making a few adjustments to my code…
''' Docstring to keep the linter happy '''print 'Ooohh, this is new !'the linter is now content…
NOTE We will come on to a more “integrated” way of running a program in your Integrated Development Environment later. For now though, to run the program, right-click in the Editor and select Run Python File in Terminal from the pop-up menu …
…which happens in the integrated Terminal tab :
That’s all OK, I suppose, but how about something a bit more substantial as an example ?
An example that’s a bit more (intelli)sensible
Here’s something that’s a bit more of a challenge for VS Code, a program to provide details of the platform it’s running on.
We’ll be using the platform library, which should give Intellisense a bit more of a workout.
We’ll also be setting some variables, which could prove useful when we come to test VS Code’s debug features.
The finished code will be saved in a file called current_machine.py and will look something like this :
''' Display details of the current machine '''import platformdef main():machine_name = platform.node()os_type = platform.system()print 'Host - ' + machine_name + ' running on ' + os_typeif platform.system() == 'Linux':print platform.linux_distribution()if __name__ == '__main__':main()As you start to reference the platform package, Intellisense kicks in with an accurate list of options :
Right, I’ve finished writing my program and I’m saving it. Unfortunately there’s a typo in here ( I’ve not indented the print statement)

Fortunately, by going to the Problems tab, I can see that the Linter has caught this :
Picky, picky…actually, you’ve got a point.
Once I’ve made the correction, and added the newline at the end of the program, the linter still is not entirely happy :

However, this is a warning rather than an error, so I’m going to ignore it and press on…
Running in Debug
Clicking on the Debug button opens up the debugging pane :

I can add breakpoints simply by clicking in the gutter to the left of the line numbers.
In my case I have one at line 7, just before the assignment of os_type and one at line 11, before the if statement.
You can see the details of these breakpoints in the Breakpoints section at the bottom of the Debug Pane :

Now, I want to add a watch for the os_type variable.
If I hover the mouse over the Watch title bar, I get a “+” icon…

Click on this, I can enter the name of the variable I want to watch…

Note that, at this stage, we have no configuration defined and a little red dot on the settings icon at the top of the debug pane.
If we click on this, a file called launch.json appears…

Behind the scenes, this file has been generated in the root directory of the project under the .vscode hidden directory.
As a result, we now have a Python config we can use for our debugging session.

Now we have the Python config selected, hit the green run button next to the config name…

Using the debug button palette that appears, click the run button which should take us to the first breakpoint…
If I then hit the Step Over button, I can see the new value of os_type

If I hit it again, the output of the print statement shows up in the Debug Console :

At the end of the program execution, it all looks like this :

Adding a task to run Python natively in VS Code
Remember, I said a little while ago about enabling VS Code to run our Python programs from inside the tool itself ?
In the Tasks menu, select Configure Tasks
This should give you a drop-down list of option. Select Others…

For now, we’re going to keep things simple and just replace the contents of our new tasks.json so that it looks like this :
{// for the documentation about the tasks.json format"version": "0.1.0","command": "python","isShellCommand": true,"showOutput": "always","args": ["${file}"]}Save this file. You can now see it in the same location as launch.json which we created earlier for the debugger :
ls -1 ~/python_stuff/.vscodelaunch.jsontasks.jsonWe can now execute the program from within VS Code. From the Tasks menu select Run Task…
Our newly configured python task will appear in the drop-down :

Select the task and the program will execute. We can see the output in the Output Pane :

Of course, this isn’t the end of the story. There’s far more that you can do to make yourself comfortable in VS Code.
This article from Linux on Azure and this one by Doug MaHugh, both address the question of what you need to do to use the Python 3 interpreter.
Hopefully though, this is enough to get you started.
Recommend
About Joyk
Aggregate valuable and interesting links.
Joyk means Joy of geeK