使用 Electron5.0 构建你的 React 项目
2019/7月/13 13:51:17
发布在
技术博文
123 次阅读
2112 次阅读
最近要使用 Electron 来构建 React 项目,突然发现之前的 Demo 已经不能正常运行了,有些感概技术发展的迅猛。
如果你还不了解 Electron,可以看我之前的文章:初探 Electron - 理论篇,理论知识没有变。如果你想了解 Electron5.0 版本如何构建 React 项目,不妨继续看本文。
需要注意:网上流传的 1.0 版本的项目应该已经启动不了了。
一、为什么要写此文
之前研究的时候,Electron 还是 1.0 版本,因此写了一系列的文章。
经过本次尝试,发现 5.0 版本有了更多的变化,所以不想误人子弟,索性更新此系列文章。
二、创建 React 项目
1.首先,全局安装 cli:
1
| npm install --global create-react-app
|
2.创建项目
1
| create-react-app electron5-react-demo
|
1
| cd electron5-react-demo && yarn start
|
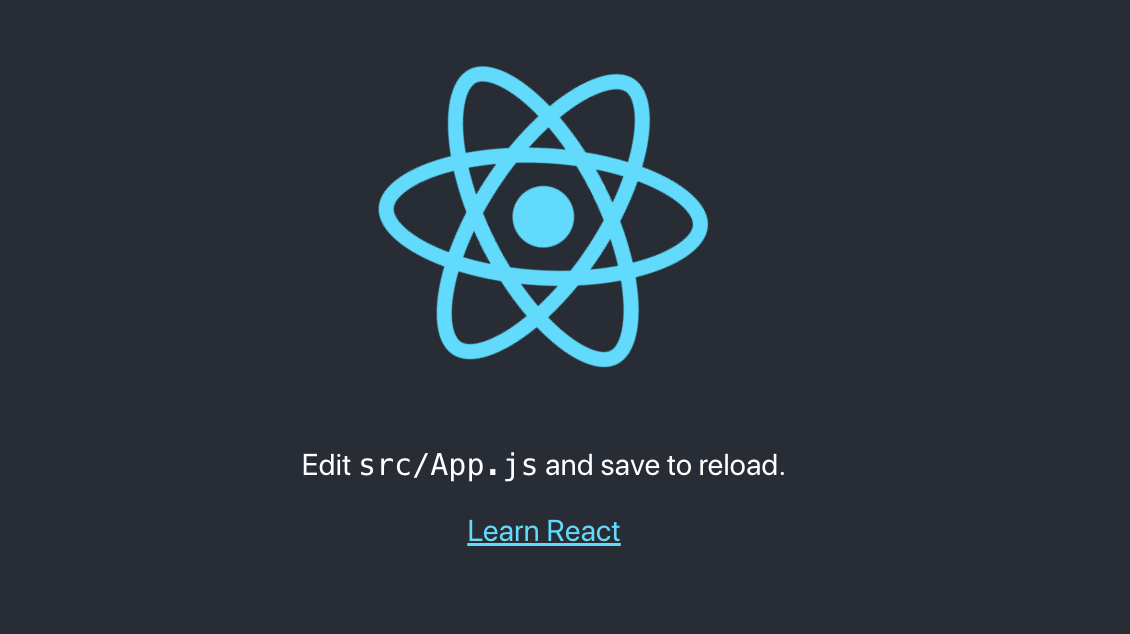
4.访问 http://localhost:3000/ 如果看到如下页面,说明你的 React 项目已经成功启动了。
三、集成 Electron 环境
1.首先需要安装 Electron 和 Electron-builder
1
| yarn add electron electron-builder --dev
|
2.增加相应开发工具
yarn add wait-on concurrently --dev
yarn add cross-env electron-is-dev
|
3.项目根目录下新建文件:electron.js
1
| touch public/electron.js
|
此时项目目录如下:
1
2
3
4
5
6
7
8
9
10
11
12
13
14
15
16
17
18
| .
├── README.md
├── main.js
├── node_modules
├── public
│ ├── electron.js
│ ├── favicon.ico
│ ├── index.html
│ └── manifest.json
├── src
│ ├── App.css
│ ├── App.js
│ ├── App.test.js
│ ├── index.css
│ ├── index.js
│ ├── logo.svg
│ └── serviceWorker.js
└── yarn.lock
|
4.修改代码,可以去官网上拷贝一份内容,写入 electron.js,具体如下:
1
2
3
4
5
6
7
8
9
10
11
12
13
14
15
16
17
18
19
20
21
22
23
24
25
26
27
28
29
30
31
32
33
34
35
36
37
38
39
40
41
42
43
44
45
46
47
48
49
50
51
52
53
54
55
56
57
| // Modules to control application life and create native browser window
const {app, BrowserWindow} = require('electron')
const path = require('path')
+ const isDev = require('electron-is-dev');
// Keep a global reference of the window object, if you don't, the window will
// be closed automatically when the JavaScript object is garbage collected.
let mainWindow
function createWindow () {
// Create the browser window.
mainWindow = new BrowserWindow({
width: 800,
height: 600,
webPreferences: {
preload: path.join(__dirname, 'preload.js')
}
})
+ mainWindow.loadURL(
+ isDev
+ ? 'http://localhost:3000'
+ : `file://${path.join(__dirname, "../build/index.html")}`
+ );
// Open the DevTools.
// mainWindow.webContents.openDevTools()
// Emitted when the window is closed.
mainWindow.on('closed', function () {
// Dereference the window object, usually you would store windows
// in an array if your app supports multi windows, this is the time
// when you should delete the corresponding element.
mainWindow = null
})
}
// This method will be called when Electron has finished
// initialization and is ready to create browser windows.
// Some APIs can only be used after this event occurs.
app.on('ready', createWindow)
// Quit when all windows are closed.
app.on('window-all-closed', function () {
// On macOS it is common for applications and their menu bar
// to stay active until the user quits explicitly with Cmd + Q
if (process.platform !== 'darwin') app.quit()
})
app.on('activate', function () {
// On macOS it's common to re-create a window in the app when the
// dock icon is clicked and there are no other windows open.
if (mainWindow === null) createWindow()
})
// In this file you can include the rest of your app's specific main process
// code. You can also put them in separate files and require them here.
|
注意我们做了两处修改(加号位置):
1
2
3
4
5
6
7
8
9
10
| // 引入环境变量:
const isDev = require('electron-is-dev');
...
// 设置启动文件
mainWindow.loadURL(
isDev
? 'http://localhost:3000'
: `file://${path.join(__dirname, "../build/index.html")}`
);
|
5.修改 package.json 文件,总共两处:
其一:
1
2
3
4
5
6
7
| {
"name": "electron5-react-demo",
"version": "0.1.0",
"private": true,
+ "main": "public/electron.js",
+ "homepage": "./",
}
|
其二,修改启动项:
1
2
3
4
5
6
7
8
9
| "react-start": "react-scripts start",
"react-build": "react-scripts build",
"electron-start": "electron .",
"electron-build": "electron-builder",
"release": "yarn react-build && electron-builder --publish=always",
"build": "yarn react-build && yarn electron-build",
"start": "concurrently \"cross-env BROWSER=none yarn react-start\" \"wait-on http://localhost:3000 && electron .\""
"test": "react-scripts test",
"eject": "react-scripts eject",
|
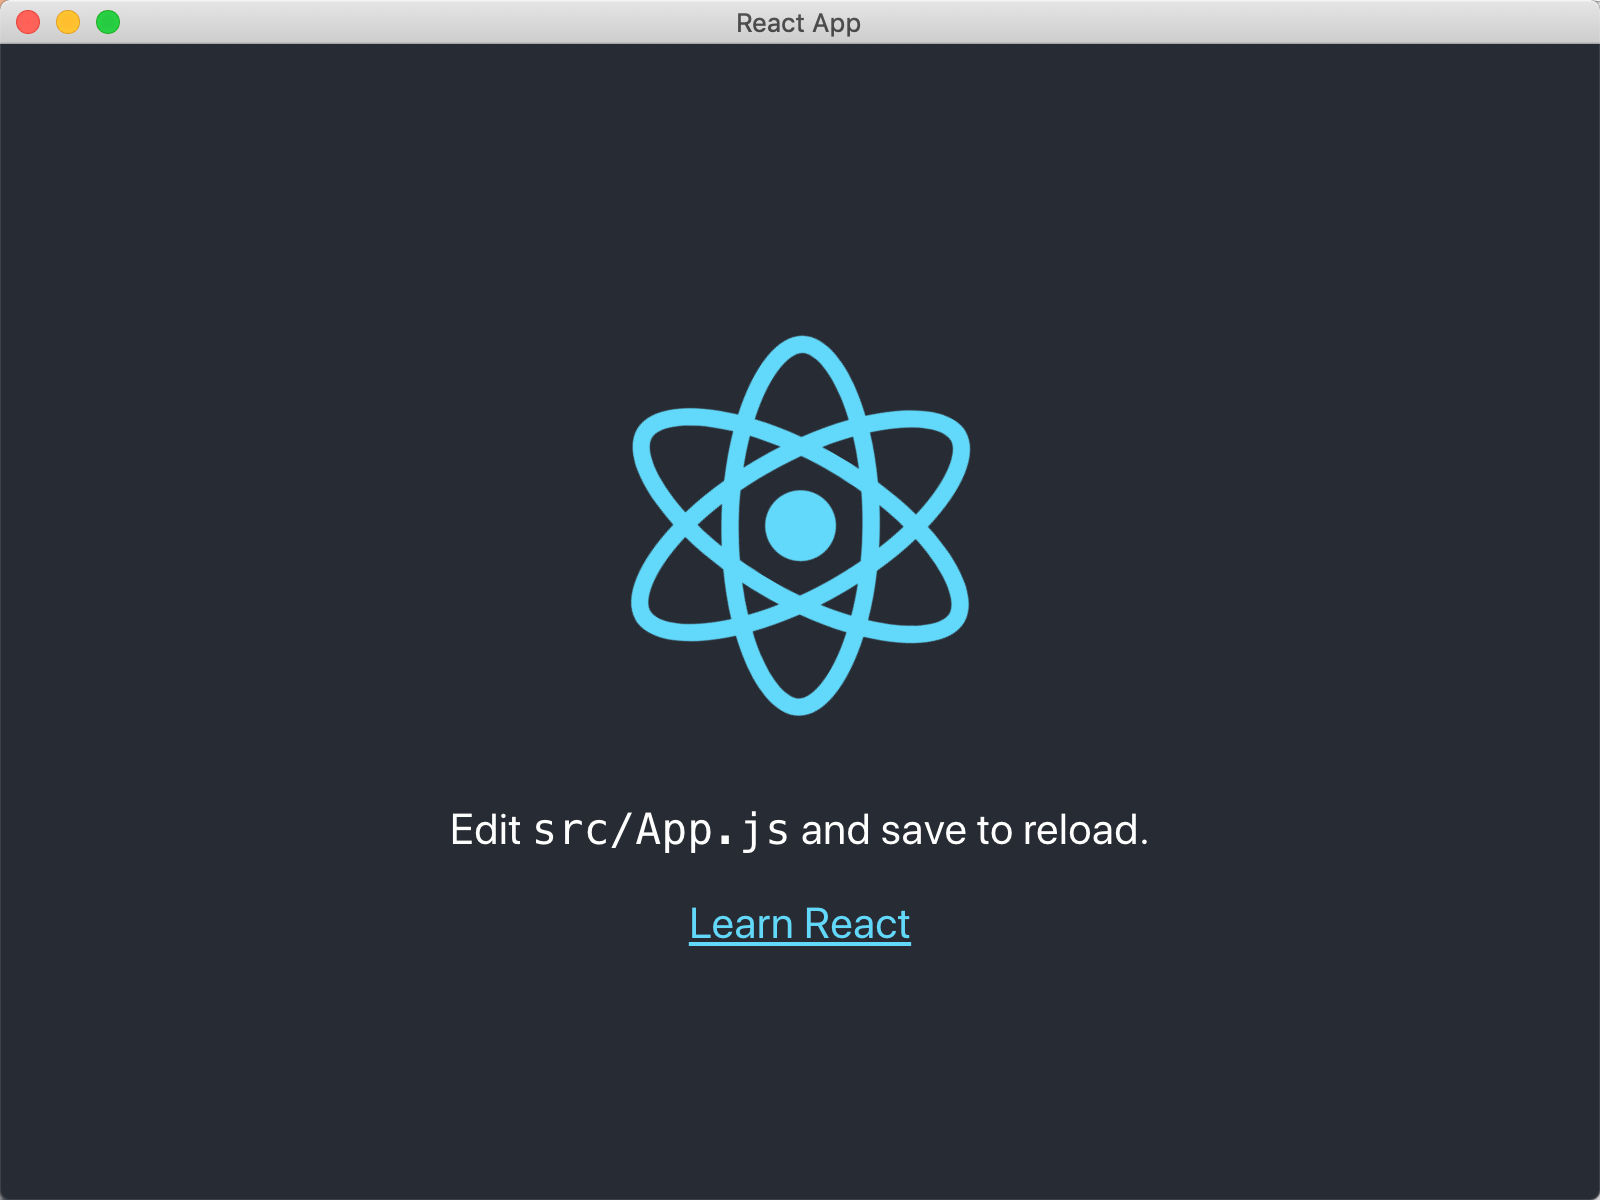
看到如下界面,恭喜你,已经成功启动了:
如果你想构建,可以使用
需要注意:构建会同时构建 React 和 Electron 两个项目。
构建完成后,项目目录中会出现一个 dist 目录:
.
├── builder-effective-config.yaml
├── electron5-react-demo-0.1.0-mac.zip
├── electron5-react-demo-0.1.0.dmg
├── electron5-react-demo-0.1.0.dmg.blockmap
├── latest-mac.yml
└── mac
    └── electron5-react-demo.app
|
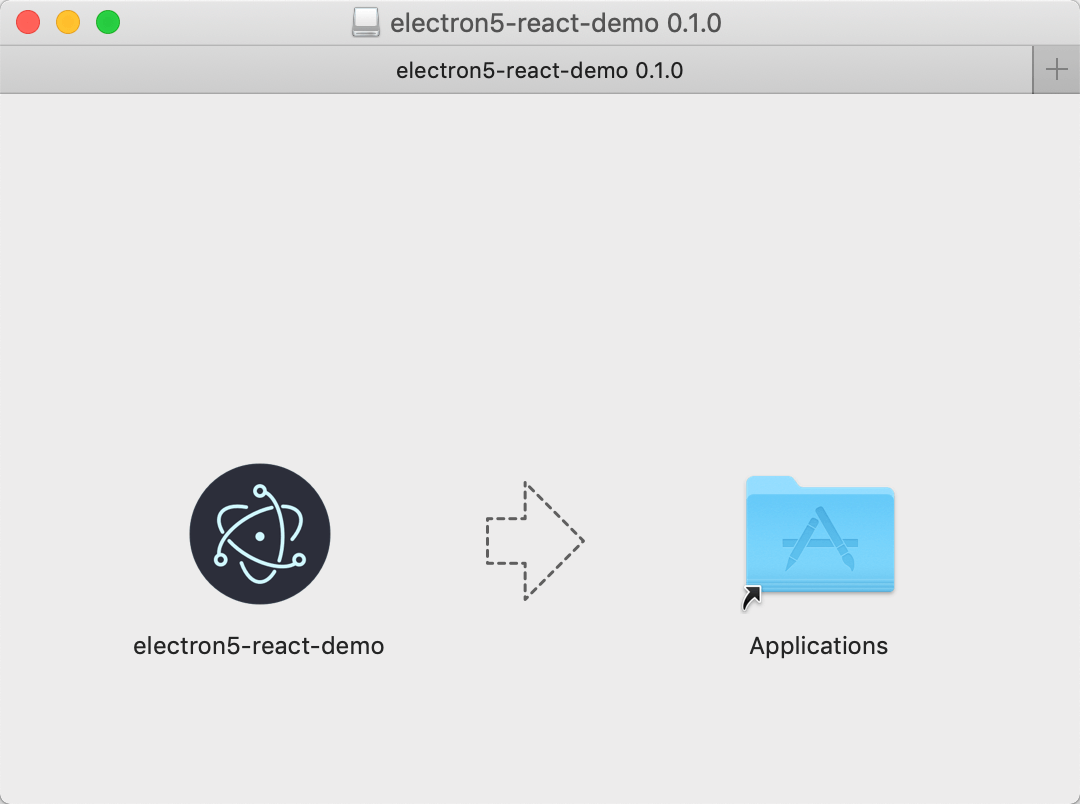
目录中的 dmg 就是 Mac 上面的安装程序,双击安装:
安装之后去运行吧,到这里,我们已经完成了整个项目。
版权声明:
文章首发于
Jartto's blog ,
转载文章请务必以超链接形式标明文章出处,作者信息及本版权声明。站点图片托管在 Github,如果打不开,请点击
这里。
Copyrights © 2020 Jartto. All Rights Reserved.
欢迎你,Jartto 的第 292921 位朋友!
网站总访问量 488535 人次