

Tetris Turns 35 - JavaScript Teacher - Medium
source link: https://medium.com/@js_tut/tetris-turns-35-cfcf04c4f2bb?source=friends_link&%3Bsk=f08589cc1c5387c29145cd8b80964112
Go to the source link to view the article. You can view the picture content, updated content and better typesetting reading experience. If the link is broken, please click the button below to view the snapshot at that time.

Tetris Turns 35
On June 6, 2019 Tetris turned 35 years old. To celebrate, I wrote my own version and posted it in my GitHub repo. No libraries. No frameworks. Just JavaScript. Those learning JavaScript might find a few lessons here!
Here’s a list of my best web development tutorials.
Complete CSS flex tutorial on Hashnode.
Ultimate CSS grid tutorial on Hashnode.
Higher-order functions .map, .filter & .reduce on Hashnode.
Follow me @Twitter, Instagram & fb to never miss premium articles.
My Coding Books
CSS Visual Dictionary contains visual diagrams for every single CSS property in common use. JavaScript Grammar contains…
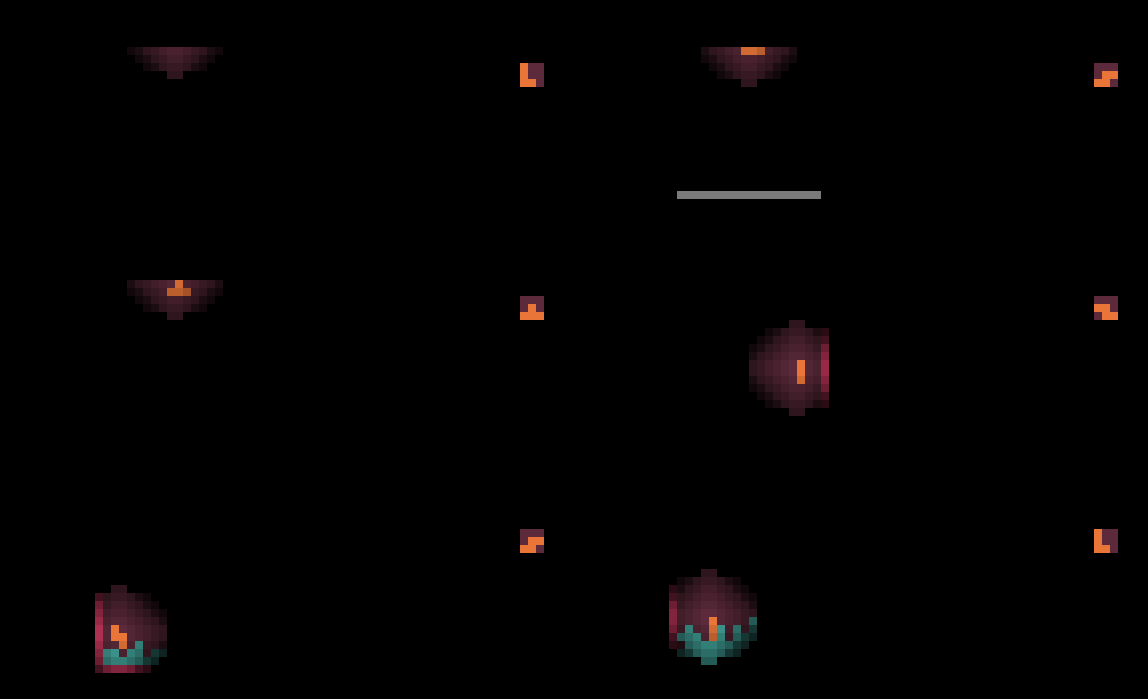

Tetris In The Dark Ideveloped to celebrate 35 years of Tetris!
Tetris was created by Alexey Pajitnov and released on June 6, 1984.

The new Tetris logo was recently announced on June 6, 2019, the game’s 35th anniversary of the game. This image was borrowed from the Twin Galaxies article, a neat gaming site, check it out. The Tetris logo is copyright The Tetris Company, LLC with its headquarters Honolulu, HI.
So how do you make Tetris in 🍦 vanilla JavaScript from scratch?
No libraries. No frameworks. Just JavaScript and your coding fingers.
But why not put some visual sugar on it?
I got a bit creative and added Tetris In The Dark effect. Hopefully it will make this tutorial a bit less boring. Aside from this we’ll cover everything you need to know about putting Tetris together in JavaScript.
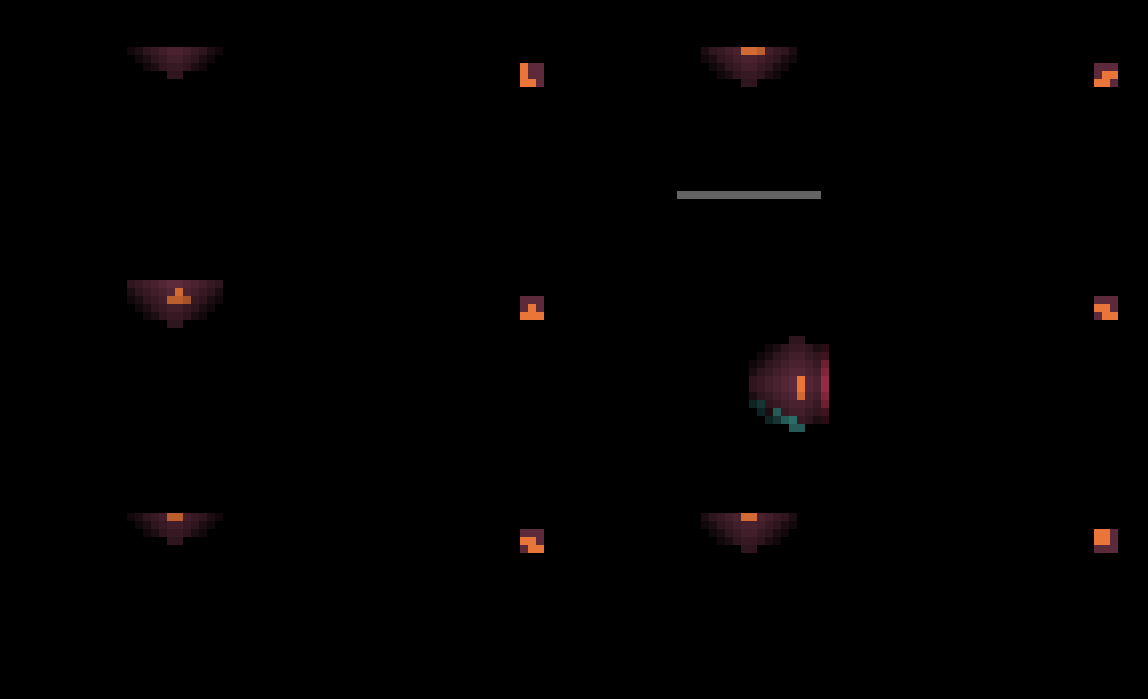
Tetris In The Dark.
Tetris is more simple to play than it is to make. When I started making Tetris I learned that there are several tasks I needed to complete in isolation. Namely they are animation, collision detection and the row-clearing algorithm.
This is what my version of the game looked like on my first try:

First attempt at making Tetris.
I also wanted to create a dynamic-size well. Meaning that the size of the playing area could be adjusted. The well and tetromino blocks can be represented by arrays. Keyboard events can be used to take user input.
I made it easy to change colors by storing them in a global variable color. Using global variables is often shunned. But we’re just creating a simple Tetris demo here in 🍦 vanilla JavaScript. Global colors can be stored as follows:
let color = { background: "#5c2a3b",     // background
wall: "#d83c66",     // walls
solid: "#49b5ab",     // solid tetromino
tetromino: "#e97539" };   // falling tetromino
To change the color theme, simply modify these colors. For this demo, all tetrominos will share the same color. But this can be adjusted later. I just don’t want to over-complicate the code so the key principles remain clear.
Complete Tetris Source Code
This tutorial is based on existing Tetris code I wrote a week ago. You can fork the Complete Tetris source code from my GutHub profile. *I won’t be listing entire source code in this tutorial to avoid redundancy. But all important functions will be listed here.
Project Background. No, this is not the best, most optimized Tetris game written in JavaScript. Nor is it the only way to program it in JavaScript. I used simple constructs (arrays and for-loops) to make it easier to see how it all fits together. Optimizations can be applied later. This is not a tutorial on how to write the most efficient Tetris game. Rather, on the principles behind it.
Game animation on a relatively small grid consisting of colored squares can be achieved using dynamic DIV elements. We don’t even have to use canvas. But there is nothing stopping us from implementing it on canvas either.
A large number of games is grid-based. You can branch out from this setup to make any simple game that takes place on a 2D grid: chess, candy crush or a farming simulator like Stardew Valley for example.
10 by 20 is the classic size of the Tetris well. But it can be any size. In this demo we also have walls that happen to be part of the well array. So even though the well is 10 squares in width, with the walls it’s actually 12:

12 x 17
I’ll write the code in such way that lets you specify your own dimensions of the well, regardless of how thin or wide it is:

50 x 36
For example you can create a Tetris version with a 50-square wide well that is 36 squares deep (Sometimes it’s just fun to experiment.)
let width = 50;                 // well width
let height = 36;                // well height
let square_size = 16;           // square size in pixels
Let’s create the well array:
let well = new Array(height); // array holding the entire well
This array will hold a list of arrays. (created in the following section.)
Generating The Well
Each square in the well will have its own code.
The basic idea is that 0 is empty space.
Everything else (1, 2, 3, etc) is considered solid (collidable.)
To generate empty space (0), left and right walls (1) and the bottom (2) all we have to do is assign those values to the wall array in proper places:
// Reset entire well to all 0's
for (let y = 0; y < width; y++)
    well[y] = new Array( height ).fill(0);

// Mark bottom
for (let x = 0; x < width; x++)
    well[x][height - 1] = 2;

// Mark walls
for (let y = 0; y < height; y++) {
    well[0][y] = 1;
    well[width - 1][y] = 1;
}
The code to create an HTML element is shown below. It is then inserted into <body> element. That’s why our starting HTML document is pretty much empty — all blocks are generated and inserted into DOM dynamically:
// Generate well on the screen by creating HTML elements dynamically
for (let y = 0; y < height; y++) {    for (let x = 0; x < width; x++) {        // Create a DIV element dynamically
let square = document.createElement("div");        // Create an intuitive easy to access ID, eg: "square_x5y13"
        square.setAttribute("id", "square_x" + x + "y" + y);        // Set some CSS properties for the square
        square.style.position = "absolute";
        square.style.left = x * square_size + "px";
        square.style.top = y * square_size + "px";
        square.style.width = square_size + "px";
        square.style.height = square_size + "px";
        square.style.zIndex = 0;        let block_type = well[x][y];

        // Empty space color:
if (block_type == 0) square.style.background = "#082b7f";        // Wall color:
if (block_type == 1) square.style.background = "#841550";        // Bottom wall color:
if (block_type == 2) square.style.background = "#c20c98";        // Add created square to the <BODY> dynamically
        document.body.appendChild( square );
    }
}
This function goes through the entire well, checking the value at well[x][y] and generating a DIV element for each square individually. It then assigns a color to that square based on the value stored in block_type variable, which simply points to the value at well[x][y]
Tetrominos
The 7 classic patterns consisting of 4 squares are called tetrominos.

The classic set of seven tetrominos.
Notice that the long stick is the only tetromino that doesn’t fit into 3x3 box:

The stick is an odd-ball case as it’s the only tetromino that requires a 4x4 grid.
We can deal with this stick separately or we can place all tetrominos into a 4x4 array instead. There are multiple ways of dealing with this problem. For this tutorial I’ll simply use a shorter stick that fits into a 3x3 box though.
Representing a tetromino using a JavaScript array:

Technically, you can use a 2-dimensional array to represent a 9x9 tetromino. But it can also be represented by a 1-dimensional array (pictured here.) This way it’s a bit easier rasterizing it on the well grid.
To actually represent one of the tetrominos you will specify its solid parts by using value of 1 instead of 0:

One way of defining a tetromino using a 1-dimensional array.
You can define all of the tetrominos this way, and then place them into one array representing an entire list containing them all. If you want to get creative you can even make up your own shapes:
let A = [0,0,1,
         0,0,1,
         0,1,1];

let B = [1,0,0,
1,0,0,
1,1,0];

let C = [0,0,0,
         0,1,0,
1,1,1];

let D = [0,0,0,
         0,1,1,
1,1,0];

let E = [0,0,0,
1,1,0,
         0,1,1];

let F = [1,1,0,
1,1,0,
         0,0,0];

let G = [0,0,0,
1,1,1,
         0,0,0];
I then place all tetrominos into another array:
let tetrominos = [A,B,C,D,E,F,G];
This way we can generate a random tetromino using Math.rand function.
We’ll also need placeholders for “next” and “current” tetromino. They are called current and next respectively:
let current = [0,0,0, 0,0,0, 0,0,0];
let next    = [0,0,0, 0,0,0, 0,0,0];
Here is the function that generates a random tetromino:
// Generate a random tetromino and return it as 3x3 array
function make_random() {    // 1.) Select random tetromino from tetrominos array by index
let index = Math.floor((Math.random() * tetrominos.length));    // 2.) Copy it into current array (avoid reference assignment)
return [...tetrominos[ index ]];
}
Here I used … (rest / spread syntax) to create a copy of an array. If we simply assign that array to a variable it would create a reference to the original tetromino. We don’t want a reference. So instead we’ll make a separate copy in memory. When we return [...tetrominos[index]] we’re making a copy of one of the tetrominos from our tetrominos[] array created earlier.
To generate a random tetromino and store it in either current or next variable:
current = make_random();
next = make_random();
Once the tetromino is permanently stuck in the well after it has fallen we can swap current with next one.
Keyboard Controls
Here is the keyboard controls source code:
// Keyboard input
document.addEventListener("keydown", (e) => {

let key_code = e.keyCode;    // Erase the teetromino
    erase();

    // Left
if (key_code == 37) {
if (will_collide(dir.LEFT)) {
            reset();
        } else position.x -= 1
    }

    // Right
if (key_code == 39) {
if (will_collide(dir.RIGHT)) {
            reset();
        } else position.x += 1
    }

    // Down
if (key_code == 40) {
if (will_collide(dir.DOWN)) {
            reset();
        } else position.y += 1
    }

if (key_code == 38) { position.y -= 1 }

    // Rotate
if (key_code == 90) { rotate_left() }
if (key_code == 88) { rotate_right(); }    // Draw the current tetromino
    draw();
});
Falling Animation
The game loop consists of erase, fall and draw functions.
This is what creates the illusion of a falling block.
// Game-loop Animation
setInterval(() => {    // Erase the current tetromino block from the well
    erase();    // Progress the tetromino by 1 square down
    fall();    // Draw the tetromino at its new fallen position
    draw();

}, 15);
It is common to use setInterval function in games. But it was never intended for updating the screen. In fact, it’s a bit choppy. The only reason you don’t notice that is because Tetris animation is relatively slow.
If we were making a faster-paced game where smooth animation matters we’d use requestAnimationFrame instead — it will sync our animation to the monitor’s refresh rate. However, in this simple Tetris game it probably makes little sense to actually do that because the results will be near-identical.
Another problem is Edge versions below 17 and Internet Explorer do not reliably fire requestAnimationFrame before the paint cycle.
Collision Detection
There are two types of collisions in Tetris. With walls and with fallen bricks.
Collision detection in Tetris is tricky. You have to determine if the brick will collide with a wall, the bottom of the well, or other tetrominos one animation step before it is physically moved to that location. Because you want the tetromino to be placed on top of other blocking areas— not into them.
To demonstrate what I mean, I created this animation that shows you tetrominos falling through the bottom of the well. Or painting the walls on contact. That’s the situation you want to avoid:
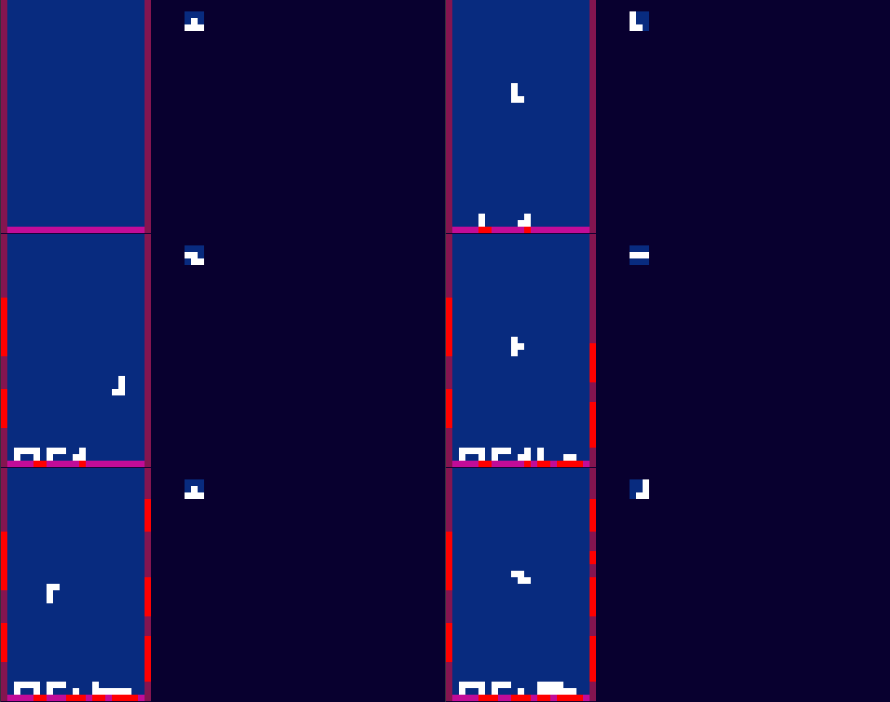
Avoid writing collision detection in “real time.” You need to figure out if the current block will collide at a future time IF it is moved in the direction it is moving on the next frame, not on the current frame. And if there is a future collision, prevent any further movement and “paste” the brick into the well as a solid block (the latter is not shown on this animation, it will be explained in one of the following sections.)
Note: at this stage we’re trying to determine collision only with walls and the bottom of the well. There is no collision between fallen blocks at this point. We’ll handle that later by pasting the block into the well and marking it solid.
(This will be explained in one of the following sections.)
To deal with the issue we can write a function to determine what happens to the tetromino in the future — IF it were moved one block left, right or down.
We can do that by intercepting keyboard events. When a key is pressed, the function tells us whether the tetromino moved to the new position will generate collission with the walls or other blocks. If there is no collision at that future location we will move the block there. Otherwise we paste block into the well array, mark it as a solid block and generate our next tetromino.
Let’s take a look at this isolated example:
// Left arrow key is pressed
if (key_code == 37) {
    // Will tetromino collide with walls or if it is moved left?
    if (will_collide( dir.LEFT ))
        reset();
else
       // Tetromino will not collide, move to that position
position.x -= 1;
}
If the function will_collidereturns true we reset the view. The reset() function will actually paste the tetromino into the well at current position.
Below is a listing of both reset() andpaste() functions:
reset()
The reset function is more of a helper function. It calls paste(), clear_row(), make_random(), update_next() and erases the fog of darkness.
function reset() {
    paste();                // paste current tetromino onto the well
    clear_row();            // clear rows if any
    current = [...next];    // swap current and next tetromino
    next = make_random();   // generate next tetromino
    update_next();          // Update "next" box

// reset current position to top and middle of the well
    position.x = parseInt(width/2) - 1;
    position.y = -3;

reset_fog();             // clear the fog of darkness
}
paste()
// "paste" current block onto the well
function paste() {    let index = 0;    // Prevent pasting blocks that fall outside of the well:
if (position.x >= 0 && position.x <= width - 1) {
if (position.y >= -3 && position.y <= height - 1) {            // Iterate over the 3x3 block of tetromino:
for (let y = position.y; y < position.y + 3; y++) {
for (let x = position.x; x < position.x + 3;
                     x++, index++) {                    // If tetromino is solid at that square
if (current[index] == 1) {
let id = "square_x" + x + "y" + y;
let sq = document.getElementById(id);
if (sq) {
                            well[x][y] = 3;
                            sq.style.backgroundColor = color.solid;
                        }
                    }
                }
            }
        }
    }
}
erase()
It’s the same as paste() only it sets the currently falling tetromino to all 0’s, effectively erasing it from the well array (before animating it to next position.)
function erase() {    let index = 0;    if (position.x >= 0 && position.x <= width - 1) {
if (position.y >= -3 && position.y <= height - 1) {
for (let y = position.y; y < position.y + 3; y++) {
for (let x = position.x; x < position.x + 3;
                     x++, index++) {
if (current[index] == 1) {
let id = "square_x" + x + "y" + y;
let square = document.getElementById(id);
if (square) {
if (true) { // well[x] && well[y]
                                well[x][y] = 0;
if (x == 0 || x == width - 1 ) { }
else {
                                    square.style.backgroundColor
                                    = color.background;
                                }
                            }
                        }
                    }
                }
            }
        }
    }
}
Pasting The Fallen Block Into The Well
Once a block is considered “fallen” it is physically pasted into the well array.
This solid block becomes a 1 in the well array. This means next time we check next tetromino for collisions (using the same collision detection algorithm we already wrote above) this area will be considered as solid and blocks will collide with other blocks too:
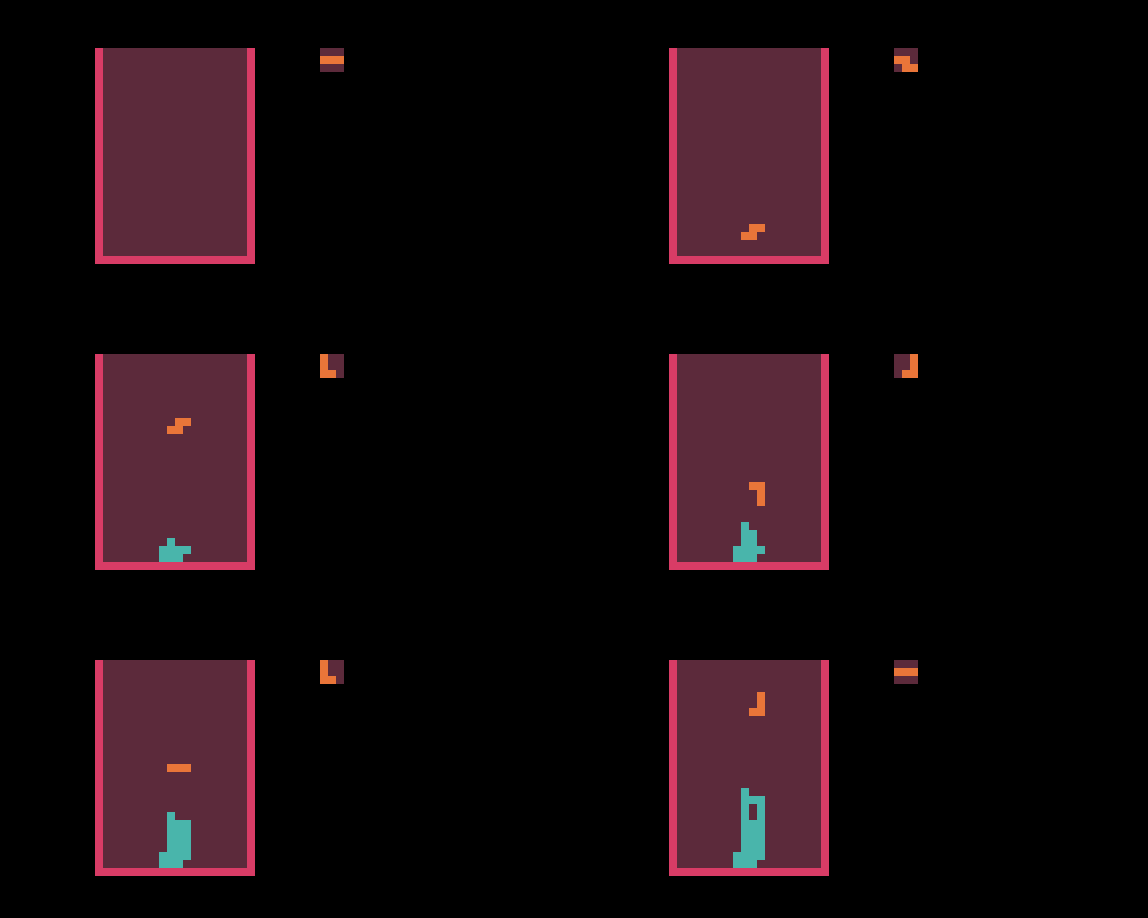
Once a brick collides with walls or other bricks, it gets “pasted” into the well and marked as solid.
Row Breaking Algorithm
This is the most complex piece of code when it comes to Tetris. This algorithm will check if 1) there are any rows to clear 2) rebuild the well again without the complete rows to cancel them out and create block collapsing illusion.
In my version I also added a highlight animation to make it visually clear that the blocks were cleared. You’ll see it in the final version of this demo.
It is possible to come up with a crazy optimized version of this function in just few lines of code. But if I did that, the logic would be abstracted and difficult to follow and learn from.
It’s nice to look at the logic by using simple JavaScript constructs like arrays and for-loops. And later, you can optimize it to make the code shorter.
// Check if a row needs to be cleared
function clear_row() {

    // Placeholder for new rows
let placeholder = [];

    // How many rows cleared?
let rows_cleared = 0;

    // Scan the well one row at a time and capture any
    // non-filled rows in placeholder
    // (except the last row)
for (let y = 0; y < height - 1; y++) {        let start = y * width;
let scanned = scan_row(y);
let total = scanned[0];
let row_data = scanned[1];        // Skip all horizontal rows that are completely filled
if (total != width) {            // Memorize only uncleared rows
let len = placeholder.length;
            placeholder[len] = row_data;        } else {
            start_highlight(y);
            rows_cleared++;
        }
    }

    // If at least one row was cleared, update the well
if (rows_cleared > 0) {        // Clear the well, except last row (well's bottom)
for (let y = 0; y < height - 1; y++) {            // Clear all except walls ([0] and [width - 1])
for (let x = 1; x < width - 1; x++) {
                well[x][y] = 0;                // Paint empty square
let square =
                document.getElementById("square_x" + x + "y" + y);
if (square)
                    square.style.backgroundColor = color.background;
            }
        }

        // Paste captured placeholder rows onto the well
        // but from bottom up
let r = height - 2;
for (let i = placeholder.length - 1; i > 0; i--) {
let row = placeholder[i];
for (let x = 0; x < width; x++) {
if (row[x] != 0) {
                    well[x][r] = 3;
if (x != 0 && x != width - 1) {
let square =
                        document.getElementById("square_x"+x+"y"+r);
if (square)
                        square.style.backgroundColor = color.solid;
                    }
                }
            }
            r--;
        }
    }
}
Tetris In The Dark (Included in source code!)
Strategy video games have something called for of war. It covers an unexplored area of terrain with blackness.
Adding Light
To create a light spot, first I simply created a secondary grid sharing the same dimensions as the well and used it as an overlay. By default all DIV squares on that grid were set to black color and opacity of 1.
Each square on secondary grid was assigned id of fog_x1y3 (if you wanted to access the square at x=1 and y=3 on the said grid of darkness.)
Then I stored my light spot data in a separate array:
// light position
let light = { x: 0, y: 0 };// lightspot data
let light_mask = [
    0,0,0,0,0,0,0,0,0,0,0,0,0,0,
    0,0,0,0,0,0,4,4,0,0,0,0,0,0,
    0,0,0,2,3,4,5,5,4,3,2,0,0,0,
    0,0,2,3,4,5,6,6,5,4,3,2,0,0,
    0,2,3,4,5,6,7,7,6,5,4,3,2,0,
    0,3,4,5,6,7,8,8,7,6,5,4,3,0,
    0,4,5,6,7,8,9,9,8,7,6,5,4,0,
    0,4,5,6,7,8,9,9,8,7,6,5,4,0,
    0,3,4,5,6,7,8,8,7,6,5,4,3,0,
    0,2,3,4,5,6,7,7,6,5,4,3,2,0,
    0,0,2,3,4,5,6,6,5,4,3,2,0,0,
    0,0,0,2,3,4,5,5,4,3,2,0,0,0,
    0,0,0,0,0,0,4,4,0,0,0,0,0,0,
    0,0,0,0,0,0,0,0,0,0,0,0,0,0,
];
Here values between 0 to 9 represent 0.0 - 0.9 CSS opacity.
I pasted this data into the dark grid using a simple for-loop (same way I pasted a tetromino into the well earlier,) this time using draw_light() function:
function draw_light() {
let index = 0;
for (let y = 0; y < 14; y++) {
for (let x = 0; x < 14; x++, index++) {
let posx = x + position.x;
let posy = y + position.y;
let id = "fog_x" + (posx - 6) + "y" + (posy - 6);
let square = document.getElementById(id);
if (square) {
let type = light_mask[index];
if (type == 9) square.style.opacity = '0';
if (type == 8) square.style.opacity = '0.1';
if (type == 7) square.style.opacity = '0.2';
if (type == 6) square.style.opacity = '0.3';
if (type == 5) square.style.opacity = '0.4';
if (type == 4) square.style.opacity = '0.5';
if (type == 3) square.style.opacity = '0.7';
if (type == 2) square.style.opacity = '0.8';
if (type == 1) square.style.opacity = '0.9';
if (type == 0) square.style.opacity = '1.0';
            }
        }
    }
}
This created the illusion of light fading into the darkness.
Breaking Row Animation
The row-breaking animation is done separately from everything else. It’s just a list of long horizontal DIV elements at every height level of the well.
When a row needs to be broken, the clear_row() function (shown earlier) tracks the Y coordinate of each row that needs to be cleared.
Then a setInterval function determines if state of that DIV is 1. If it is, it sets the DIV to white background color and plays an animation by reducing amount of opacity over time:
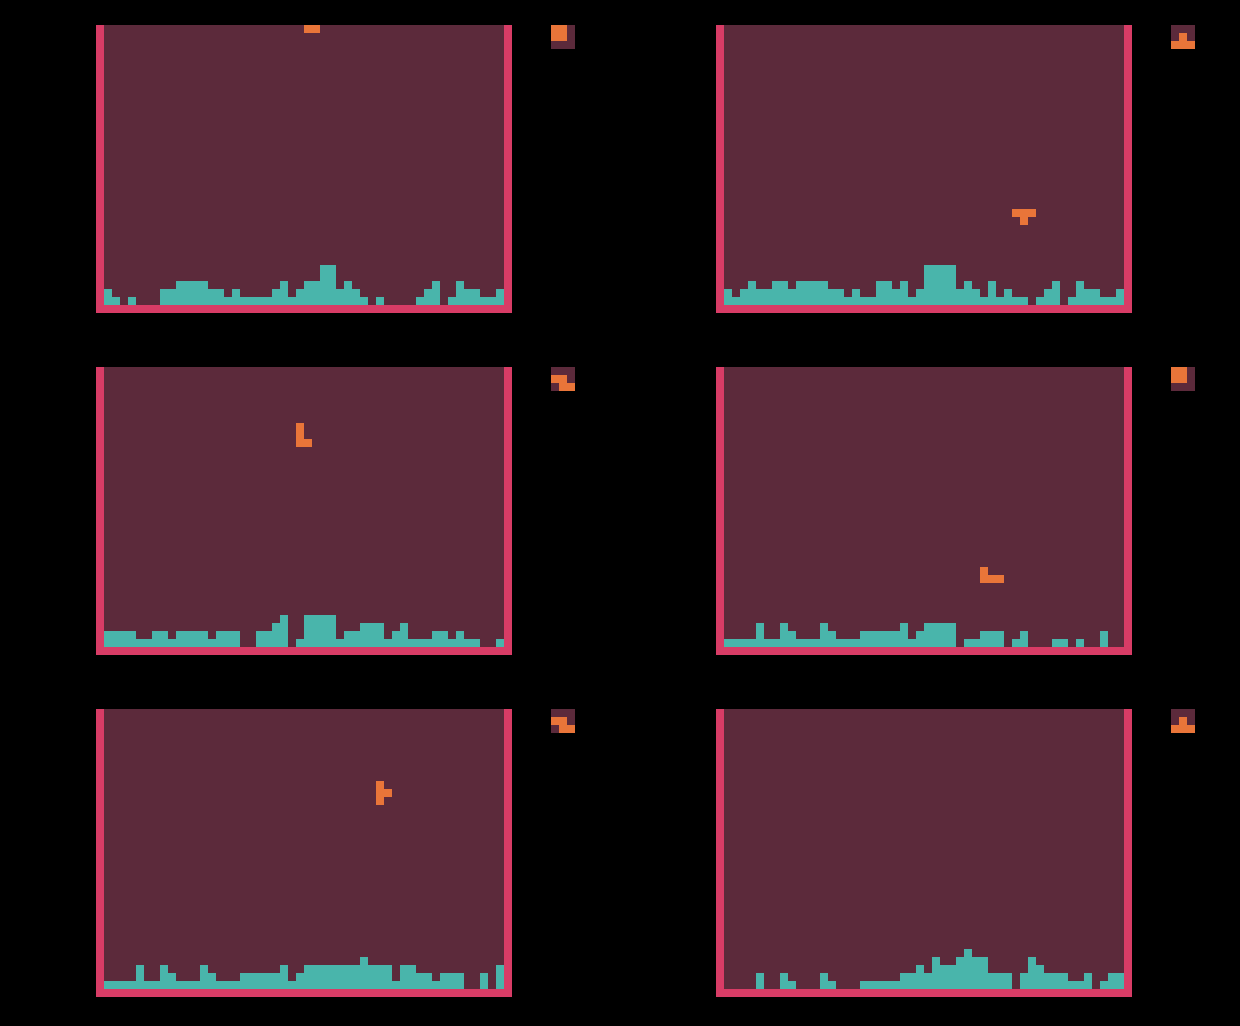
Final Results
When working with the same subject for a long period of time you tend to get a bit bored and an impulse to innovate awakens.
Tetris In The Dark
Conclusion: As a game developer myself, I decided to make this humorous version of Tetris by adding a bit of fog of war to it. Not all experiments work out for good. But I’m quite pleased with the results.
Source code? You can get it from my Tetris GitHub repository.
Follow me @ Twitter, Instagram & fb to never miss premium articles.
Recommend
About Joyk
Aggregate valuable and interesting links.
Joyk means Joy of geeK