

How To Make a Django Blog App and Connect it to MySQL | DigitalOcean
source link: https://www.digitalocean.com/community/tutorials/how-to-create-a-django-app-and-connect-it-to-a-database
Go to the source link to view the article. You can view the picture content, updated content and better typesetting reading experience. If the link is broken, please click the button below to view the snapshot at that time.

Tutorial
How To Create a Django App and Connect it to a Database
DjangoPython FrameworksDevelopmentProgramming ProjectUbuntu 20.04
Introduction
Django is a free and open-source web framework written in Python. This tool allows for scalability, re-usability, and rapid development.
In this tutorial, you will learn how to set up the initial foundation for a blog website with connections to a MySQL database. This will involve creating the skeleton structure of the blog web application using django-admin, creating the MySQL database, and connecting the web application to the database.
Django will provide you with a development environment to work on your blog web application, but you will need to take more steps before making your blog live on the internet.
Prerequisites
To complete this tutorial, you will need:
- An Ubuntu 20.04 server with a non-root
sudo-enabled user and a firewall. Follow our Ubuntu 20.04 initial server setup guide. - MySQL installed to serve as the database. Follow our tutorial on How To Install MySQL on Ubuntu 20.04.
- A Python environment set up. For this, follow our tutorial on How To Install Python 3 and Set Up a Programming Environment on an Ubuntu 20.04 Server.
Once everything is installed and set up, you can move on to the first step.
Step 1 — Creating the Database
Django supports a number of popular database management systems, but this guide focuses on connecting Django to a MySQL database. In order to do this, you need to create a database on your MySQL instance as well as a MySQL user profile that Django can use to connect to the database.
To set this up, connect to your MySQL database as the root MySQL user with the following command:
sudo mysql
You’ll know you’re in the MySQL server when the prompt changes:
Inspect the current databases with the following command:
SHOW DATABASES;
You’ll receive output similar to the following, assuming that you haven’t created any databases yet:
Output+--------------------+
| Database |
+--------------------+
| information_schema |
| mysql |
| performance_schema |
| sys |
+--------------------+
4 rows in set (0.00 sec)
By default, you will have 4 databases already created: information_schema, MySQL, performance_schema and sys. You won’t need to touch these, as they contain information important for the MySQL server itself.
Instead, create the initial database that will hold the data for your blog.
To create a database in MySQL run the following command, using a meaningful name for your database:
CREATE DATABASE blog_data;
Upon successful creation of the database, you will receive the following output:
OutputQuery OK, 1 row affected (0.00 sec)
Note: There’s a chance you may receive the following error:
OutputERROR 1007 (HY000): Can't create database blog_data; database exists
This indicates that the database named blog_data already exists.
And if you receive the following MySQL error, it means there’s a MySQL syntax error. Verify that you’ve entered the command exactly as shown in this tutorial:
OutputERROR 1064 (42000): You have an error in your SQL syntax;
Verify that the database is now listed as one of the available databases:
SHOW DATABASES;
The blog_data database should now be listed among the databases included in the output:
Output+--------------------+
| Database |
+--------------------+
| information_schema |
| blog_data |
| mysql |
| performance_schema |
| sys |
+--------------------+
5 rows in set (0.00 sec)
Next, create a separate MySQL user account that Django will use to operate the new database. Creating specific databases and accounts can support you from a management and security standpoint. We will use the name djangouser in this guide, but feel free to use whatever name is relevant for you.
You’re going to create this account, set a password, and grant access to the database you created. First, create the user and set their password by typing the following command. Remember to choose a strong password for your database to replace password in this example:
CREATE USER 'djangouser'@'localhost' IDENTIFIED WITH mysql_native_password BY 'password';
Let the database know that djangouser should have complete access to the database you set up:
GRANT ALL ON blog_data.* TO 'djangouser'@'localhost';
You now have a database and user account, each made specifically for Django. Flush the privileges so that the current instance of MySQL knows about the recent changes you’ve made:
FLUSH PRIVILEGES;
With that complete, you can exit the MySQL server by typing EXIT; or pressing CTRL + D.
Step 2 — Creating a MySQL Option File
Rather than specifying your MySQL connection details in the Django configuration file, you can store them in an option file. Many MySQL programs can read option files — also known as configuration files — for information like startup options or connection details. This can be convenient, as you only have to store your database login credentials in one place.
Open the my.cnf configuration file with your preferred text editor to update your MySQL credentials. Here we’ll use nano:
sudo nano /etc/mysql/my.cnf
Add the following lines and include your relevant information:
…

[client]
database = blog_data
user = djangouser
password = your_actual_password
default-character-set = utf8
You’ll notice that utf8 is set as the default encoding, this is a common way to encode unicode data in MySQL. When you are sure that your details are correct, save and close the file. If you used nano to edit the file, you can do so by pressing CTRL + X and then Y to confirm changes.
Once the file has been edited, you need to restart MySQL for the changes to take effect:
sudo systemctl daemon-reload
sudo systemctl restart mysql
Note that restarting MySQL takes a few seconds, so please be patient.
Step 3 — Creating the Initial Django Project Skeleton
In this step, you’ll lay the groundwork for your application by generating the project skeleton using the django-admin command.
Navigate to the directory where you would like to build your blog app. Within that directory, create a specific directory to build the app. Call the directory something meaningful for the app you are building. As an example, we’ll name ours my_blog_app:
mkdir my_blog_app
Now, navigate to the newly created directory:
cd my_blog_app
Next, move into the programming environment you would like to use for working in Django. You can use an existing one, or create a new one. We’ll call ours env, but you should use a name that is meaningful to you:
python3 -m venv env
Once it’s created you can activate it:
. env/bin/activate
Now install Django into this environment if you have not done so already:
pip install django
While in the my_blog_app directory, generate a project by running the following command:
django-admin startproject blog
Verify that it worked by navigating to the blog/ directory:
cd blog
Then run ls to verify that the necessary files and directories were created within the project folder:
The output will list the blog directory and a manage.py file:
Outputblog manage.py
Now that you’ve created a project directory containing the initial start of your blog application, you can continue on to the next step.
Step 4 — Installing MySQL Database Connector
In order to use MySQL with your project, you’ll need a Python 3 database connector library compatible with Django. This step outlines how to install one such database connector, mysqlclient, which is a forked version of MySQLdb.
First, install the necessary MySQL development headers and libraries:
sudo apt install libmysqlclient-dev default-libmysqlclient-dev
Next, use pip to install the wheel package. Wheel is a packaging format used in Python to install modules from the Python Package Index. Installing Python programs from wheel packages is generally faster and more resource-efficient than building packages from their source code. In order to install and work with programs packaged as wheels, you’ll first need to ensure the wheel package is installed:
pip install wheel
Then proceed with installing mysqlclient:
pip install mysqlclient
You will receive output similar to the following, verifying that the client was properly installed:
Output...
Successfully installed mysqlclient-2.1.0
You’ve now successfully installed the MySQL client using the PyPi mysqlclient connector library.
Step 5 — Editing Settings
When you ran django-admin previously, it created a configuration file for Django named settings.py. You need to change a few of the default settings in this file in order to get everything working correctly.
To edit the file, open the path to the file with your text editor of choice:
nano ~/my_blog_app/blog/blog/settings.py
In order for your blog to have the correct time associated with your area, you can edit the settings.py file so that it uses your current time zone. You can use this list of time zones as a reference. For our example, we will be using America/New_York time.
Within the file, navigate to the TIME_ZONE field near the bottom section of the file:
...
# Internationalization
# https://docs.djangoproject.com/en/2.0/topics/i18n/

LANGUAGE_CODE = 'en-us'

TIME_ZONE = 'UTC'

USE_I18N = True

USE_L10N = True

USE_TZ = True
...
Modify the TIME_ZONE line so that it is set to your current time zone. We will use the time zone for New York in this example:
...
# Internationalization
# https://docs.djangoproject.com/en/2.0/topics/i18n/

LANGUAGE_CODE = 'en-us'

TIME_ZONE = 'America/New_York'

USE_I18N = True
...
Keep the file open because next you need to add a path for your static files. The files that get served from your Django web application are referred to as static files. This could include any files necessary to render the complete web page, including JavaScript, CSS, and images.
Go to the end of the settings.py file and add STATIC_ROOT:
...
# Static files (CSS, JavaScript, Images)
# https://docs.djangoproject.com/en/2.0/howto/static-files/

STATIC_URL = '/static/'
STATIC_ROOT = os.path.join(BASE_DIR, 'static')
Now that you’ve added the time zone and the path for static files, add your IP to the list of allowed hosts. Navigate to the line of the settings.py file where it says ALLOWED_HOSTS, it’ll be towards the top of the settings.py file. Add your server’s IP address, surrounded by single quotes, between the square brackets:
...
# SECURITY WARNING: don't run with debug turned on in production!
DEBUG = True

ALLOWED_HOSTS = ['your_server_IP_address']

# Application definition
...
Next, add the Python OS module that provides various functionalities for directories. Without this module, you will receive an error when setting up the administrative user to begin using the Django interface. To do this, you need to import the os module that will work on your respective operating system. Add the line import os above the from pathlib import Path line:
...
import os
from pathlib import Path

# Build paths inside the project like this: BASE_DIR / 'subdir'.
...
So far you’ve edited your settings.py file so that the proper time zone has been configured. You’ve also added the path for your static files, set your ip address to be an ALLOWED_HOST for your application, and imported the Python OS module to help get your administrative user set up later on.
The last snippet to add to your file is the database connection credentials to connect your Django blog application to MySQL. To this end, find the DATABASES dictionary within the file. It will look like the following by default:
...
# Database
# https://docs.djangoproject.com/en/3.2/ref/settings/#databases

DATABASES = {
    'default': {
        'ENGINE': 'django.db.backends.sqlite3',
        'NAME': BASE_DIR / 'db.sqlite3',
    }
}
...
Replace the DATABASES dictionary’s ENGINE and NAME options with the following lines:
...
# Database
# https://docs.djangoproject.com/en/3.0/ref/settings/#databases

DATABASES = {
    'default': {
        'ENGINE': 'django.db.backends.mysql',
        'OPTIONS': {
            'read_default_file': '/etc/mysql/my.cnf',
        },
    }
}
...
The 'ENGINE': 'django.db.backends.mysql' line tells Django to use its built-in MySQL database backend. The read_default_file option points to /etc/mysql/my.cnf, the MySQL option file you edited earlier. This tells Django where it can find the relevant connection details to connect to the MySQL database you created in Step 1.
Note that Django reads database connection settings in the following order:
OPTIONSNAME,USER,PASSWORD,HOST,PORT- MySQL option files
By pointing Django to your MySQL option file within the OPTIONS setting as in this example, it will take precedence over any NAME setting, which would otherwise override the option file if you were to point to it outside of the OPTIONS setting.
At this point, you can save and close the file.
Next, check for migration changes by running the following:
python manage.py makemigrations
Then, run migrate to ensure the changes go through:
python manage.py migrate
Now that your changes have been migrated, you can create an administrative user to use for the Django admin interface. Do this with the createsuperuser command:
python manage.py createsuperuser
You will be prompted for a username, an email address, and a password for your user.
After you complete this information, you can move on to adjusting your firewall settings to allow for testing.
Step 6 — Adjusting Firewall Settings
Before testing your Django web application, you have to ensure that your firewall settings have been adjusted. Start by changing your ufw settings to allow access to port 8000:
sudo ufw allow 8000
Check the status to ensure these permission settings have been updated successfully:
sudo ufw status
OutputStatus: active
To Action From
-- ------ ----
OpenSSH ALLOW Anywhere
8000 ALLOW Anywhere
OpenSSH (v6) ALLOW Anywhere (v6)
8000 (v6) ALLOW Anywhere (v6)
Your firewall settings are now properly adjusted to allow for testing your connection in the next step.
Step 7 — Testing MySQL Connection to Application
Now you can verify that the configurations in Django detect your MySQL server properly. You can do this by running the server. If it fails, it means that the connection isn’t working properly. Otherwise, the connection is valid.
First navigate to the following directory:
cd ~/my_blog_app/blog/
From there, run the following command:
python manage.py runserver your-server-ip:8000
You will receive an output similar to the following:
OutputPerforming system checks...
System check identified no issues (0 silenced).
October 25, 2021 - 19:50:58
Django version 3.2.9, using settings 'blog.settings'
Starting development server at http://your-server-ip:8000/
Quit the server with CONTROL-C.
Note: You will notice that you have unapplied migrations in the output. Don’t worry, this does not affect the initial setup of your application, and you can continue.
Follow the instructions from the output and follow the suggested link, http://your-server-ip:8000/, to view your web application and verify that it is working properly.
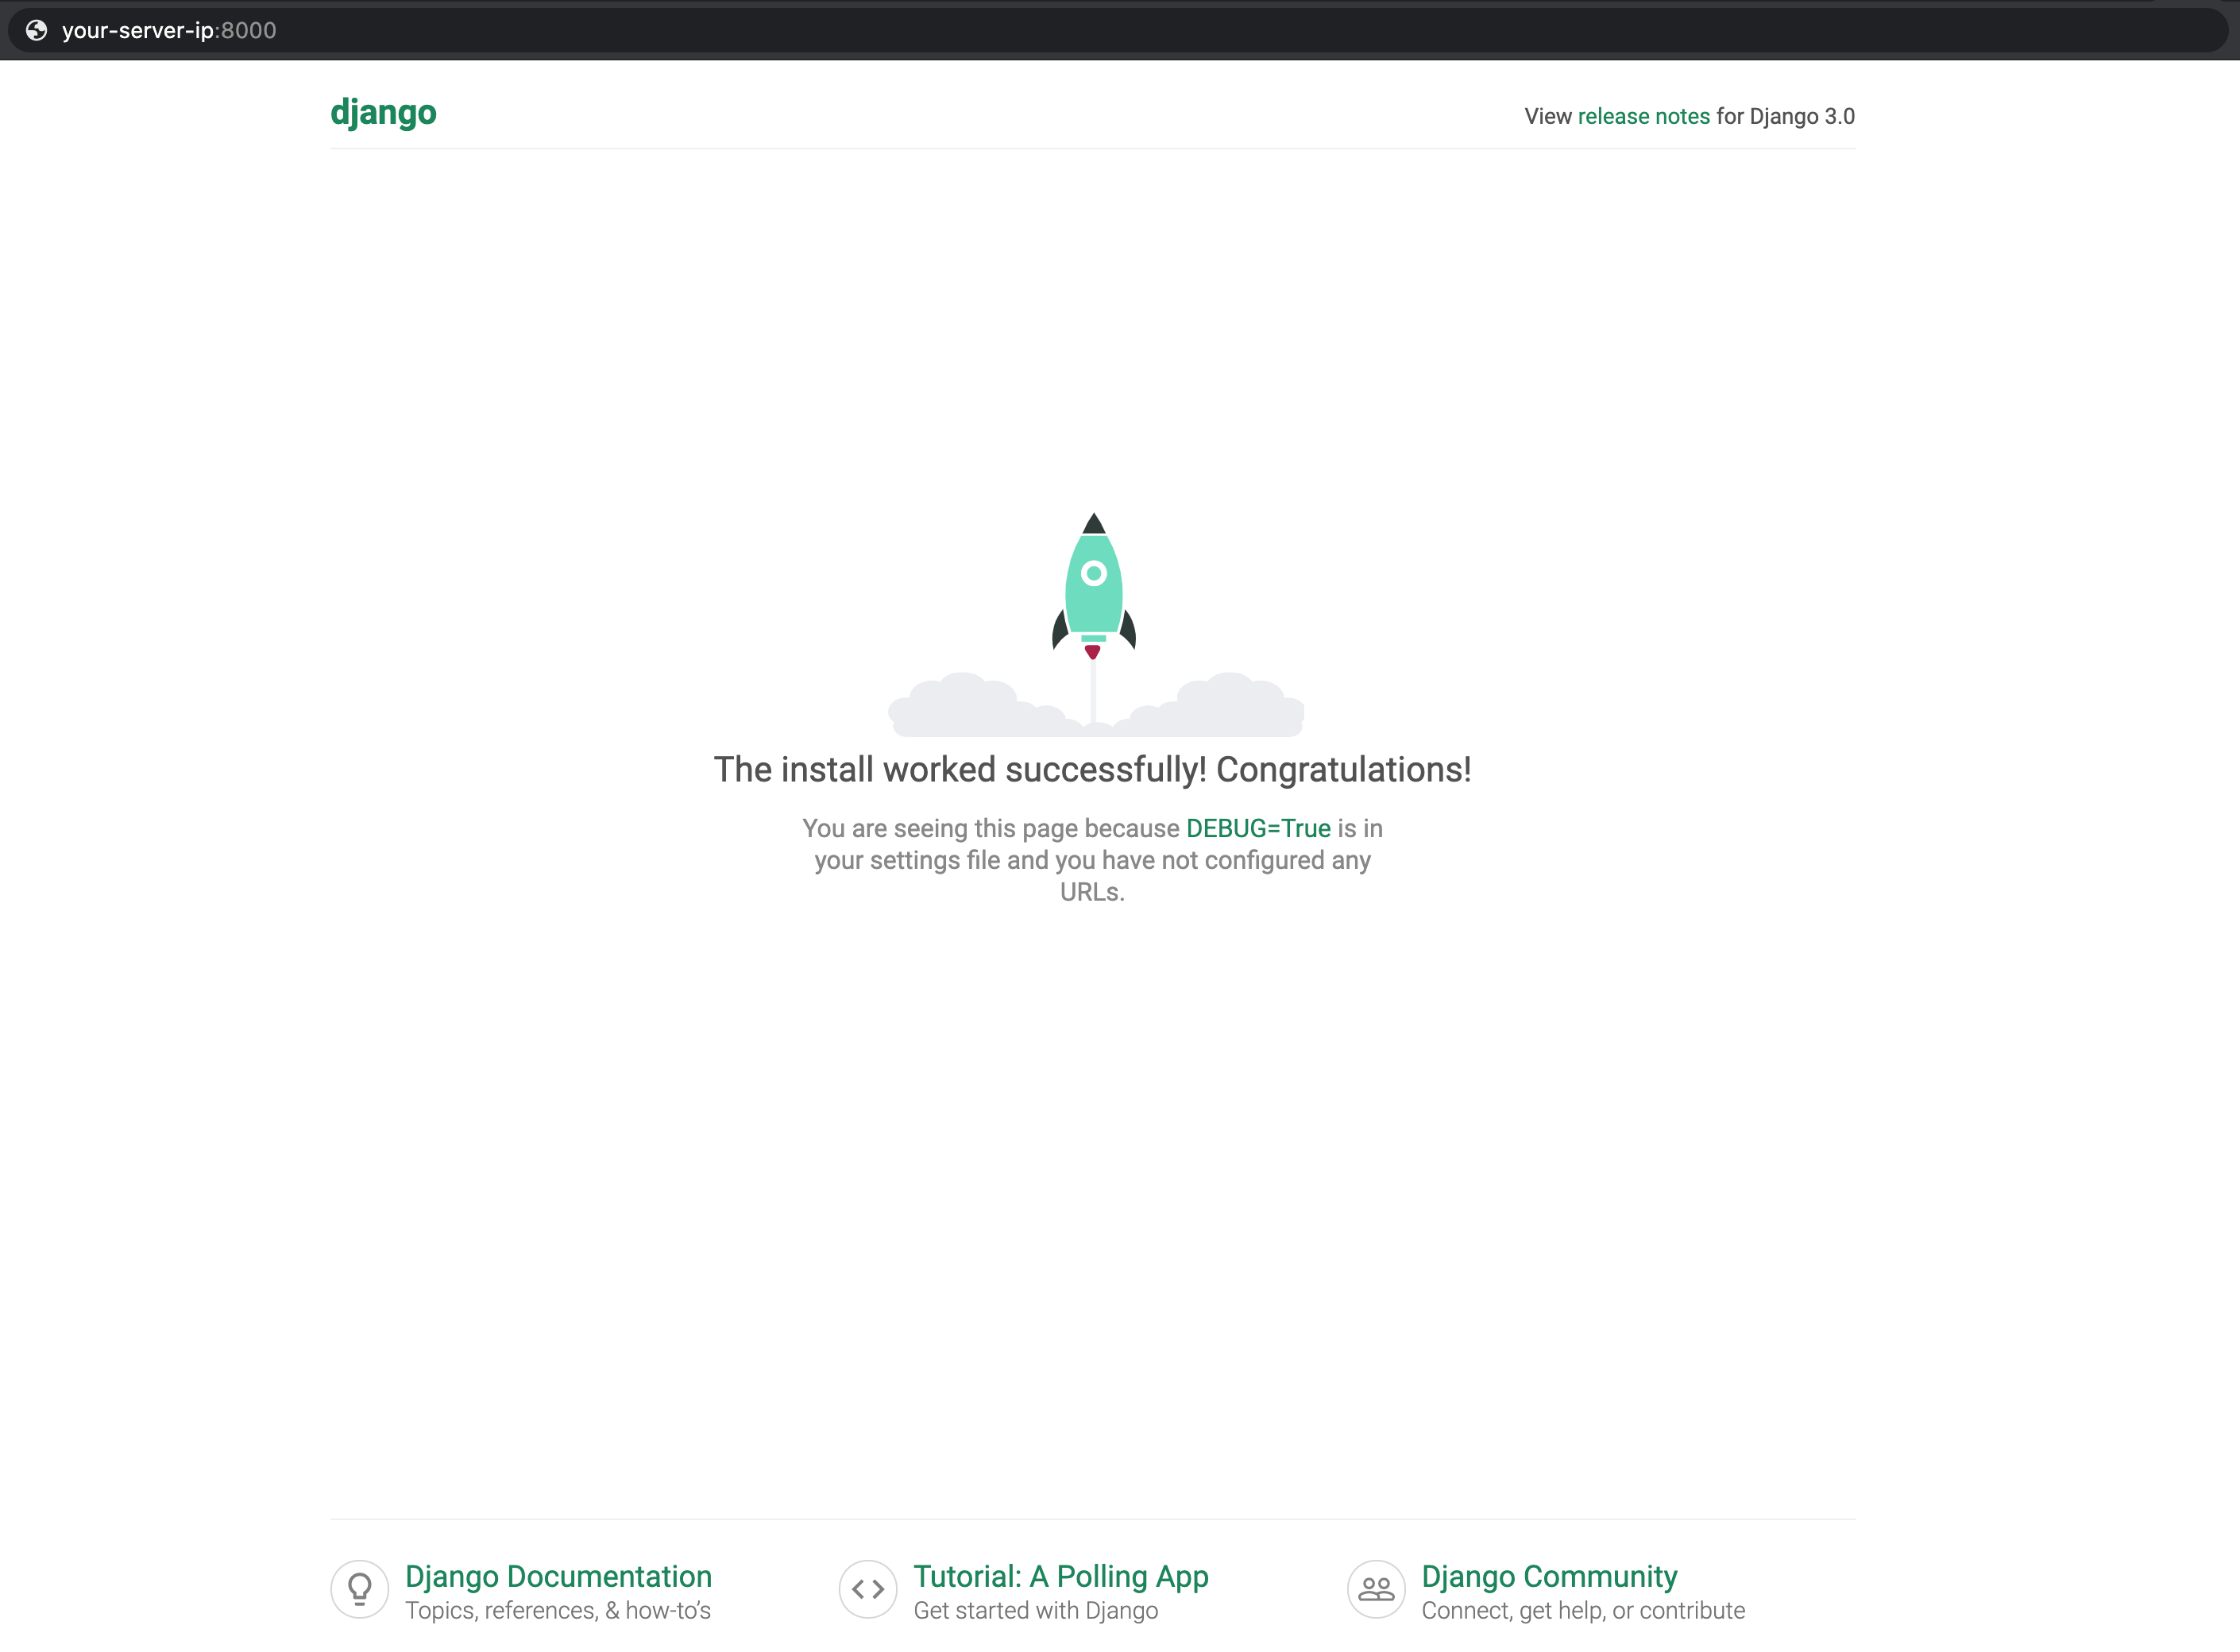
If your page appears similar to the screenshot above, your Django application is working as expected.
When you are done with testing your app, press CTRL + C to stop the runserver command. This will return you to your programming environment.
When you are ready to leave your Python environment, you can run the deactivate command:
deactivate
Deactivating your programming environment will bring you back to the terminal command prompt.
Conclusion
In this tutorial, you created the initial foundation of your Django blog. You have installed, configured, and connected MySQL to the Django backend. You’ve also added some important information to your application’s settings.py file such as TIME_ZONE, ALLOWED_HOSTS, import os, and database credentials to connect your Django application to MySQL. You also adjusted firewall settings to ensure that testing goes smoothly.
Now that these basic settings and configurations are complete, you can begin developing models and applying migrations in your Django application.
Recommend
About Joyk
Aggregate valuable and interesting links.
Joyk means Joy of geeK